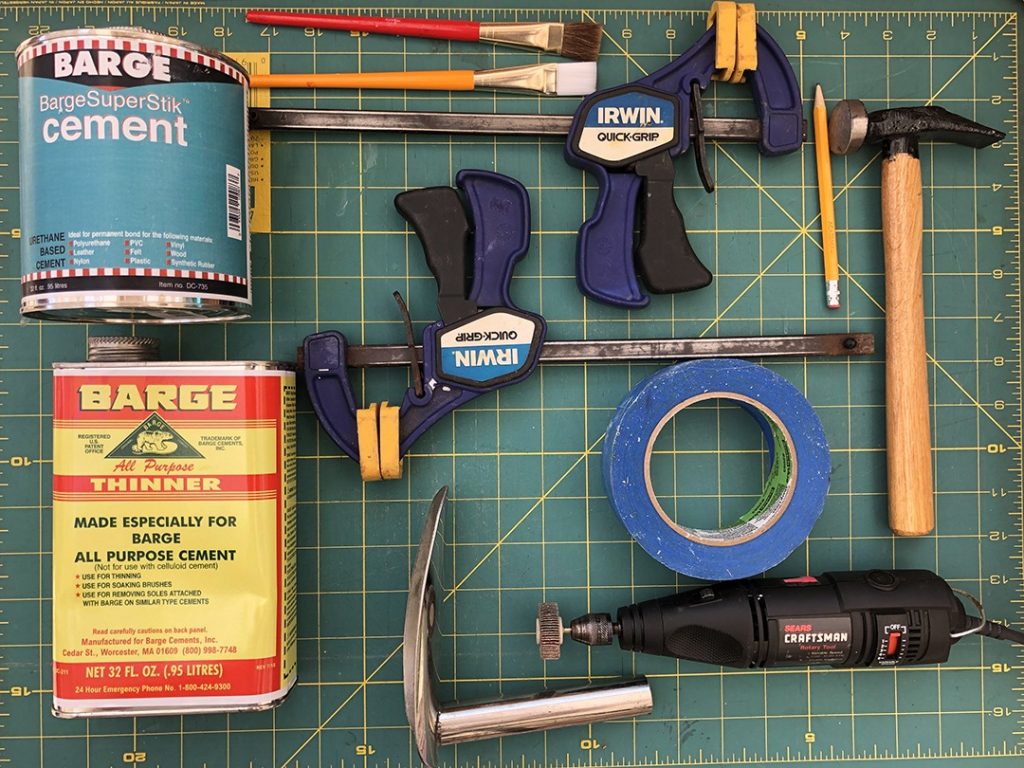
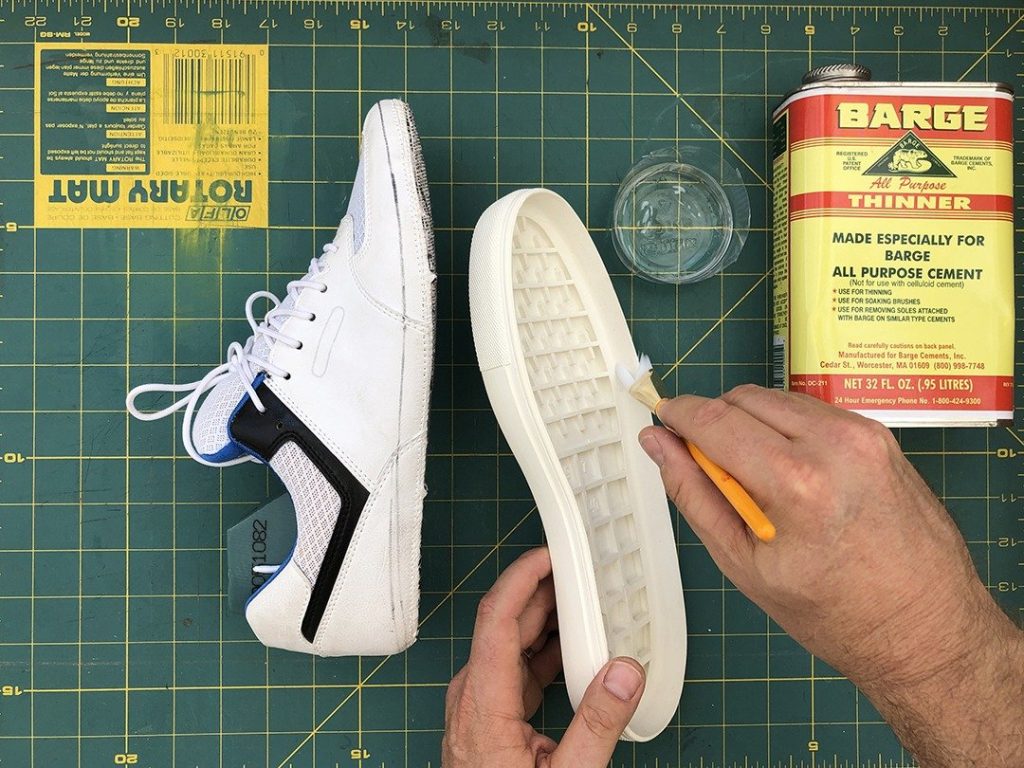
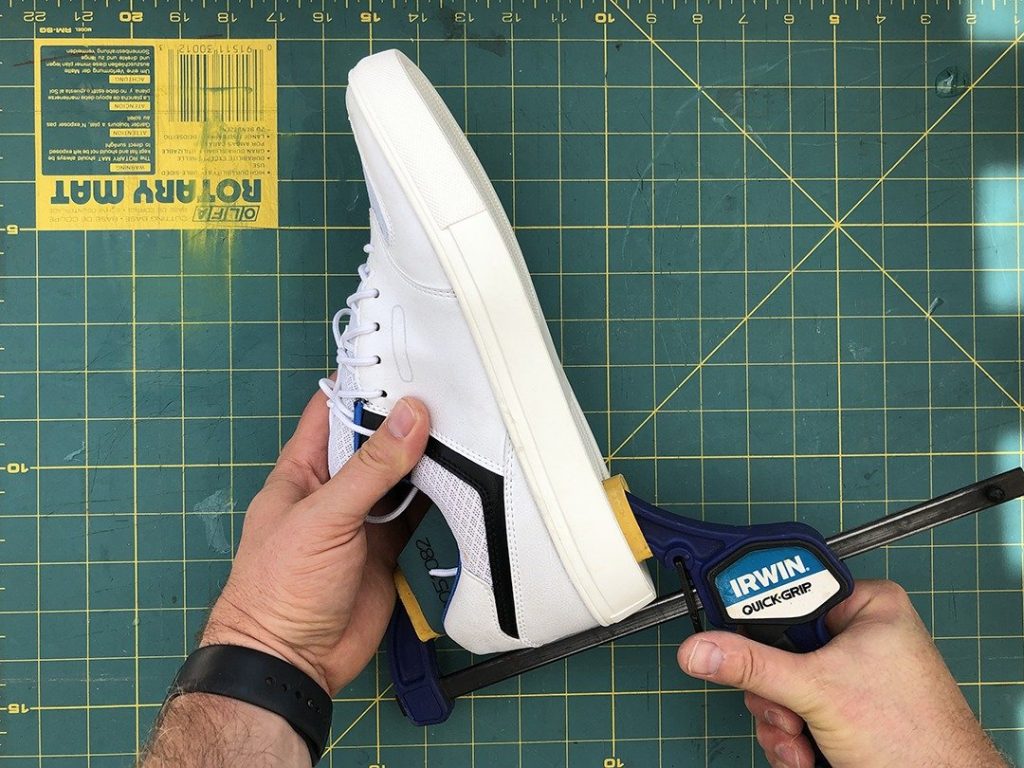
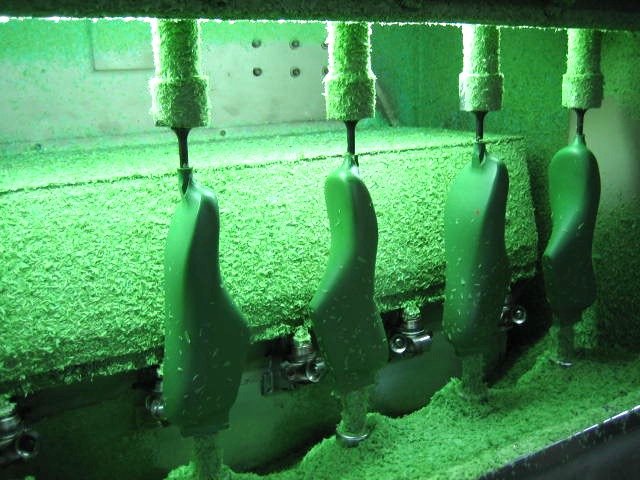
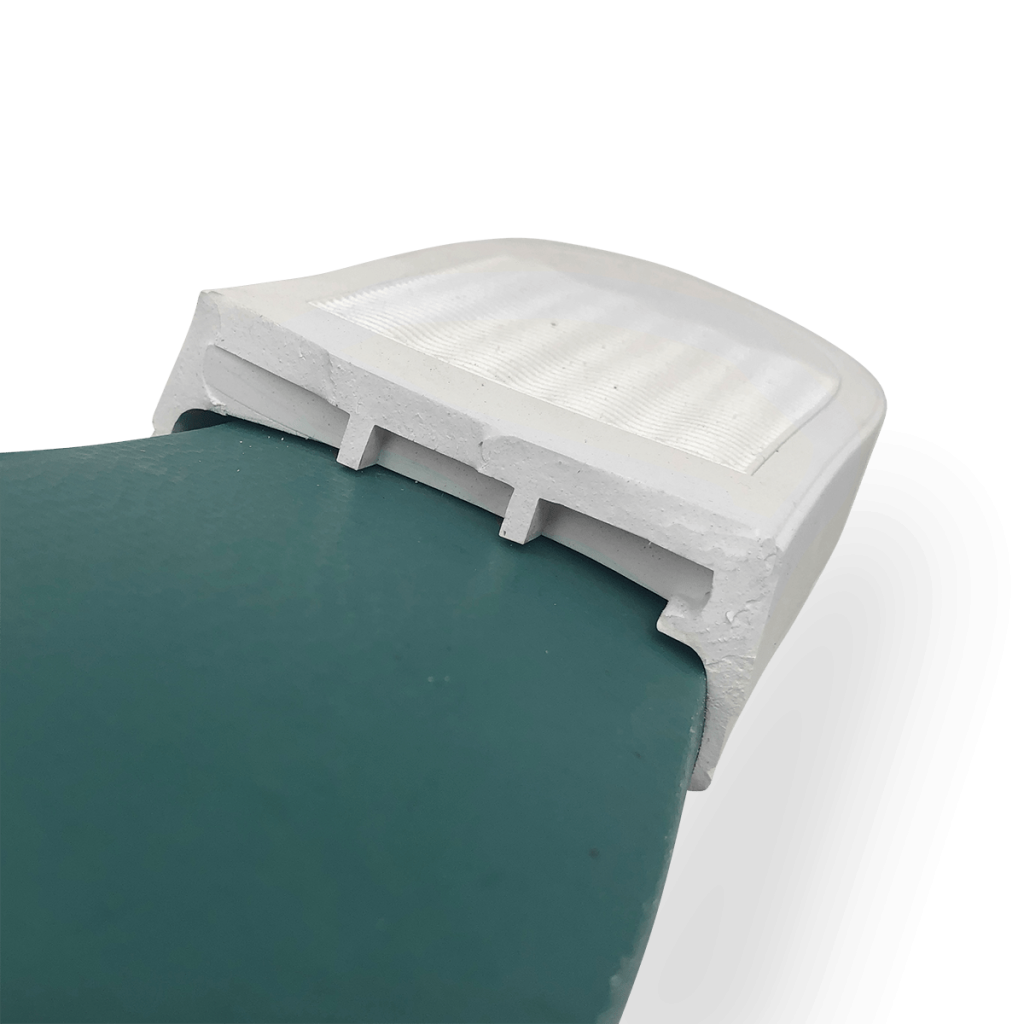
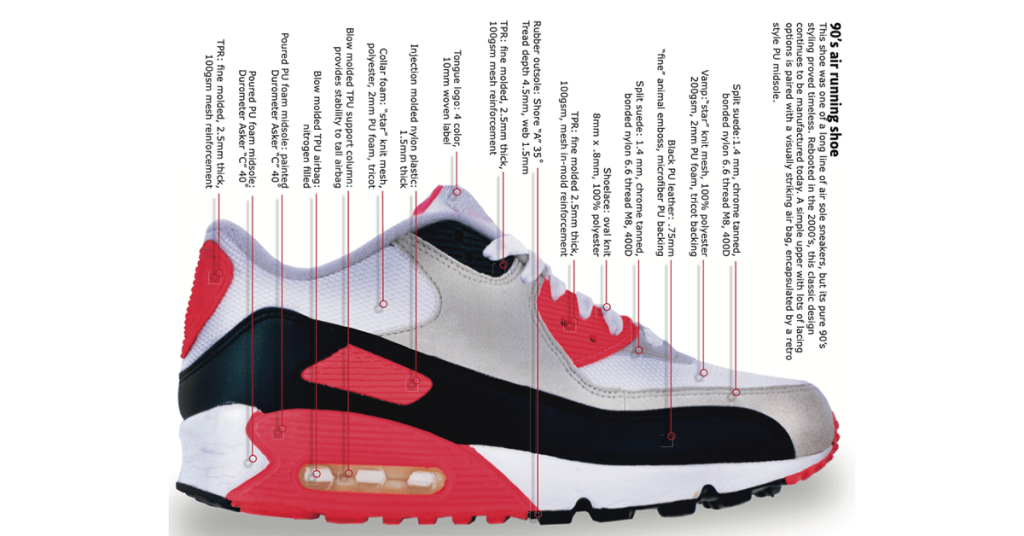
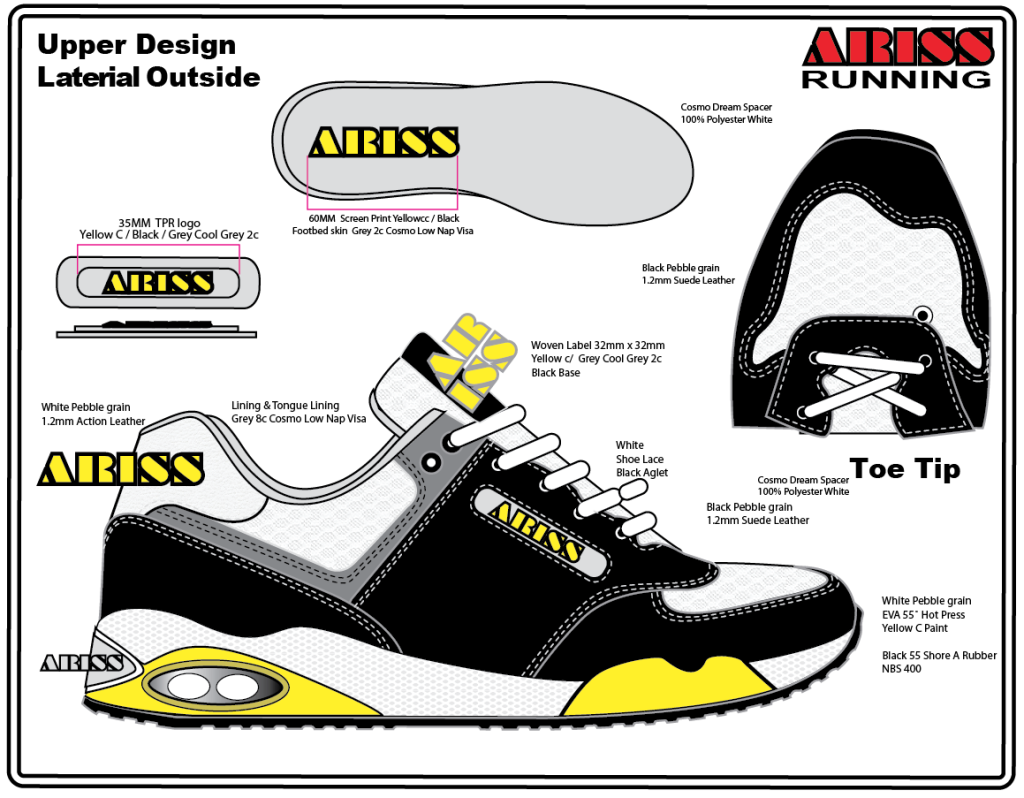
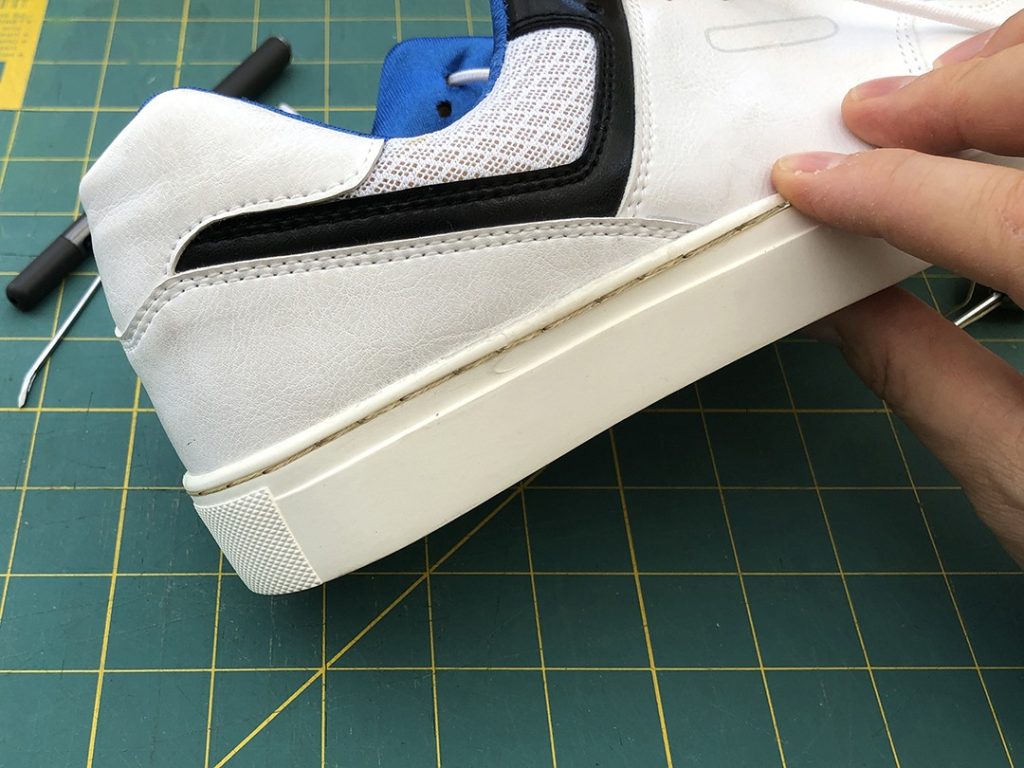
For a DIY sneaker project, it’s a good idea to reinforce the cement bonding with outsole channel stitching. You can stitch the toe, heel, or the entire perimeter. In the shoe factory, the workers will use a purpose-built channel stitching machine. The skilled worker can stitch a pair of shoes in less than a minute. Unfortunately, we don’t have this special equipment in our DIY workshop so we will use the Speedy Stitcher. You can find the Speedy Stitcher on Amazon.
Using the Speedy Stitcher
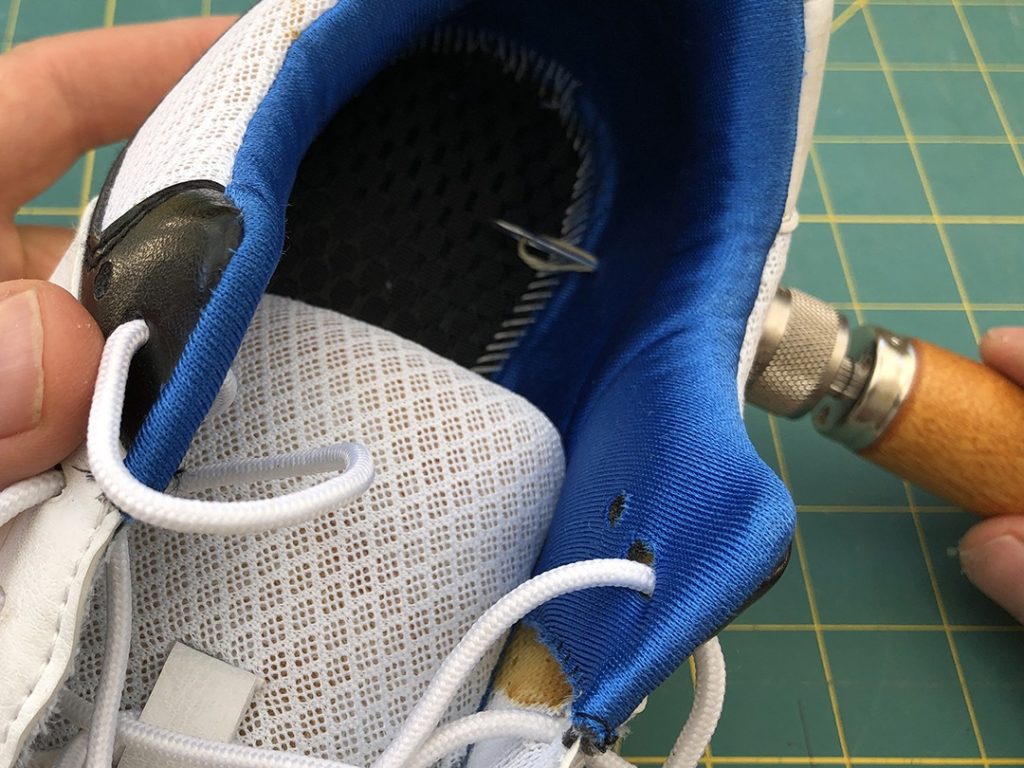
The Speedy Stitcher is a heavy-duty sewing awl with a built-in supply of thread. Follow the instructions on the package to assemble the stitcher with the straight needle and the thread running from inside.
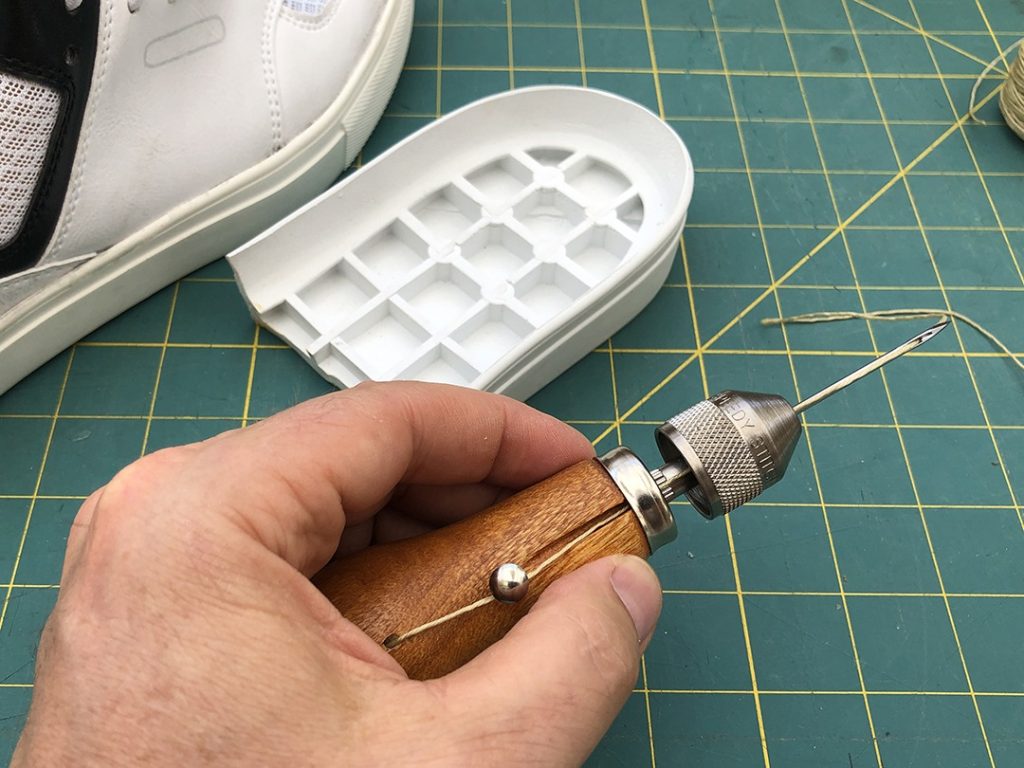
Getting started with the Speedy Stitcher
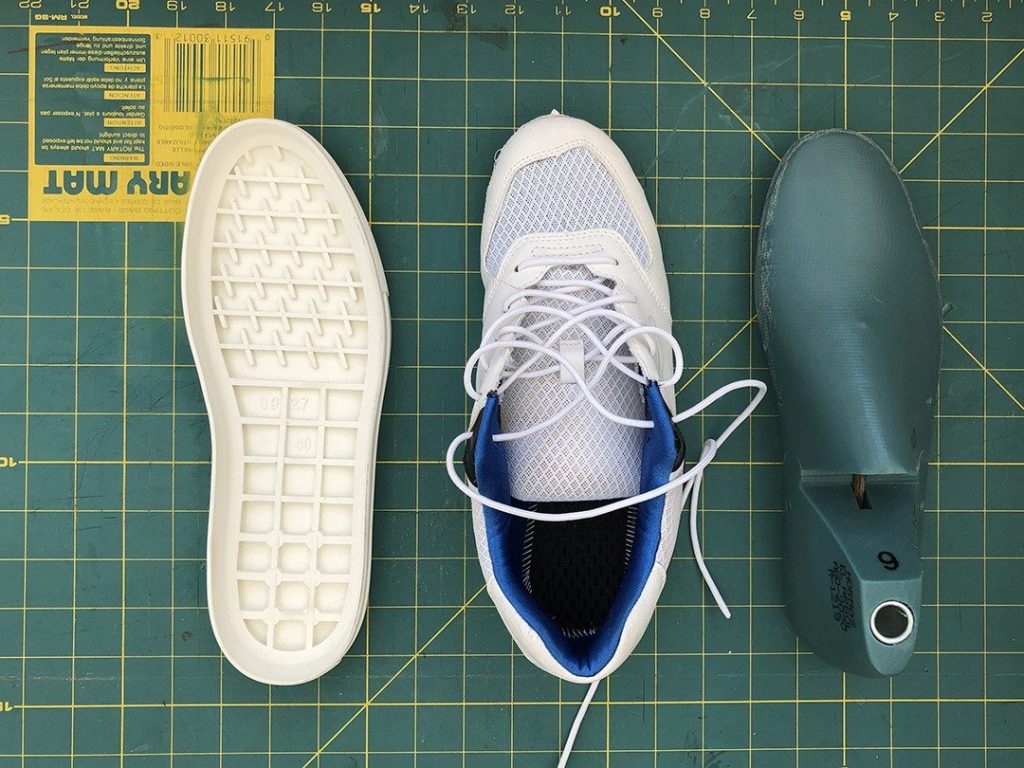
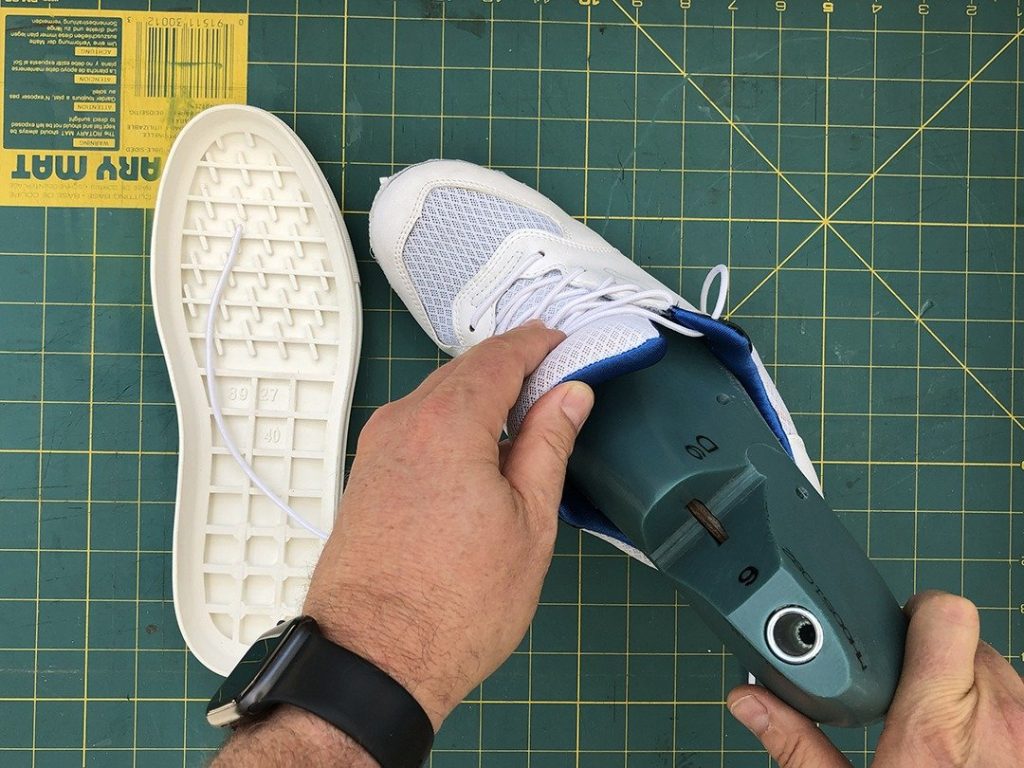
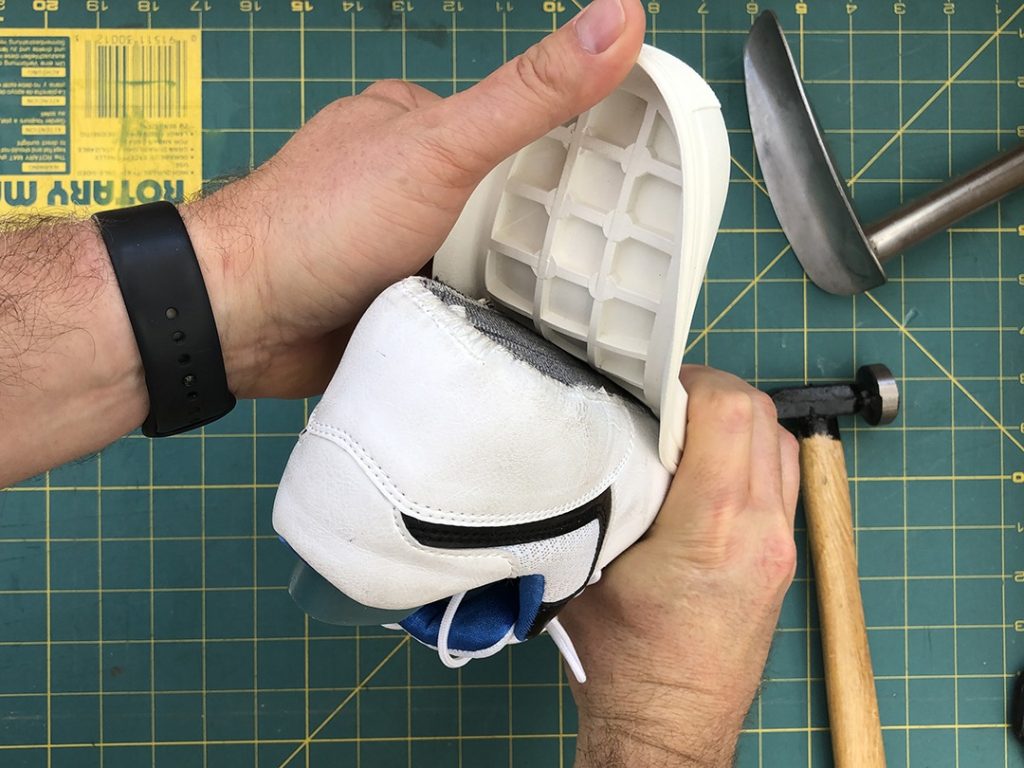
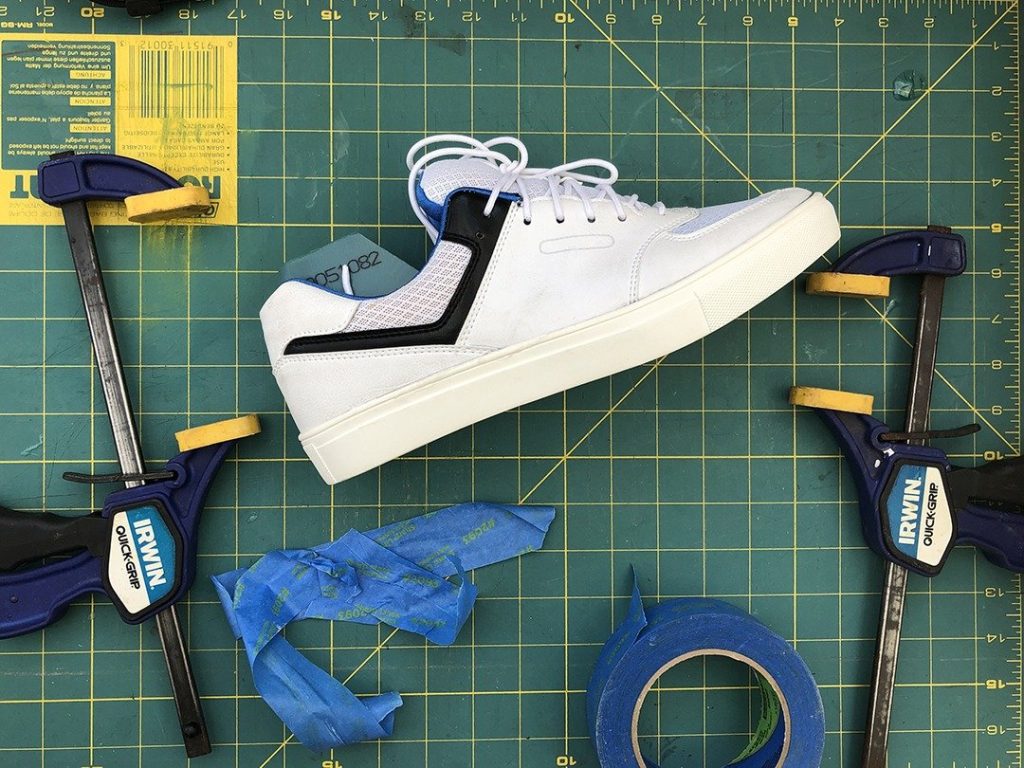
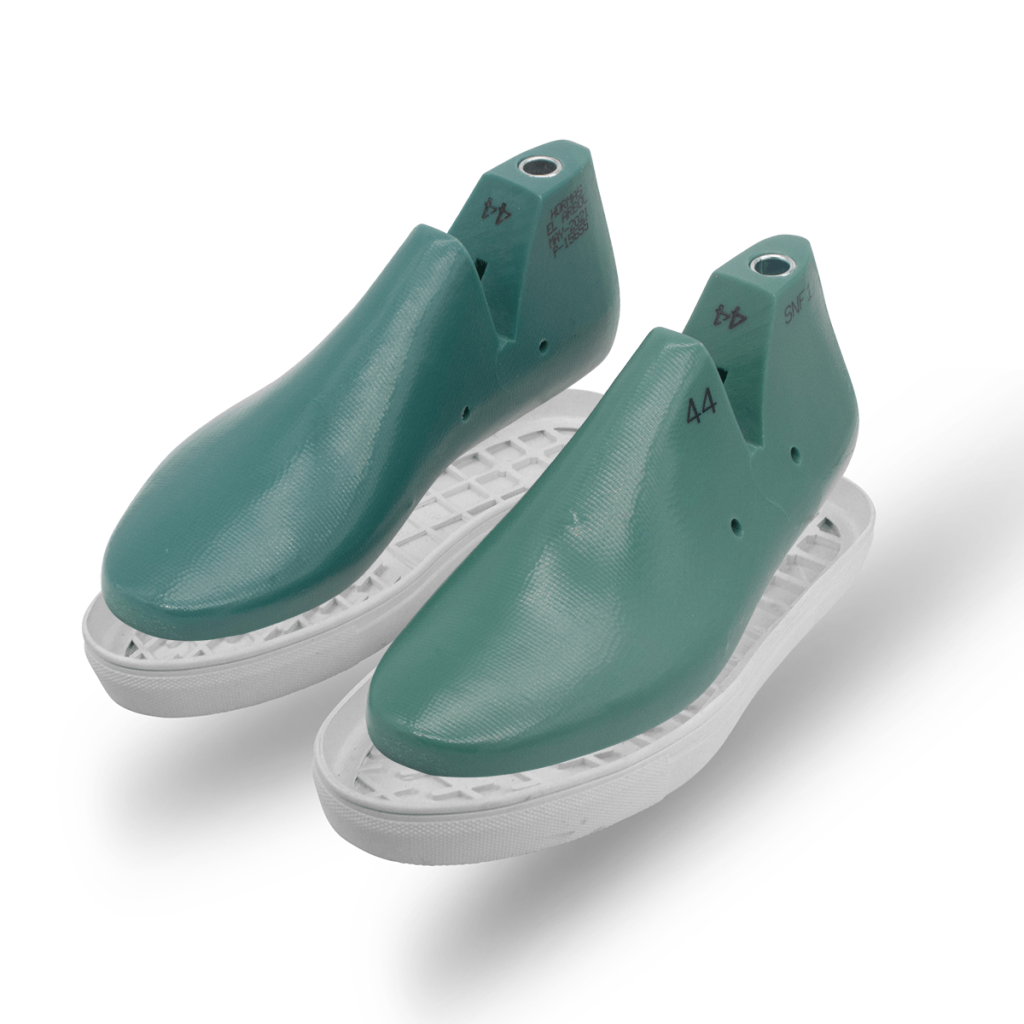
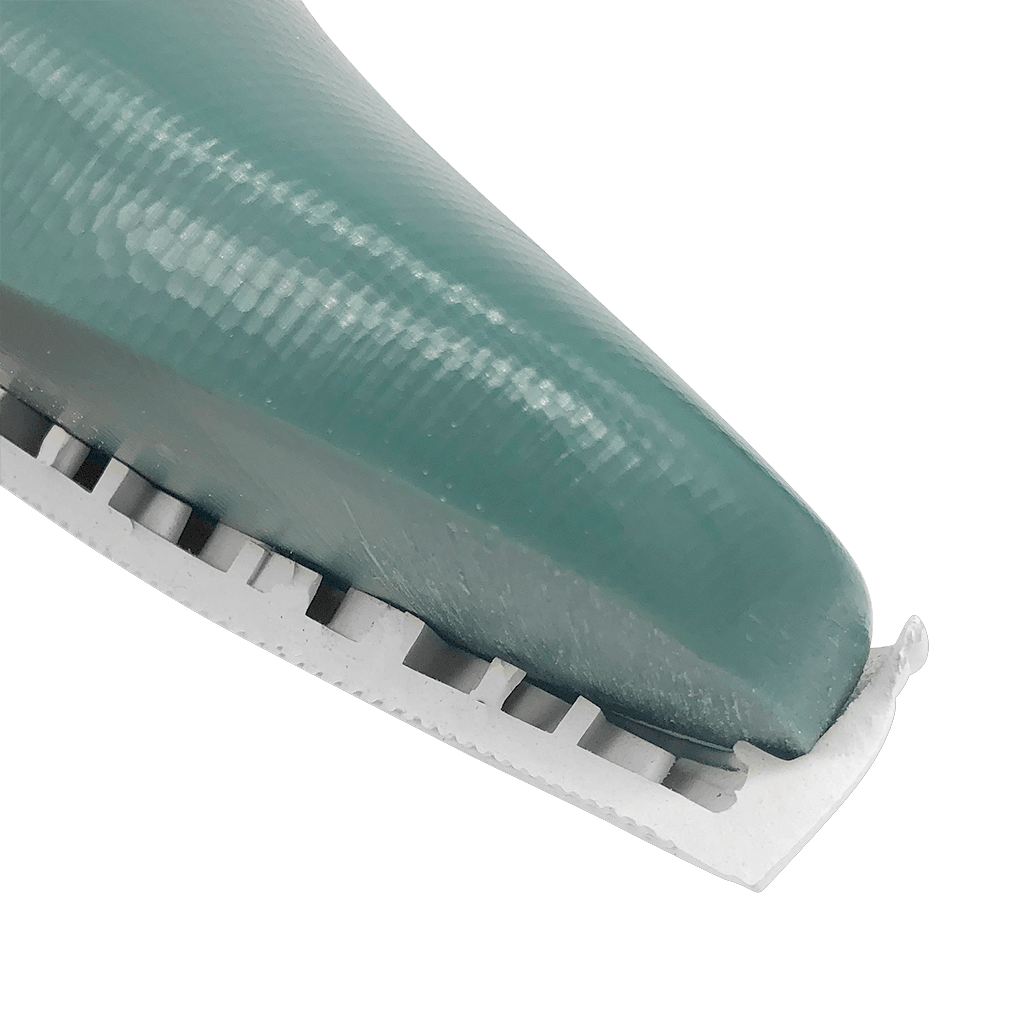
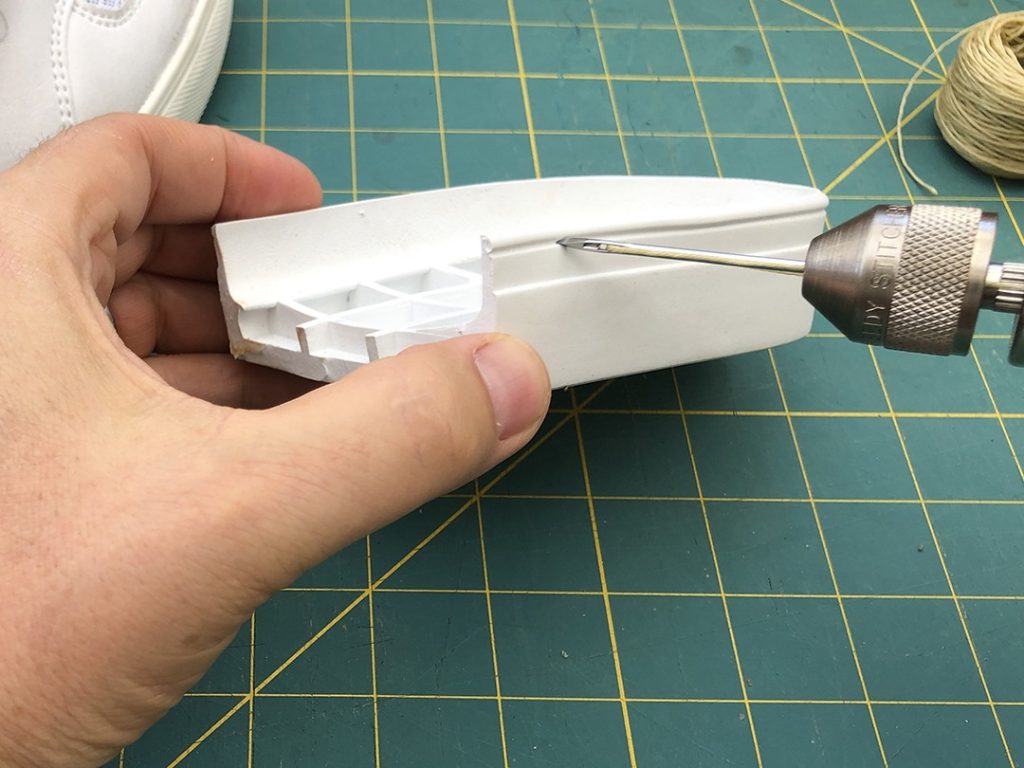
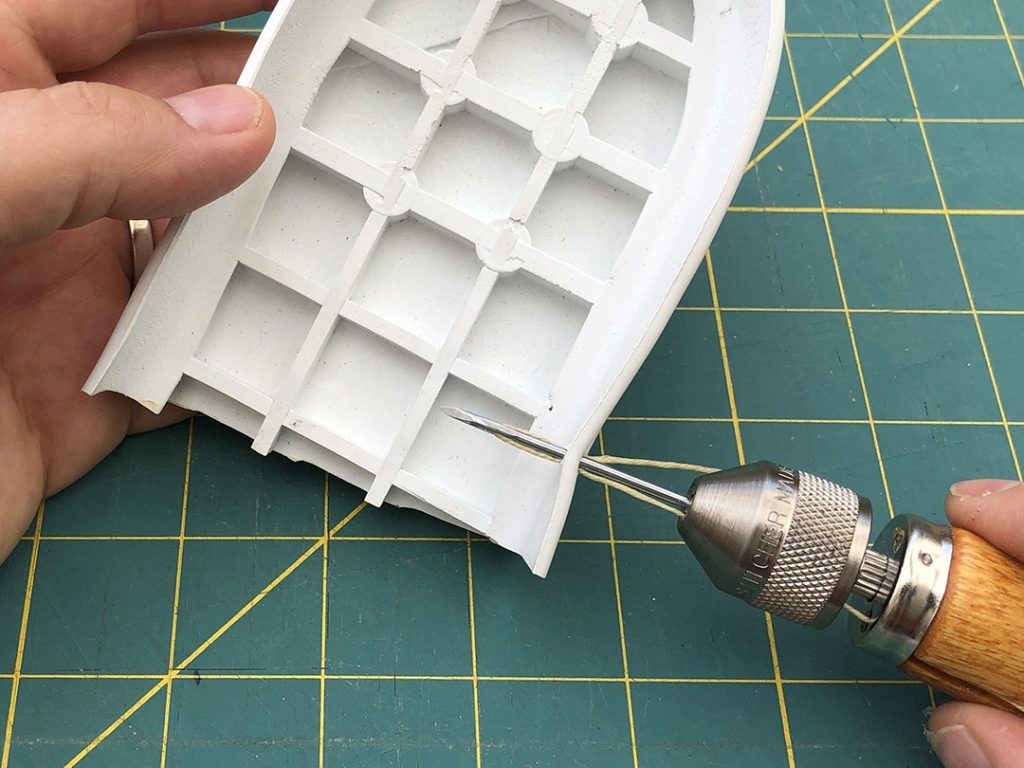
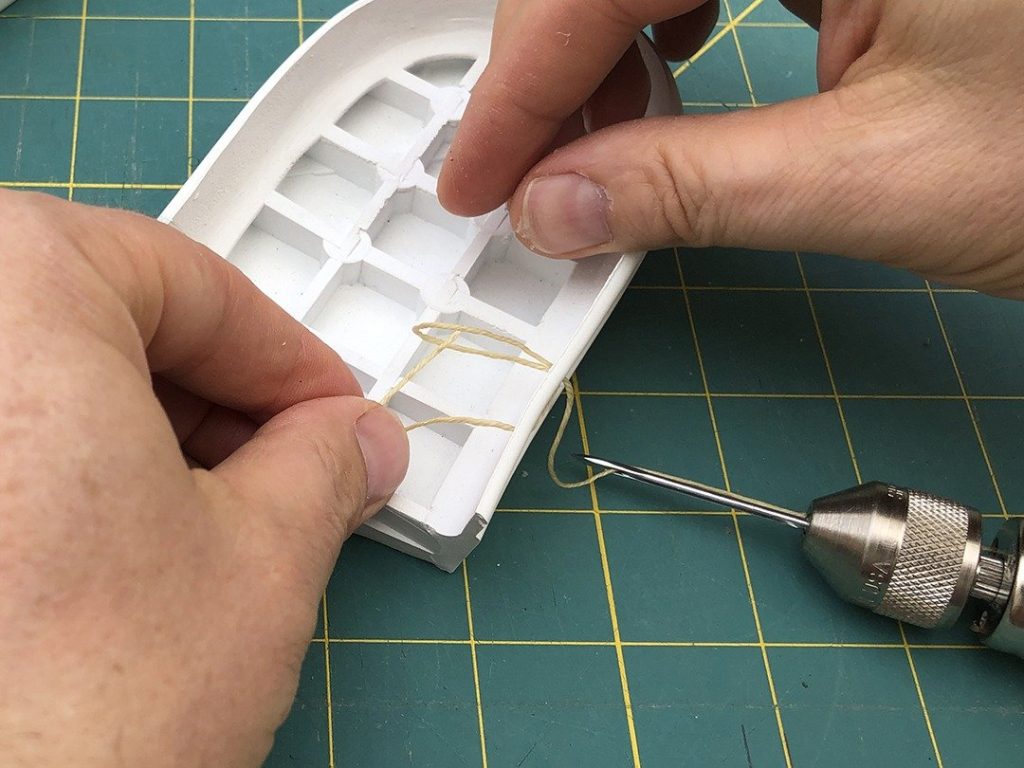
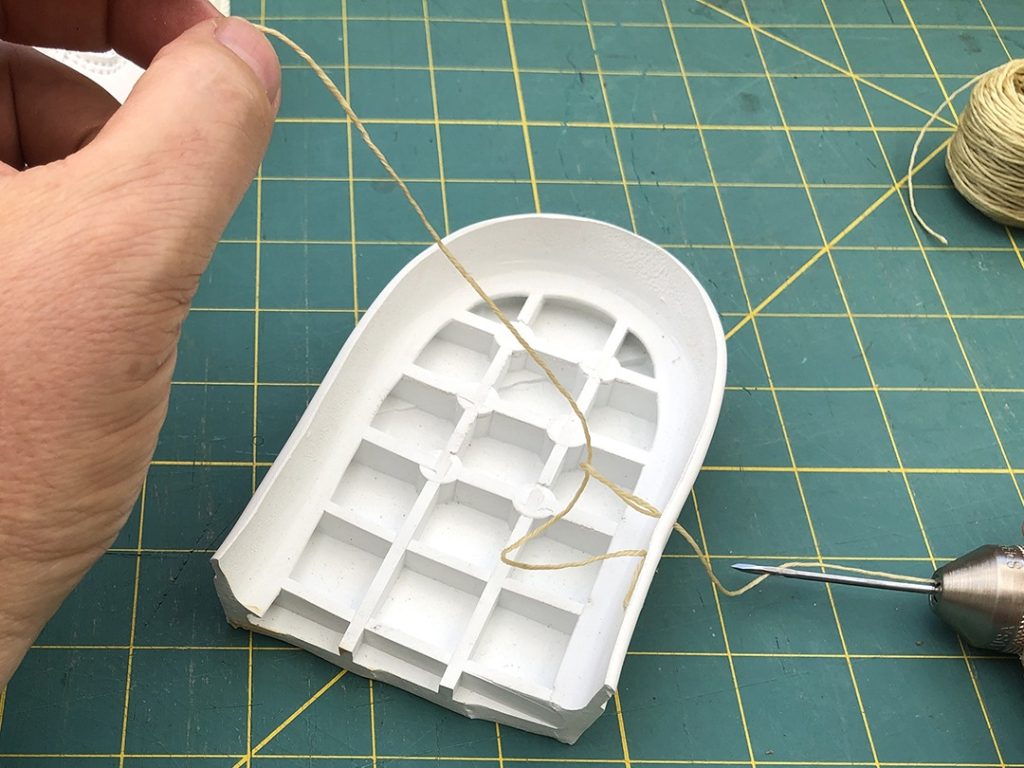
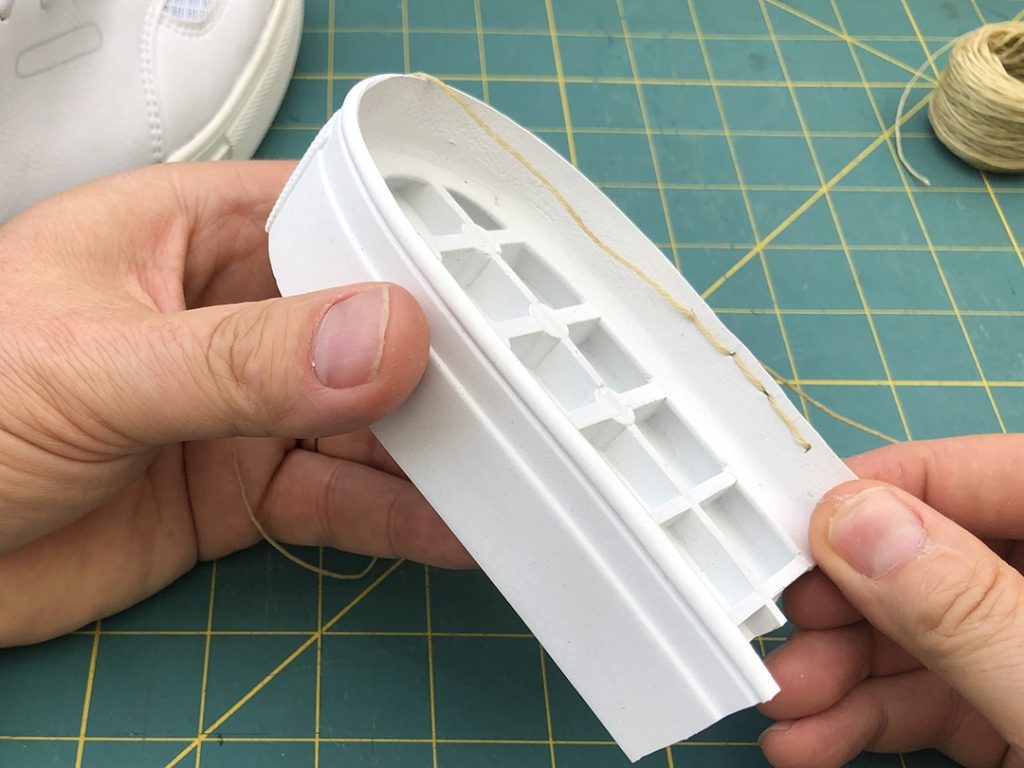
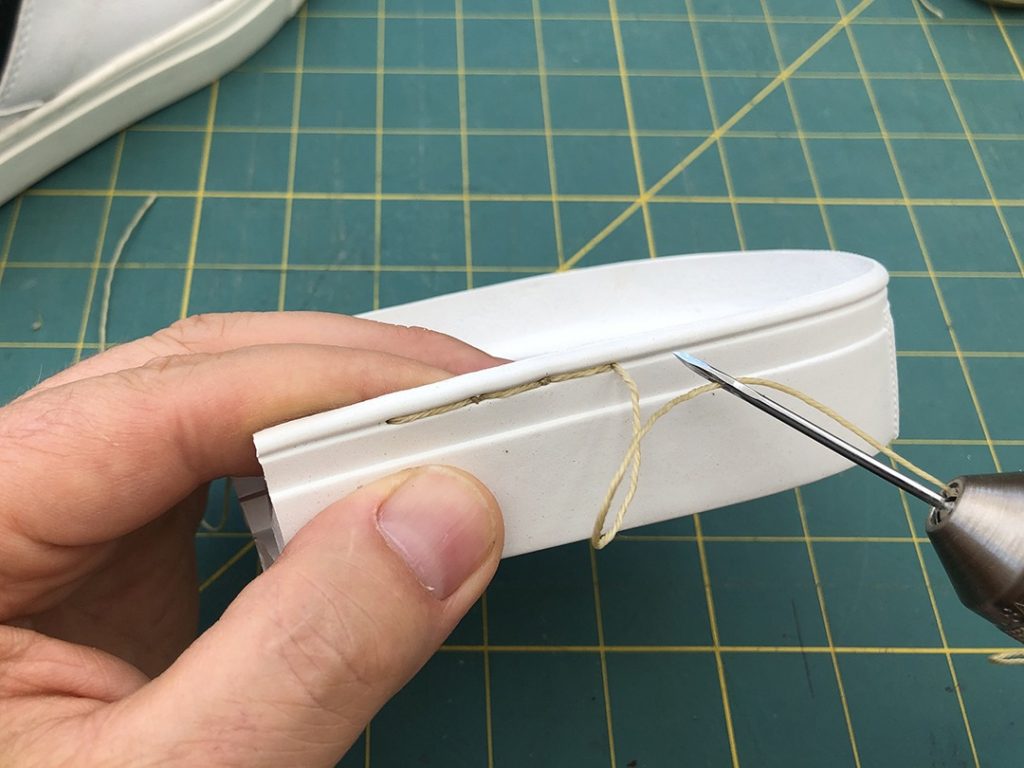
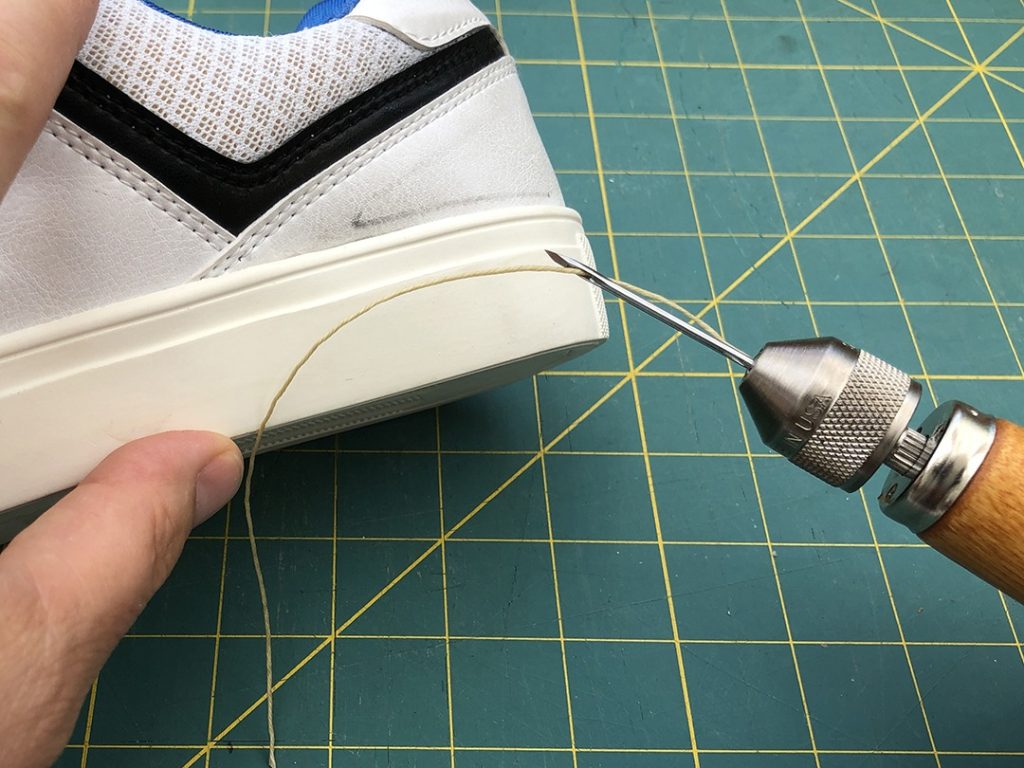
Here, you can see step-by-step stitching operations with the Speedy Stitcher. I am using a rubber sole without the upper attached for teaching purposes.
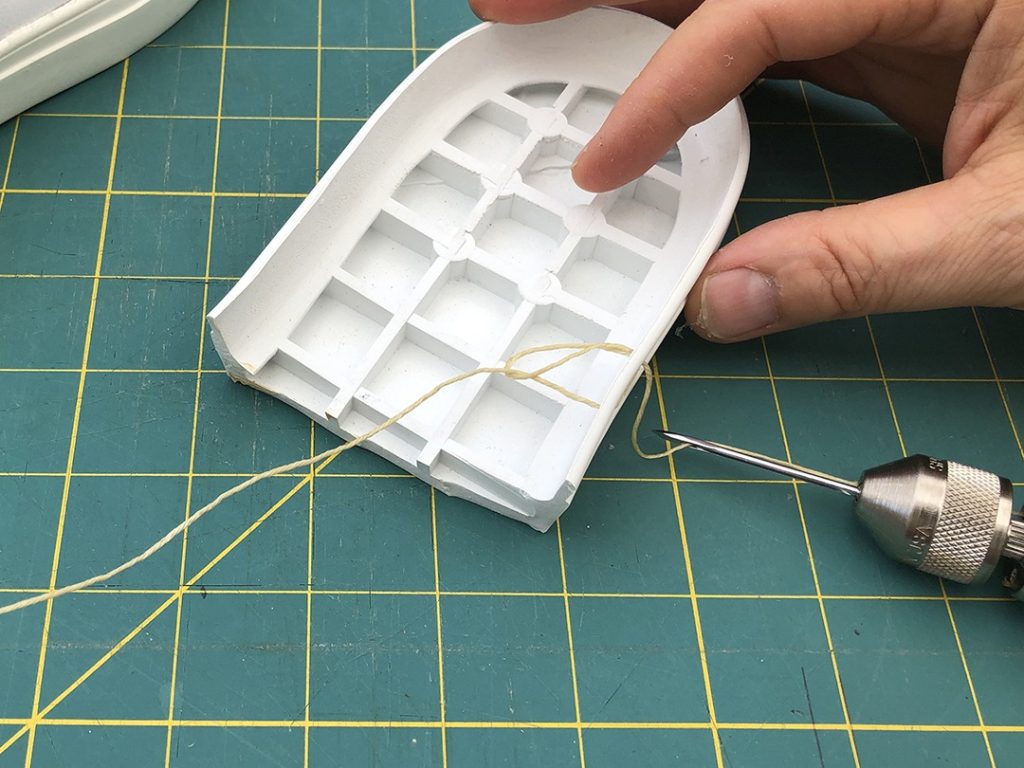
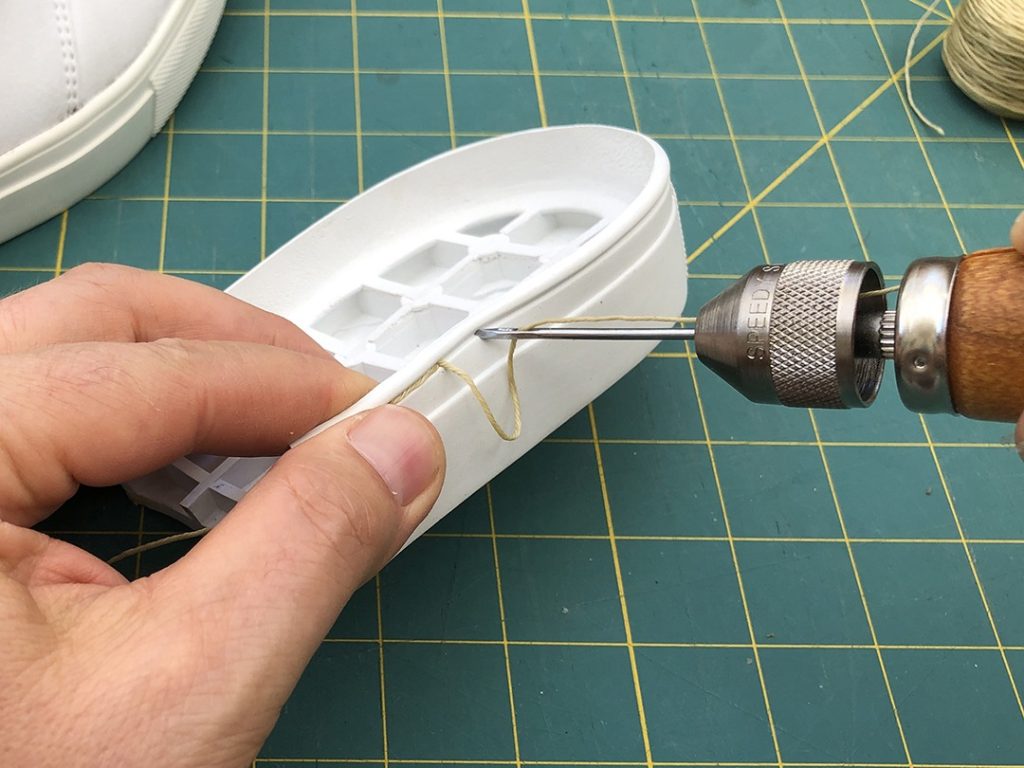
First, push the threaded need into the groove. Next, with the needle inside the shoe, pull the loose end of the thread through the hole. While holding the loose end of the thread inside the shoe, withdraw the needle. You will need the loose end to hold the stitches inside the shoe, so pull enough thread into the shoe to wrap the entire perimeter of the sole. This will be 80 cm to sew a size 11 or 44 shoe! This thread will be your bobbin thread as you sew.
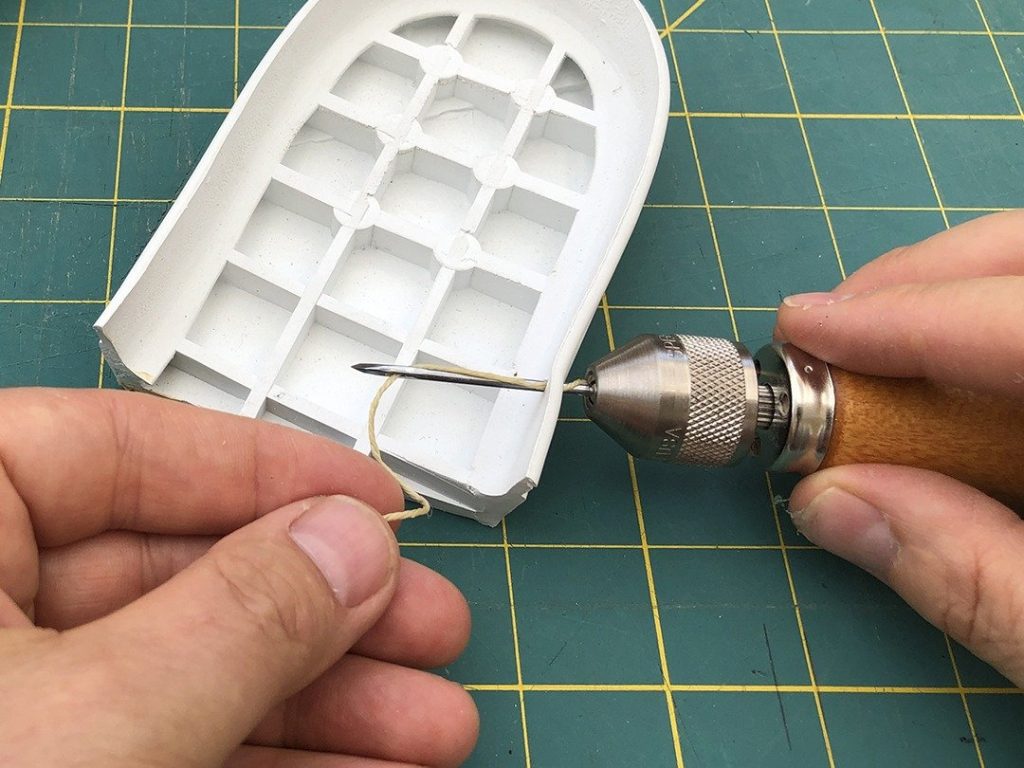
You will use the entire length as you work around the inside perimeter of the shoe. Don’t worry if you run short, you can knot off the end and start a new thread line.
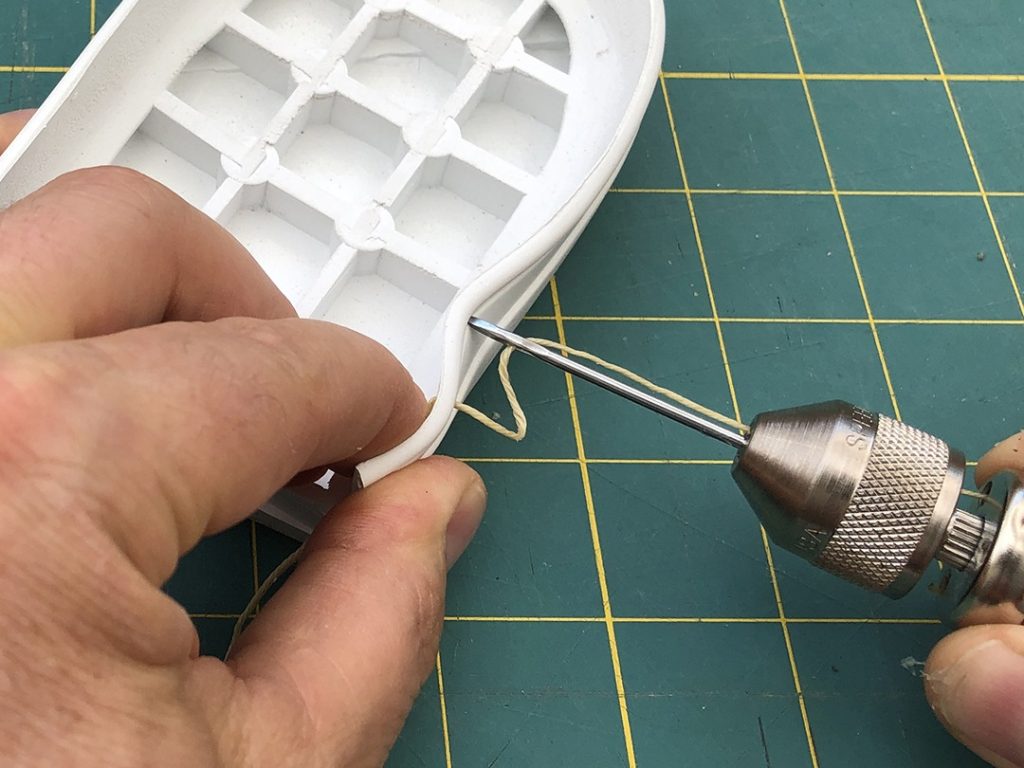
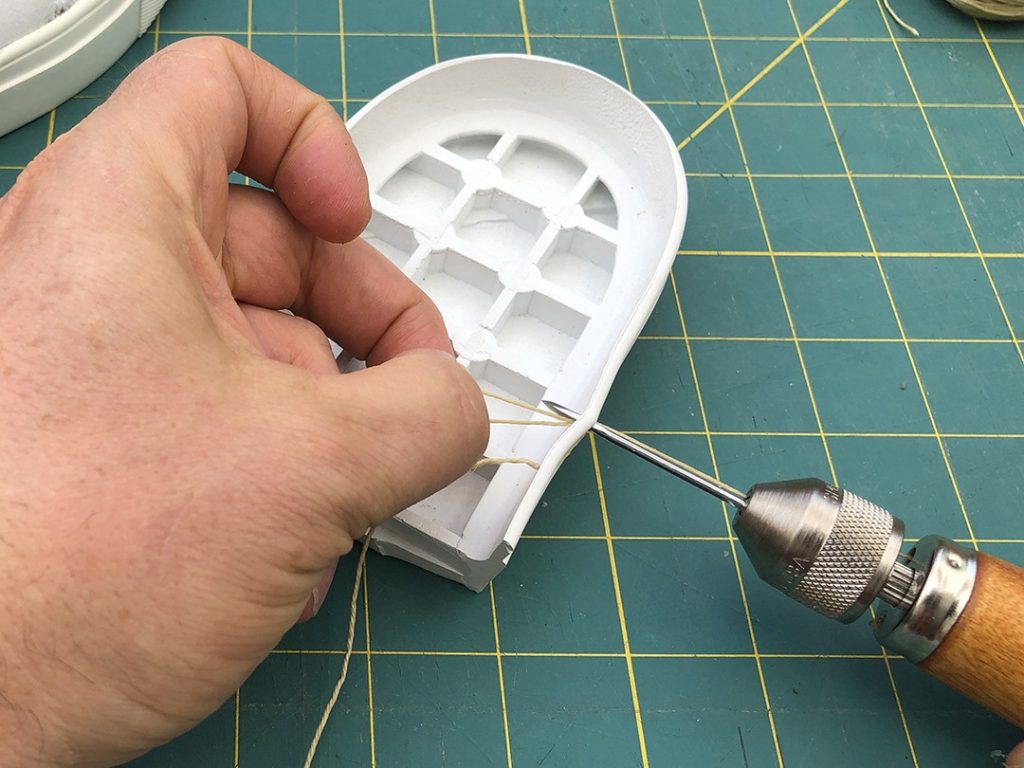
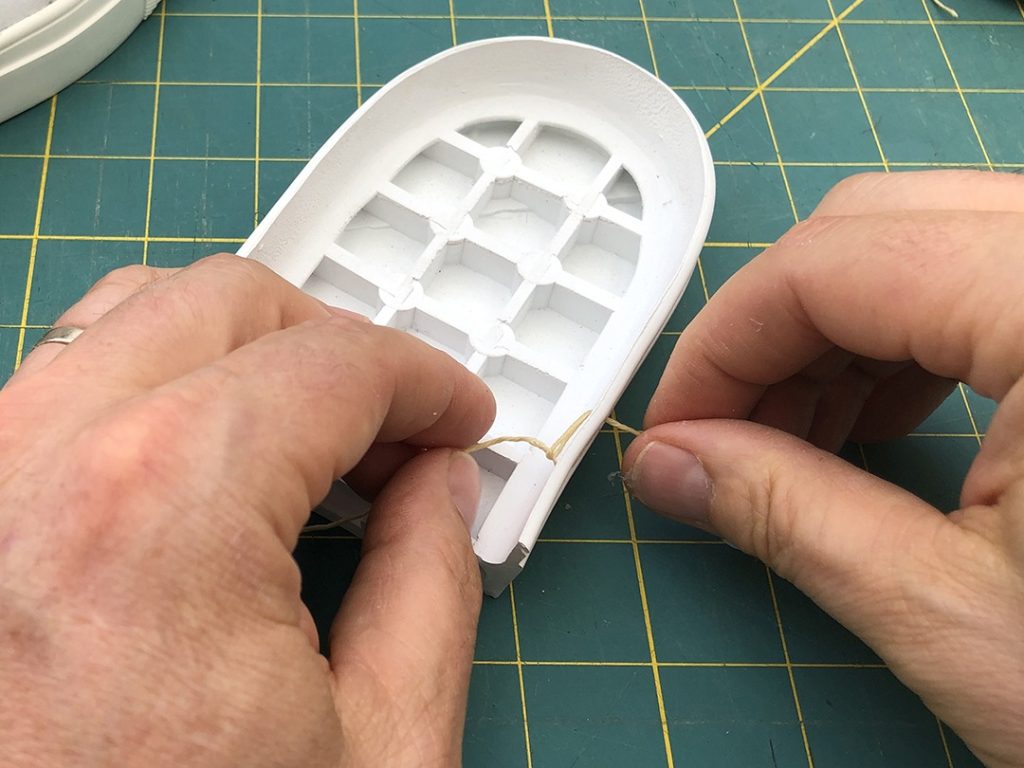
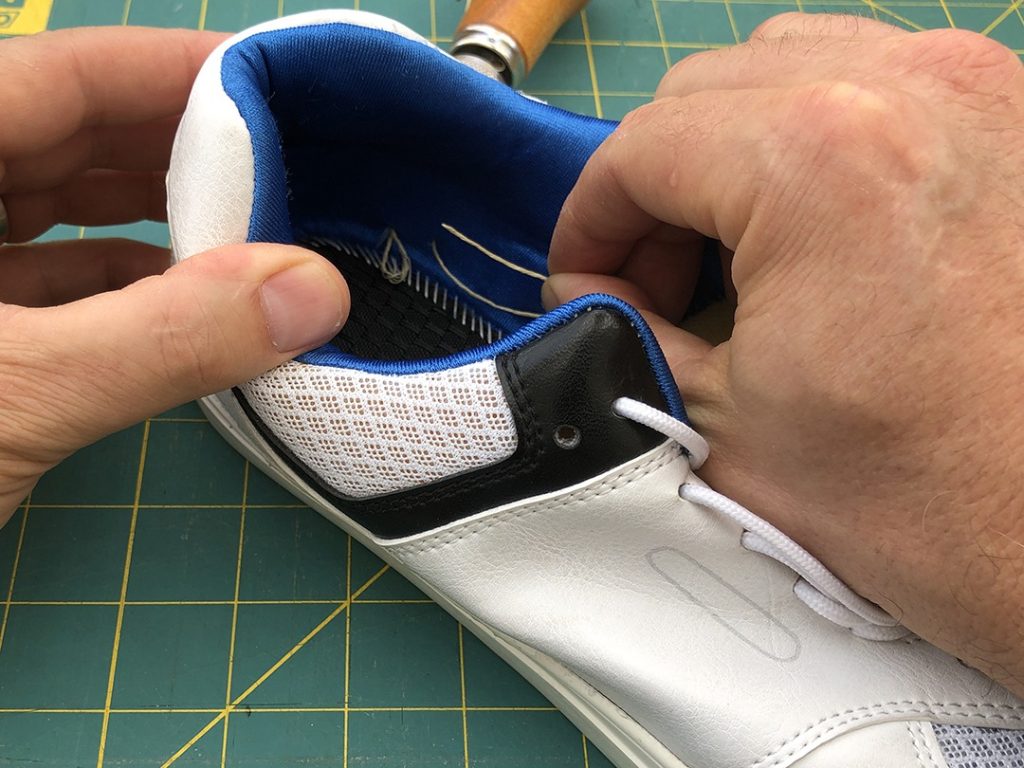
To complete your first stitch, push the needle back into the sole 10mm beyond your first hole. With the needle inside, pull the thread away from the needle, making a loop. While holding the loop in place inside the shoe, withdraw the needle. Next, feed the inside bobbin thread through the loop. You can add a hooked needle to the inner thread to make this operation easier. Now, tension the outside thread and the inside thread to secure the stitch. You have made your first stitch!
When you are working inside the toe of your shoe, pull the inner loop 2 or 3 inches long so you can see the loop and easily feed in the bobbin thread.
Here is the step-by-step sole stitching process
-
Insert the awl into the groove -
A loop of thread is now inside the outsole. -
Pull the loose end of the tread into the shoe – this will be the 80cm long “bobbin” thread. -
Withdraw the needle, but hold the loose end inside the shoe, move 10mm and insert the needle. -
Pull the thread off the needle to create a loop inside the shoe. -

Withdraw the needle holding the thread to create a loop. -
To close the stitch feed the bobbin thread into the loop. -
Here you can see the bobbin thread is now inside the loop. -
Tighten the stitch by pulling on both threads. -
Shift 10mm and insert the needle again. -
Create a loop, withdraw the needle, feed the bobbin thread, tighten. -
The inside will look like this, the bobbin or inside thread will be flat and tight. -
The outside thread is also held down tight into the groove. The little knot between the stitches is the bobbin thread showing.
Shoemaking Material Kit
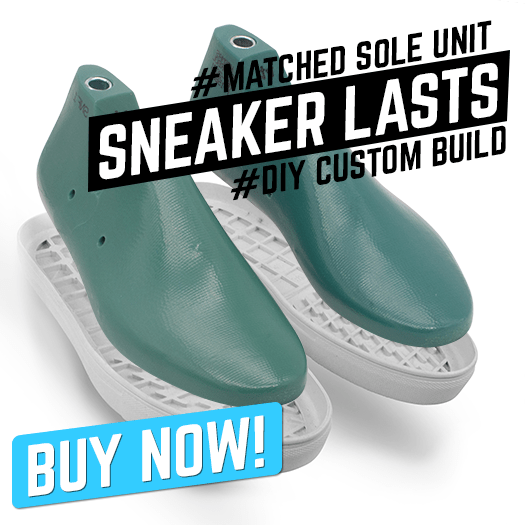
All the hard find parts for your DIY shoemaking project are here in one place. Lasting board, strobel material, lining mesh B&W, collar foam and all the reinforcing parts you need for one pair. Learn more On sale $39.99The Classic Sneaker Last
Stop searching! The classic Sneaker last is instock. Ready for your DIY shoe making projects. We have your size and bottoms that fit. Learn more On sale $79.99Stitching your shoe sole
Your first stitch may take a few minutes to get right. Be patient. With a little practice, you will move faster. Hand stitching your outsole may take you an hour or more. Relax, play some music. You will build muscle memory and a rhythm. Inside the toe of the shoe can be a challenge; make sure you have a well-lit workspace, and it’s okay to pull the inner loop out long enough so you can see when to feed the bobbin thread.
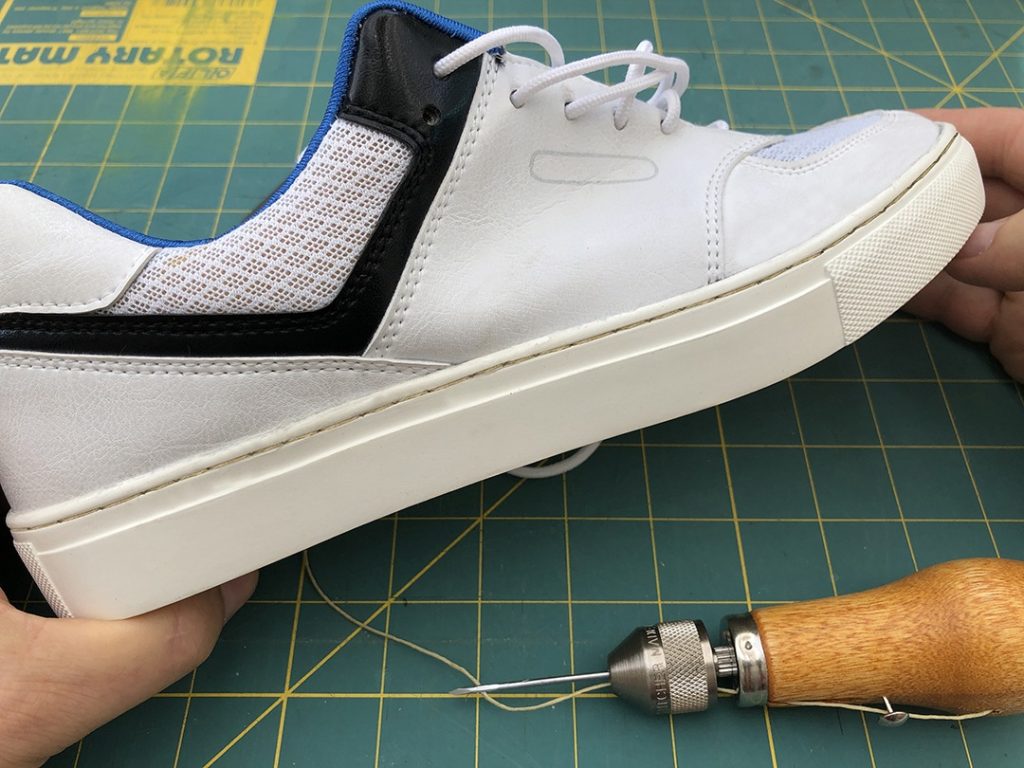
When you get to the end, knot the threads together and trim them off. Now, run your hand along the inside to check for any loose threads or rough spots. Jobe done!
-
I like to start inside the heel -
Make your first loop and pull the bobbin thread inside the shoe -
You will need 80cm to stitch the entire perimeter of the shoe -
Be patient this will take awhile -
Job done!