Learn How to 3D Print a Shoe Last: 4 easy steps
#1. You will need a .STl or other CAD file to print a shoe last. You can download our sneaker last file Here or you can search Thingverse or you can check out CRABCAD.
These are .stl files, so if you need a size other that US 9 you maybe in for some CAD work. Most CAD programs will allow you to make a surface Mesh from the .STL files. It will take some time to get the last modeled. Really tricky if you need to make a size change. Shoe lasts don’t resize or “Grade” in a linear fashion.
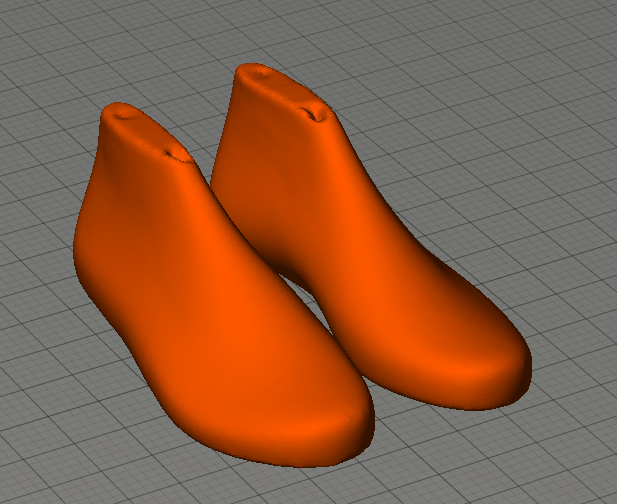
 #2. Now that you have your last file you should break it up so you have one side. I don’t recommend that you print two lasts at one time. Not many machines are large enough to 3D print a pair of shoe lasts at the same time anyhow. In fact you may have to break up the last to fit a full lize last into your 3D printers build envelope. If you need to break up the last try printing with the heel down, then the other side with toe down. This will give you an accurate surface to bond the 3D printed lasts together in the middle.
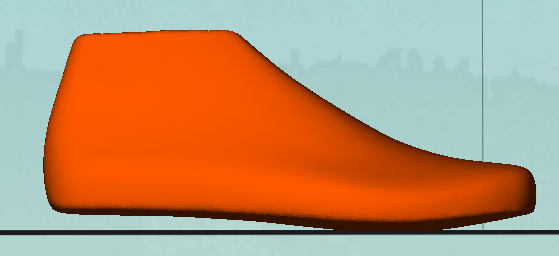
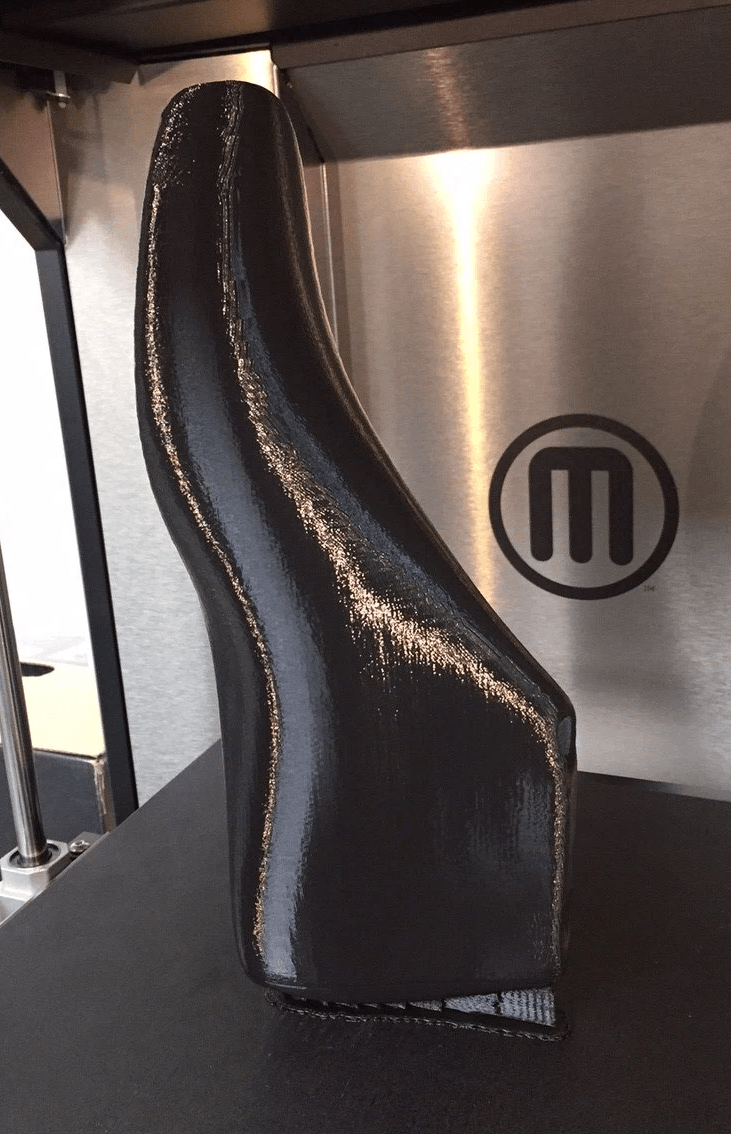 #3. Stand it up, we have found that printing you shoe last heel down pointing straight up is the best way to go. We set up our Makerbot Z18 to Print with 0% inside fill, 2 shells, rafting ON and exterior support ON. We were not so sure how clean the last would print but after a 1/4 size tested with great results, we went full size.
Here you can see the raft and support on our 3D Printed Men’s 9 test is very small. I was worried the last would pop off during the print but the Z18 build plattform adhesion is excellent If you need a more durable last for your project then we suggest you fill you 3D printed last with resin or expanadable foam. You could also Incease the shell thickness or add some fill (even 5% will make a big difference)
#4. Post finishing your 3D printed last. The Toe tip printed very clean and the heel just needed a little touch up to smooth away the support structure.
We plan to use this 3D orinted to tape some up some patterns as we start up some new designs for 2017. See how to tape a last and draw patterns here.
Learn How to 3D Print a Shoe Last: 4 easy steps
#1 Get your File
You will need a .STl or other CAD file to print a shoe last. You can download our sneaker last file Here or you can search Thingverse or you can check out CRABCAD.
These are .stl files, so if you need a size other that US 9 you maybe in for some CAD work. Most CAD programs will allow you to make a surface Mesh from the .STL files. It will take some time to get the last modeled. Really tricky if you need to make a size change. Shoe lasts don’t resize or “Grade” in a linear fashion.
#2 Get ready to print
Now that you have your last file you should break it up so you have one side. I don’t recommend that you print two lasts at one time. Not many machines are large enough to 3D print a pair of shoe lasts at the same time anyhow. In fact you may have to break up the last to fit a full lize last into your 3D printers build envelope. If you need to break up the last try printing with the heel down, then the other side with toe down. This will give you an accurate surface to bond the 3D printed lasts together in the middle.
Learn to Design Lasts
Learn how lasts are made, the shoe last design process, the hidden geometry, special features, functions, and size grading principles.
Learn more
On Sale $39.99
#3. Stand it up.
We have found that printing you shoe last heel down pointing straight up is the best way to go. We set up our Makerbot Z18 to Print with 0% inside fill, 2 shells, rafting ON and exterior support ON. We were not so sure how clean the last would print but after a 1/4 size tested with great results, we went full size.
Here you can see the raft and support on our 3D Printed Men’s 9 test is very small. I was worried the last would pop off during the print but the Z18 build plattform adhesion is excellent If you need a more durable last for your project then we suggest you fill you 3D printed last with resin or expanadable foam. You could also Incease the shell thickness or add some fill (even 5% will make a big difference)
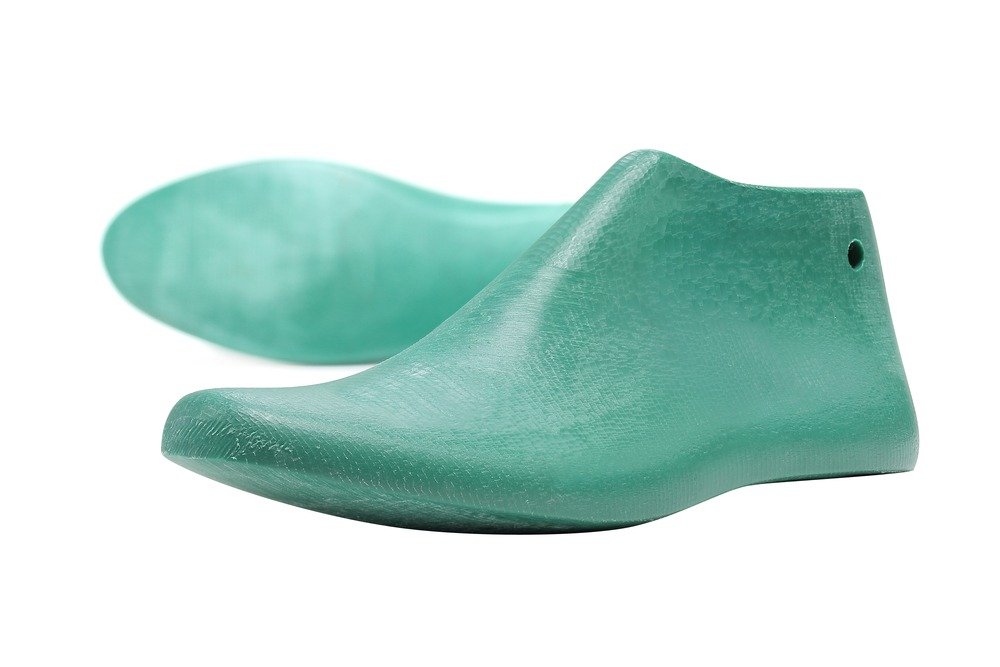
The Classic Sneaker Last
Stop searching! The classic Sneaker last is instock. Ready for your DIY shoe making projects. We have your size and bottoms that fit.
Learn more
On sale $79.99
#4. Step 4 Post Finishing
Post finishing your 3D printed last. The Toe tip printed very clean and the heel just needed a little touch up to smooth away the support structure.
We plan to use this 3D printed to tape some up some patterns as we start up some new designs for 2017. See how to tape a last and draw patterns here.
Shoemaking Material
DIY Super Kit
All the hard find parts for your DIY shoemaking project are here in one place. Lasts, soles, materials, tools and pattern making text book included. Your shoe size is in stock.
Learn more
On sale $200


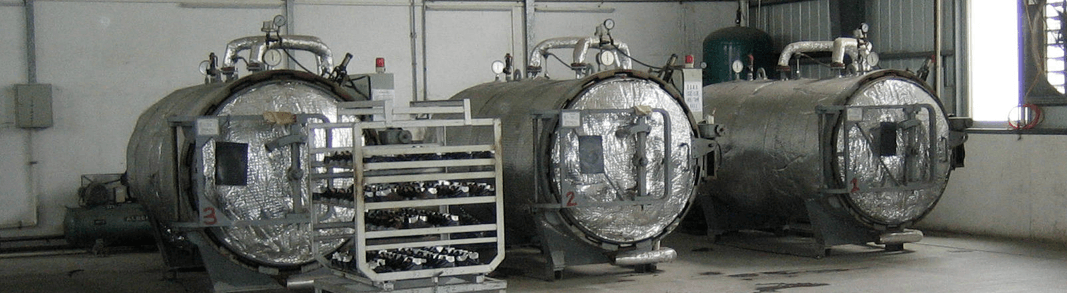
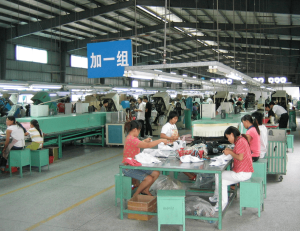 How many pairs can one shoe assembly line will make. One assembly line 1000 to 1500 pairs per day of a simple shoe. Now assuming a shoe factory will be operating about 300 days a year roughly 50 weeks time six days a week, with overtime, roughly comes to about pairs of shoes from one assembly line per year, so a 10 line shoe factory could make 3 1/2 million pairs of shoes and one year.
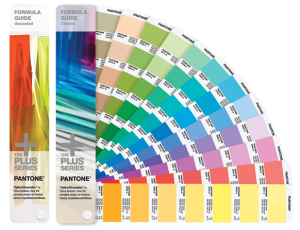 The Pantone color specification book is required for every shoe designer and developer. You will need to have a Pantone color book to communicate with the shoe factory and your customers exactly what color you want. The Pantone corporation color books are the industry standard for color matching. You will find that every shoe factory will have a Pantone book so it’s easy for you to reference a color. Without the Pantone book, it’s almost impossible to match colors correctly with your overseas factories. They are expensive, you can share one in your office. This is a must-have shoe designer’s tool. You can get these from Amazon.
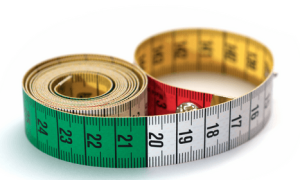
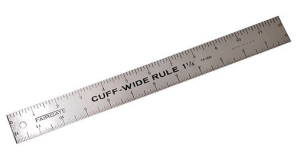 A small steel ruler is very useful for measuring all the shoe parts. Make sure that the end of the ruler is cut off so it starts at zero so you can measure the inside of the shoe collar height by pushing the ruler into the bottom of the shoe.
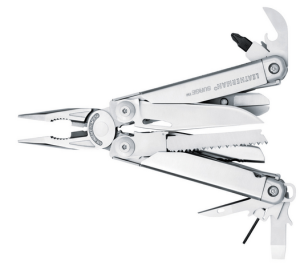
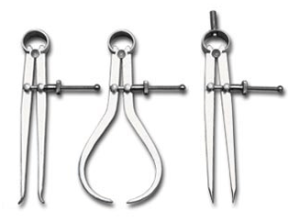
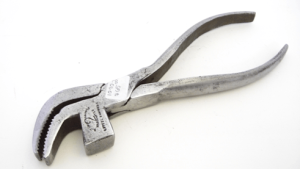 Shoemaking lasting pliers are also a very useful tool to have around. In the shoe factory, they are used to pull the edges of the material down on the last and then tack it down with a hammer part. As a developer, you will often use this tool to pull a shoe apart and see what’s inside.
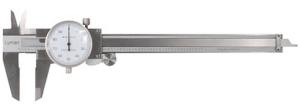 A pair of dial calipers or digital calipers is also very useful in making shoes. We use calipers every day to measure the width of small shoe components.
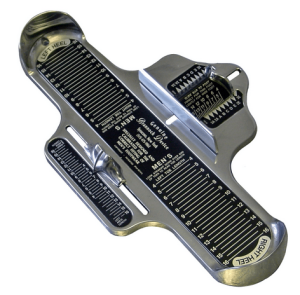
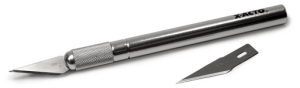 An X-Acto knife is also an indispensable tool for cutting material swatches, for opening up shoes and cutting open seams. A very sharp hobby knife is a useful tool.
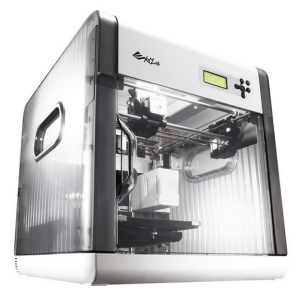
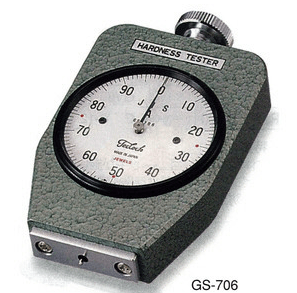
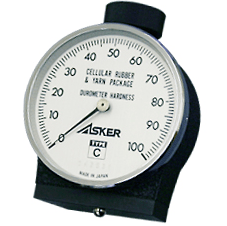
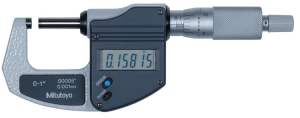 A micrometer is a very helpful tool to have in your shoe development office. We use this for checking the thickness of leather products or any synthetic material. We use a micrometer almost every day to confirm that the materials in the sample shoe match the product specification.
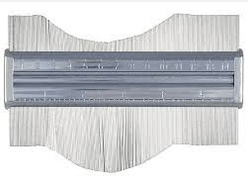 A profile gauge is nice to have around when you are checking lasts. It’s useful for checking complex curves quickly. While not a common tool, we use this when we are working up a new last or checking that a midsole is following the last bottom curve correctly.
 In the cold cement process, the shoe upper can be paired with a Strobel bottom. For this classic jogger style, the outsole covers the edge of the upper so a Strobel bottom will make the shoe lighter and more flexible.


")