Creating Sustainable Footwear Goals
Creating sustainable products is a challenge for everyone on the footwear product team. Footwear designers, developers, marketing managers, and product managers all play a role in creating more sustainable products. Everyone must work together to ensure the product meets sustainability goals.
1. Don’t become trapped by unrealistic sustainability goals
Creating sustainable footwear is a huge challenge. Aim high but remember that sustainability is a process, and every little bit helps. Not every part of a shoe has a workable “green” alternative. If your team can add one sustainable feature, material, technology, or process per season, you are doing great!
2. Don’t tackle product sustainability alone
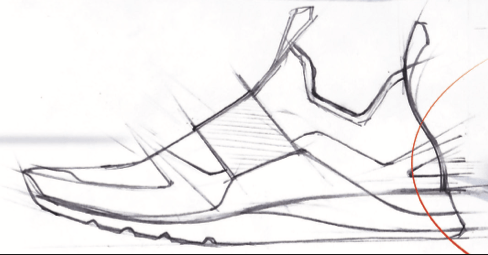
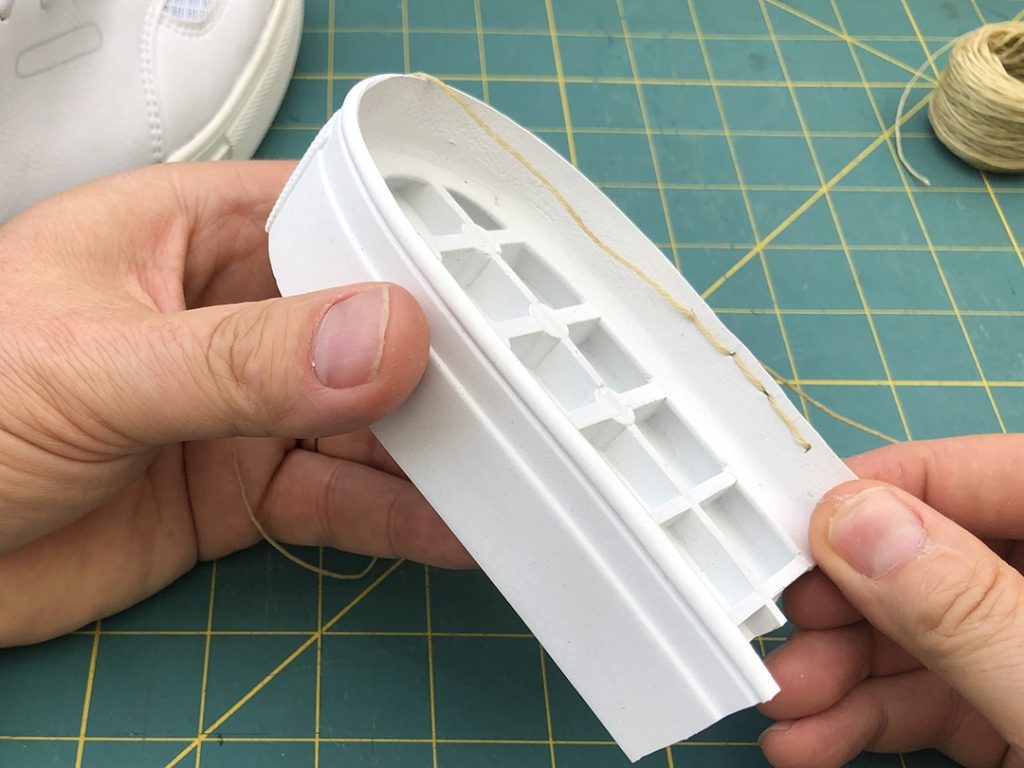
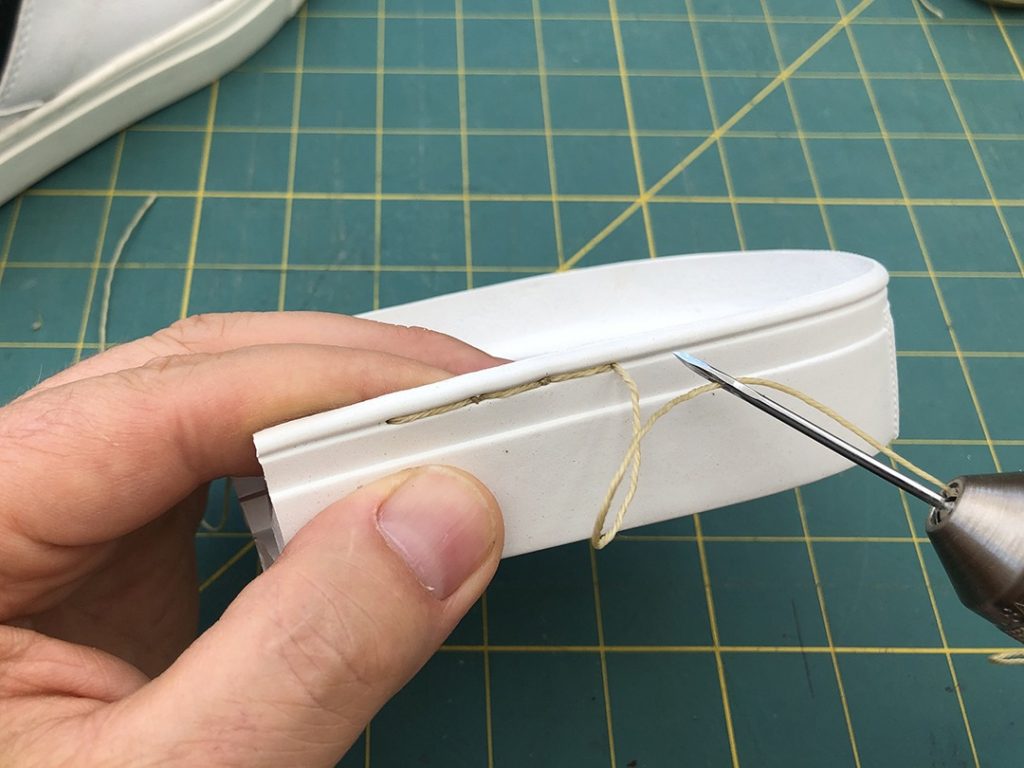
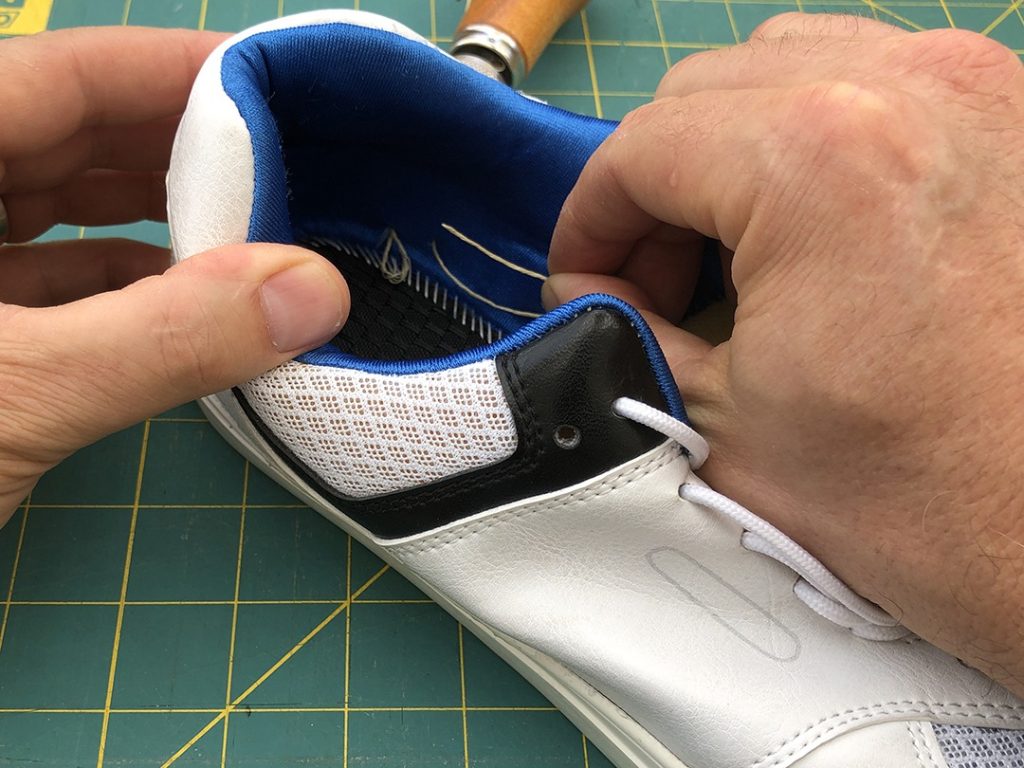
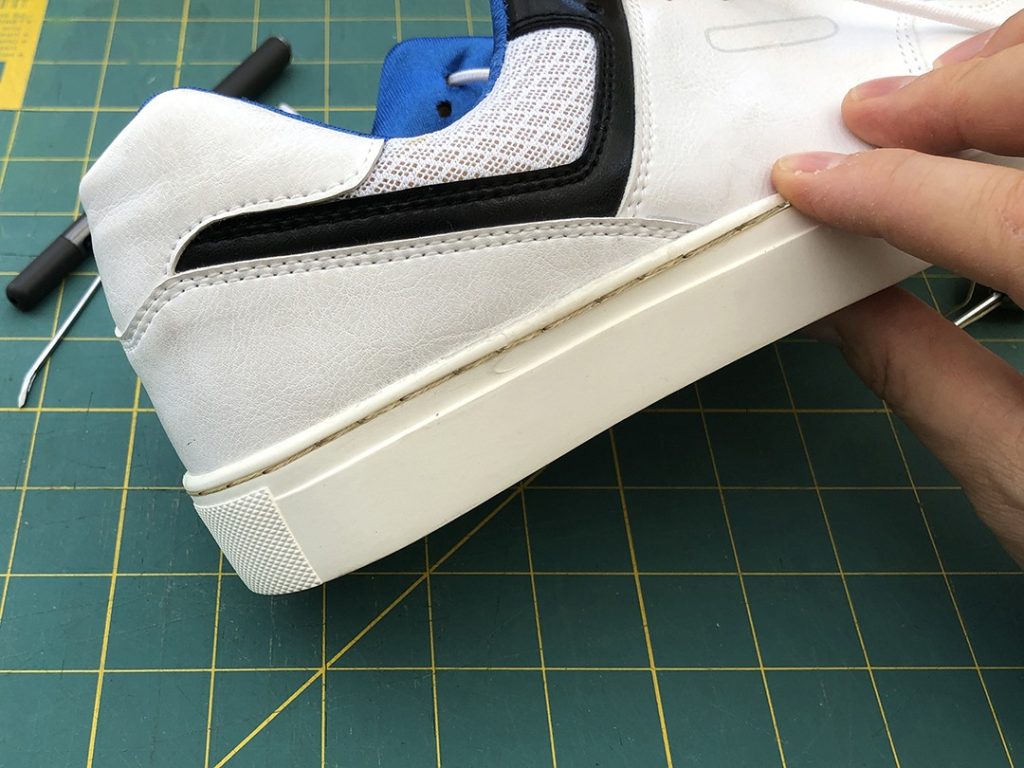
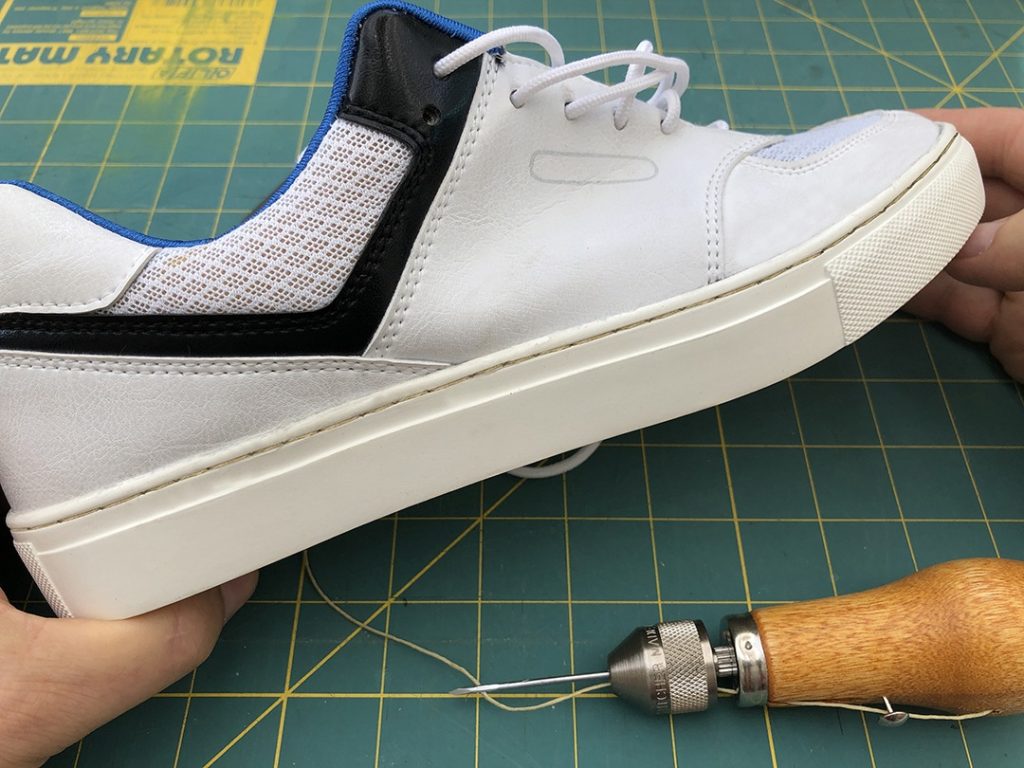
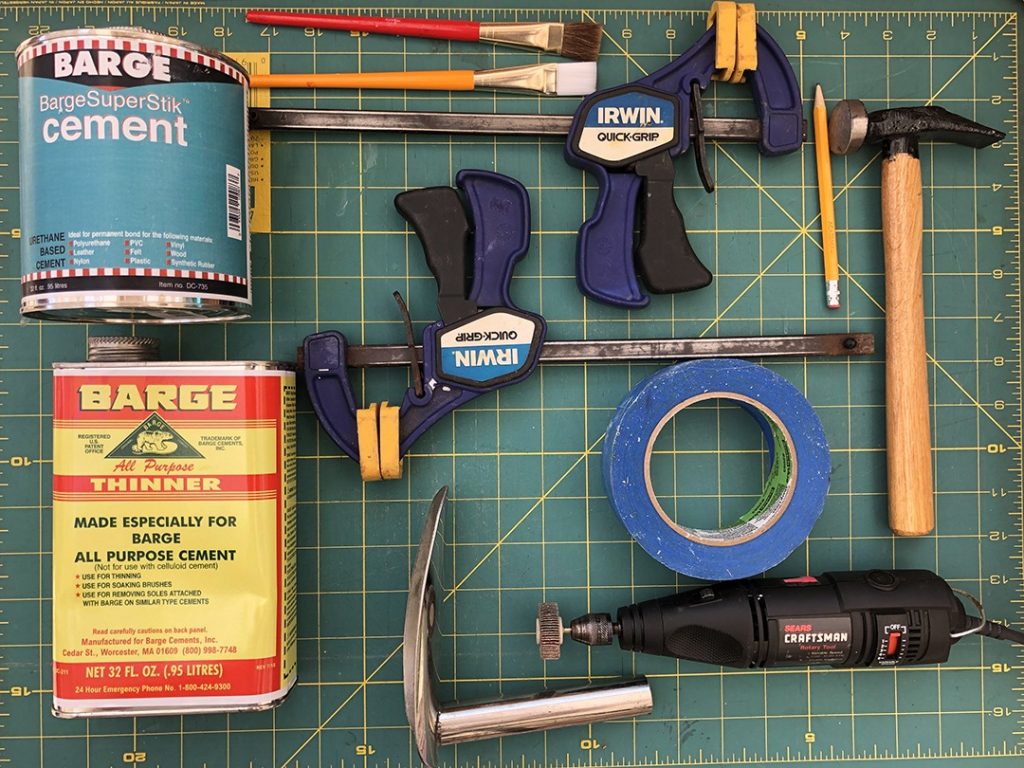
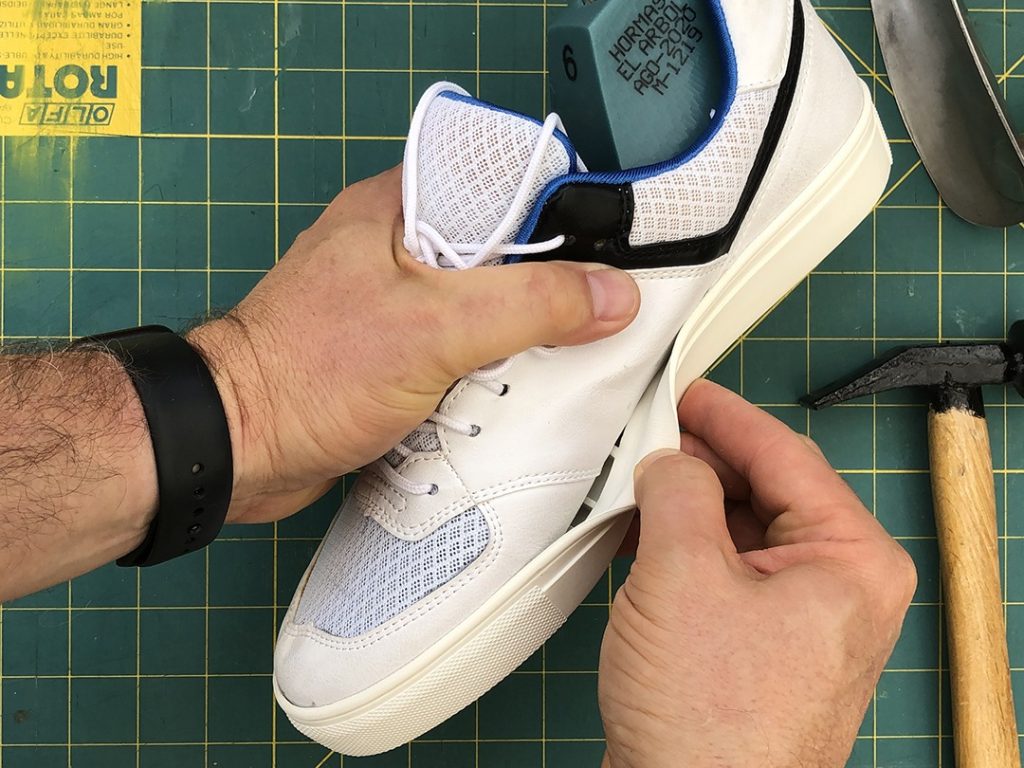
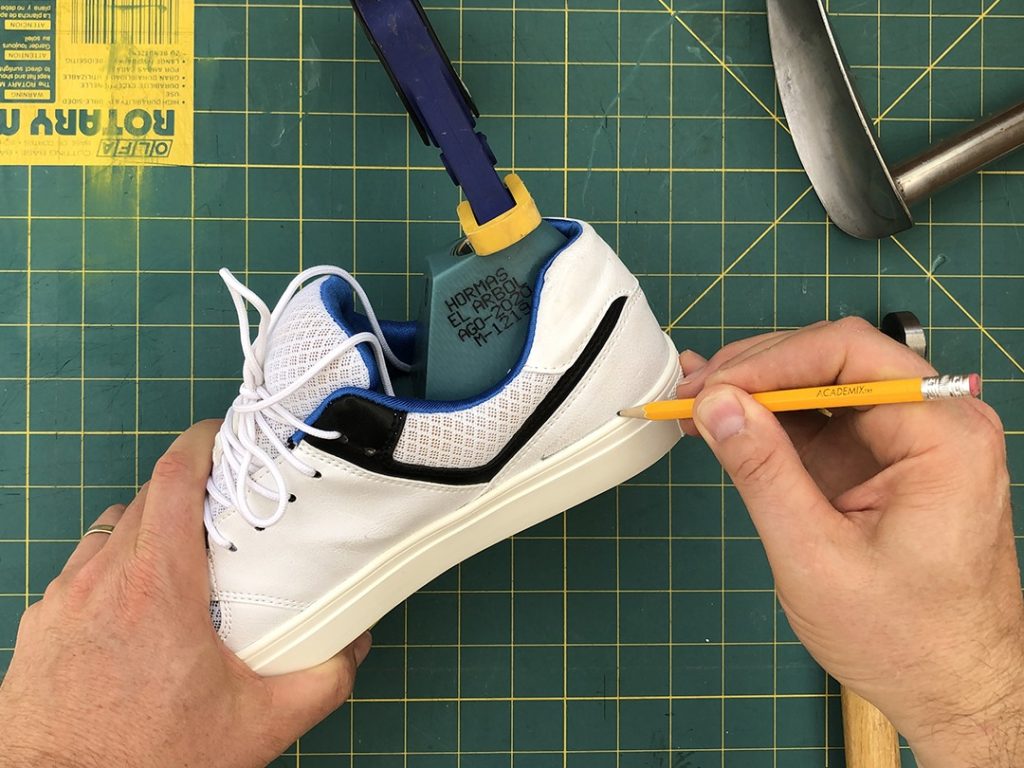
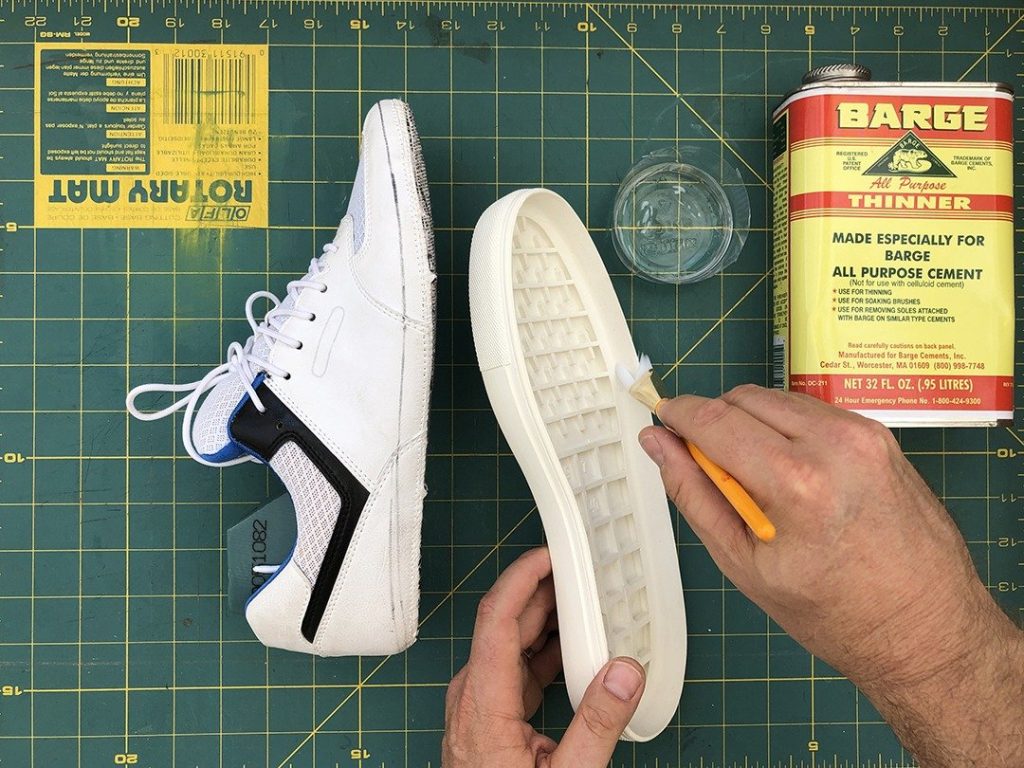
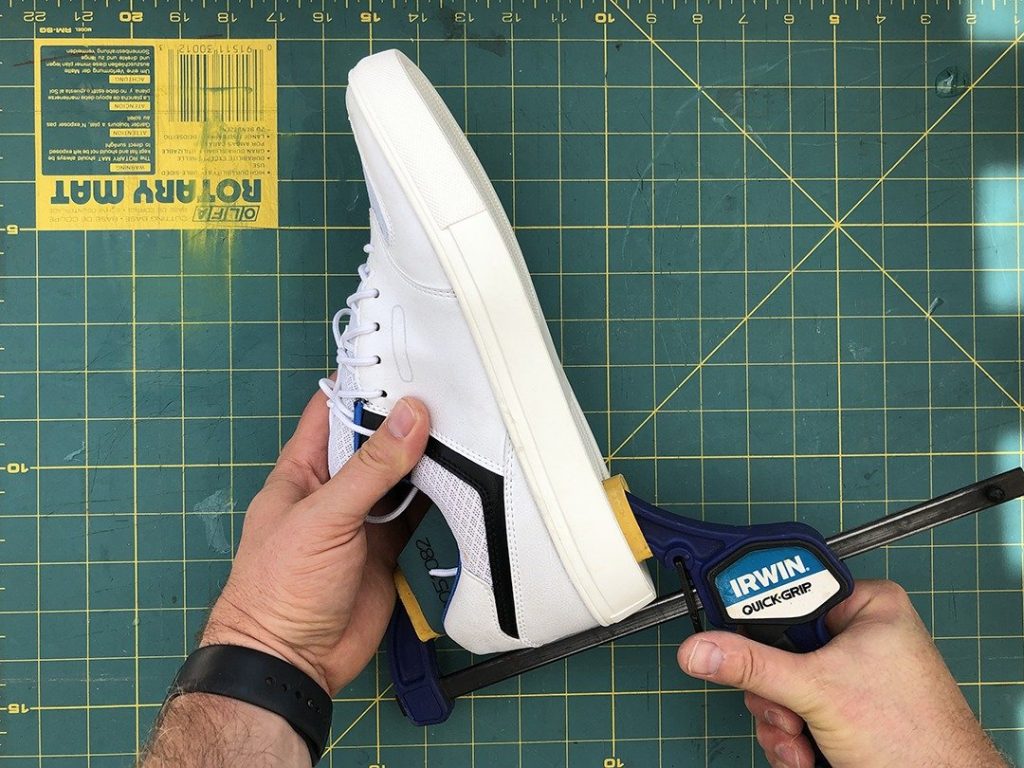
Creating more sustainable footwear is a team effort. The shoe designer must balance the shoe’s aesthetic quality with sustainable material choices while the product developer examines the hidden materials and processes. For example, it’s the footwear developer’s responsibility to find a water-based glue that will work. Meanwhile, the shoe designer’s challenge is to combine the limited material choices into a pleasing and saleable design.
The footwear product manager needs to make sure the sustainable choices do not break the product budget. There is a limit to the price premium customers will pay for sustainable alternatives. Roughly 80% of people will pay 5% more for the sustainable choice. When that choice costs 15% more, only 40% of customers are willing to purchase the more sustainable option.
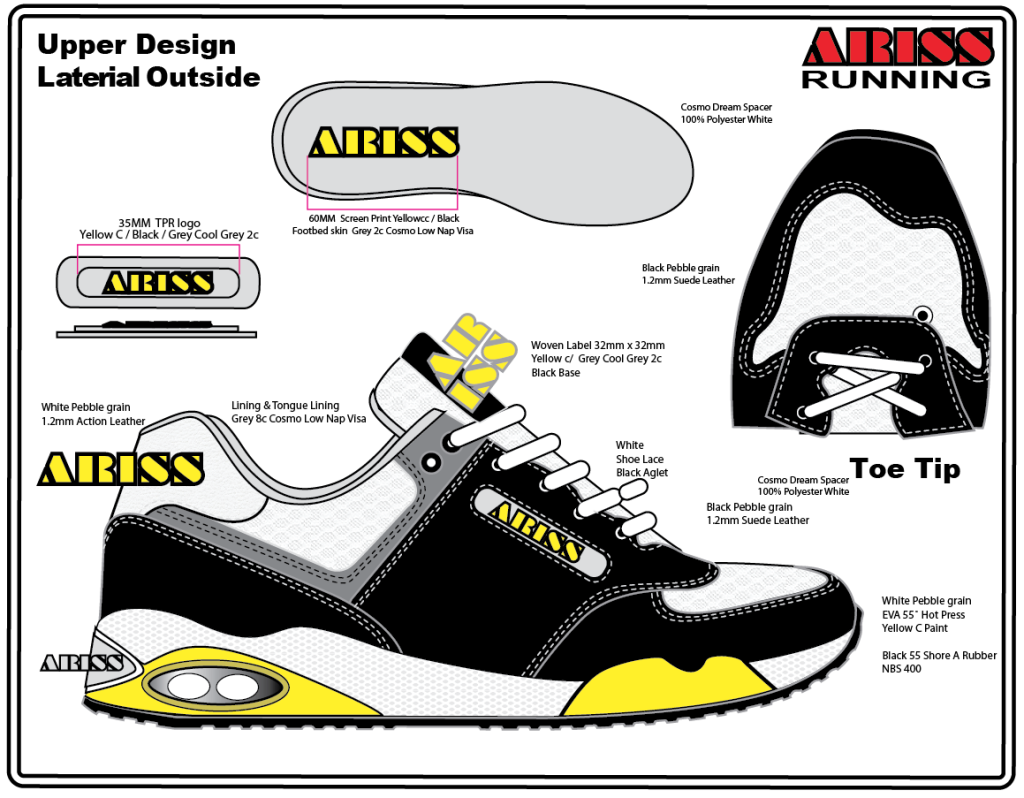
The Ultimate Shoe Material Textbook
Start with an in-depth study of material types available for modern shoemaking. Learn the technical details of material specifications. 195 pages and 300 color photos. Buy Now on sale $39.993. Don’t get stuck on a sustainable “LOOK”
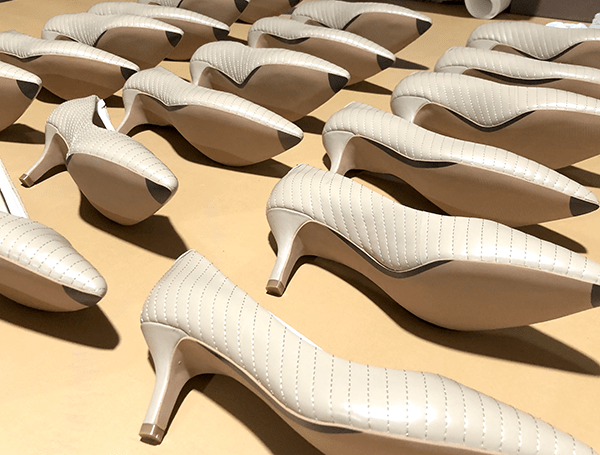
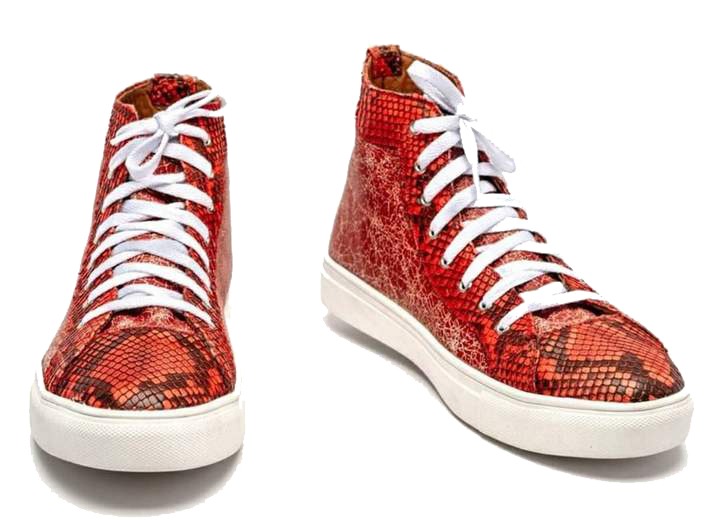
While improved sustainability should be a goal for every shoe company, that does not mean the product aesthetic must tell the sustainable story. Yes, a sexy and sleek high-heel shoe can (and should) have sustainable components, but, most likely, you will not achieve this elegant look with a chopped-up, recycled rubber outsole and organic cotton upper.
High-performance sport or luxury shoes may have sustainable features and internal components, which the product marketing team completely ignores. If it’s not part of your brand image, it’s okay to avoid sustainability in your marketing.
4. Don’t compromise safety or performance for sustainability
Do not compromise the integrity of high-performance products to meet sustainability goals.
What does that mean? High-performance products have demanding material specifications for both product function and product safety. There may not be an alternative “green” material that does the job.
5. Don’t forget to read between the lines on your sustainability choices
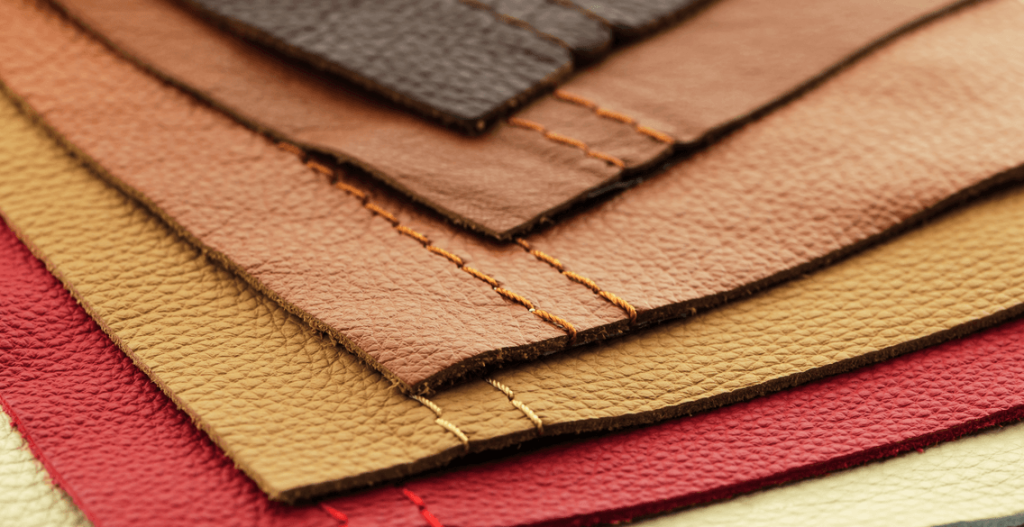
Be careful, Some “sustainable materials” are not all they seem to be or may have unintended consequences when used. For example, organic cotton production and its high water requirements may not be a great choice for footwear when compared to standard, non-organic cotton growing. Studies suggest it takes twice the amount of water to grow organic cotton. With clean water in short supply, we need to look at close loop water usage.

Ocean plastic or “near ocean plastic” production sounds like a great idea, but…read the material descriptions carefully. Plastic removed from the ocean is a hash of many different plastic compounds. This mixed plastic material is reground and remelted, then remixed with virgin plastic to make a material suitable for reuse. The catch here is the final amount of actual ocean plastic may measure only 2% of the finished product by weight. Yes, 2% is great, but add in the extra energy inputs needed to make the “recycled” material, and it may not be so great anymore. So, what is “near ocean plastic?” Near ocean can mean plastic recovered within a few miles of the ocean. Think of coastal cities like New York, Houston, Miami, and Los Angeles. Everything recycled in these cities would be “near” the ocean. Does this really help keep the oceans clean?….maybe.
New Online Courses
for Brand Builders
#1 Shoemaking Basics for Designers and Brand Builders#2 How to Select Shoe Materials
#3 Creating Footwear Specifications Course Details Enroll now
Do continue to make your shoes sustainable
As you can see, making your shoes more sustainable is a goal you should keep working toward. But, you need to approach sustainability carefully to ensure your efforts are indeed beneficial and not counterproductive to protecting the environment. Maybe your product can not be sustainably manufactured? This does not mean your company must sit on the sustainable sidelines. Use your sustainability budget to plant trees, install solar, buy green power, or purchase carbon offsets.