
What machines are needed to manufacture sneakers?
What shoe factory equipment do I need to open a real shoe factory? I’m going to walk you through a mass production shoe factory and detail all the shoe factory equipment you will need to do it right. If you are looking for hand tools for shoemaking click here.
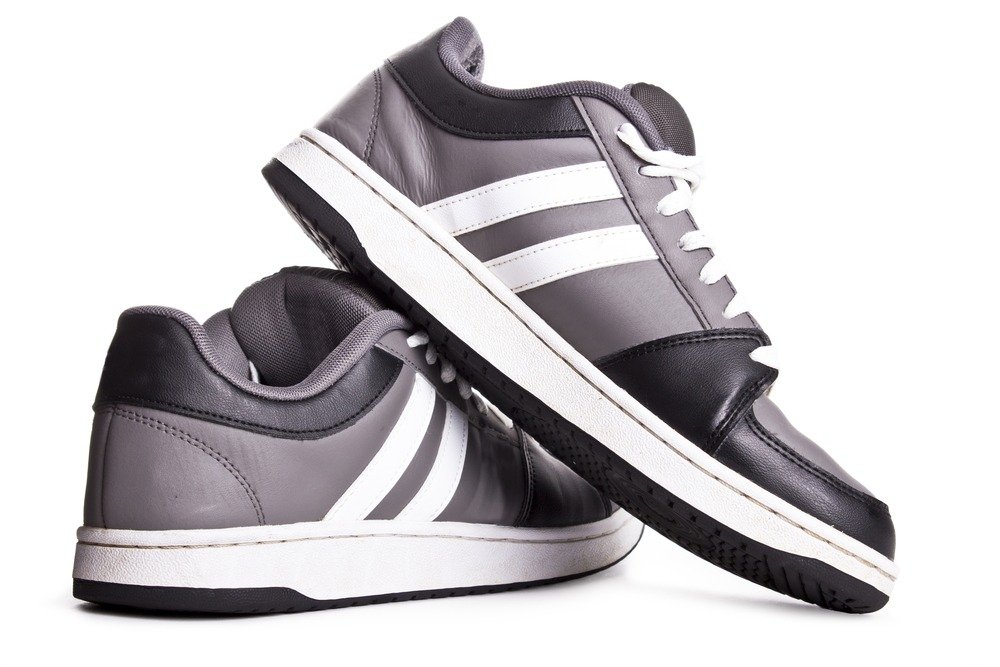
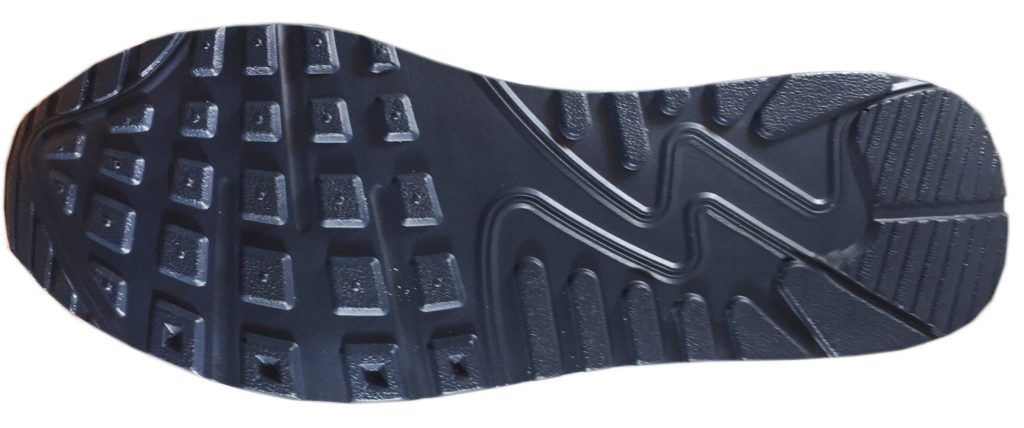
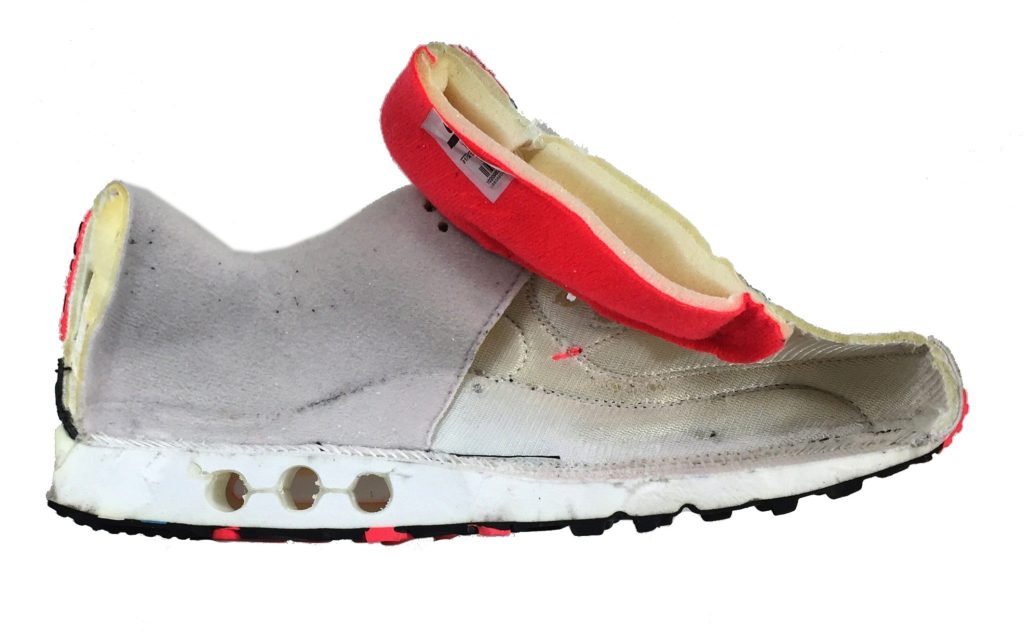
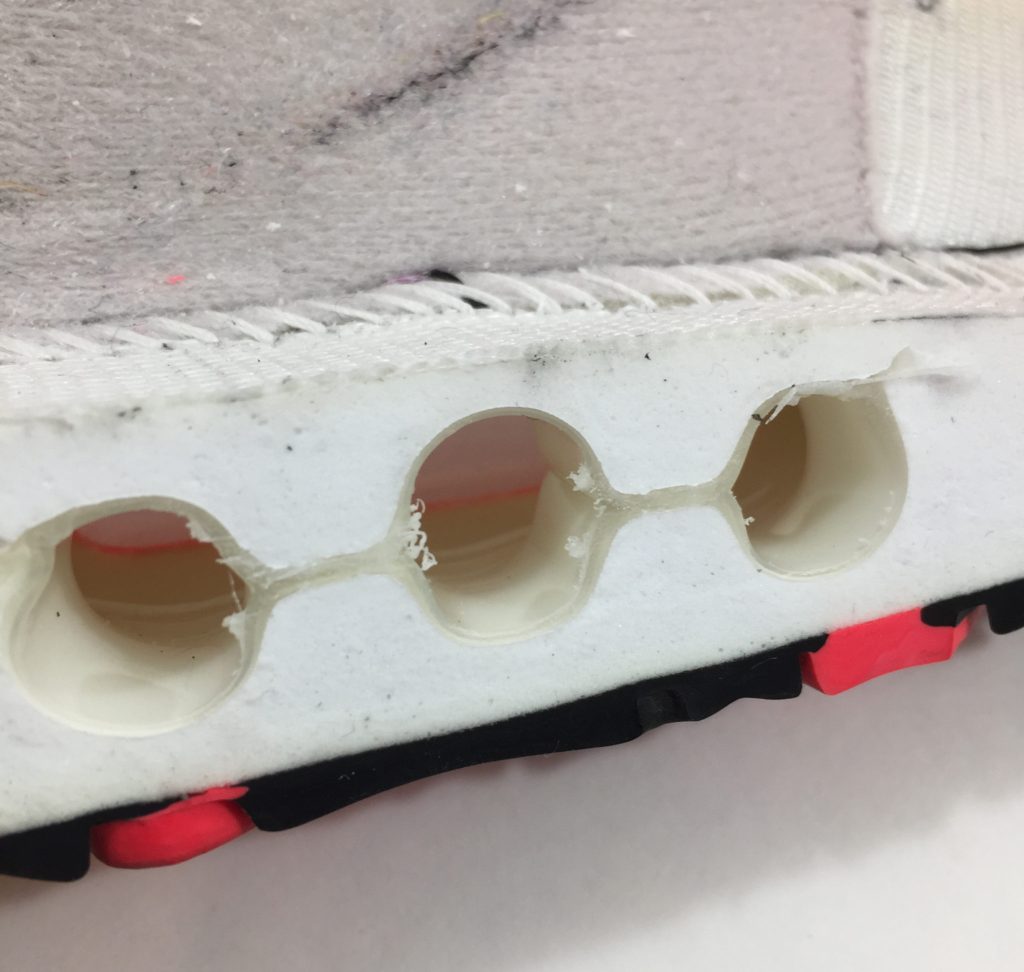
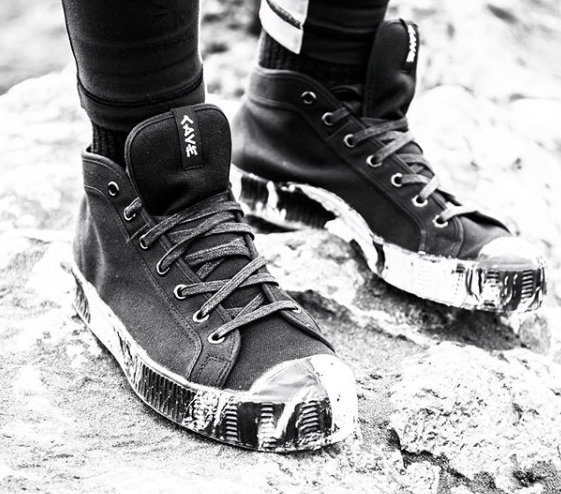
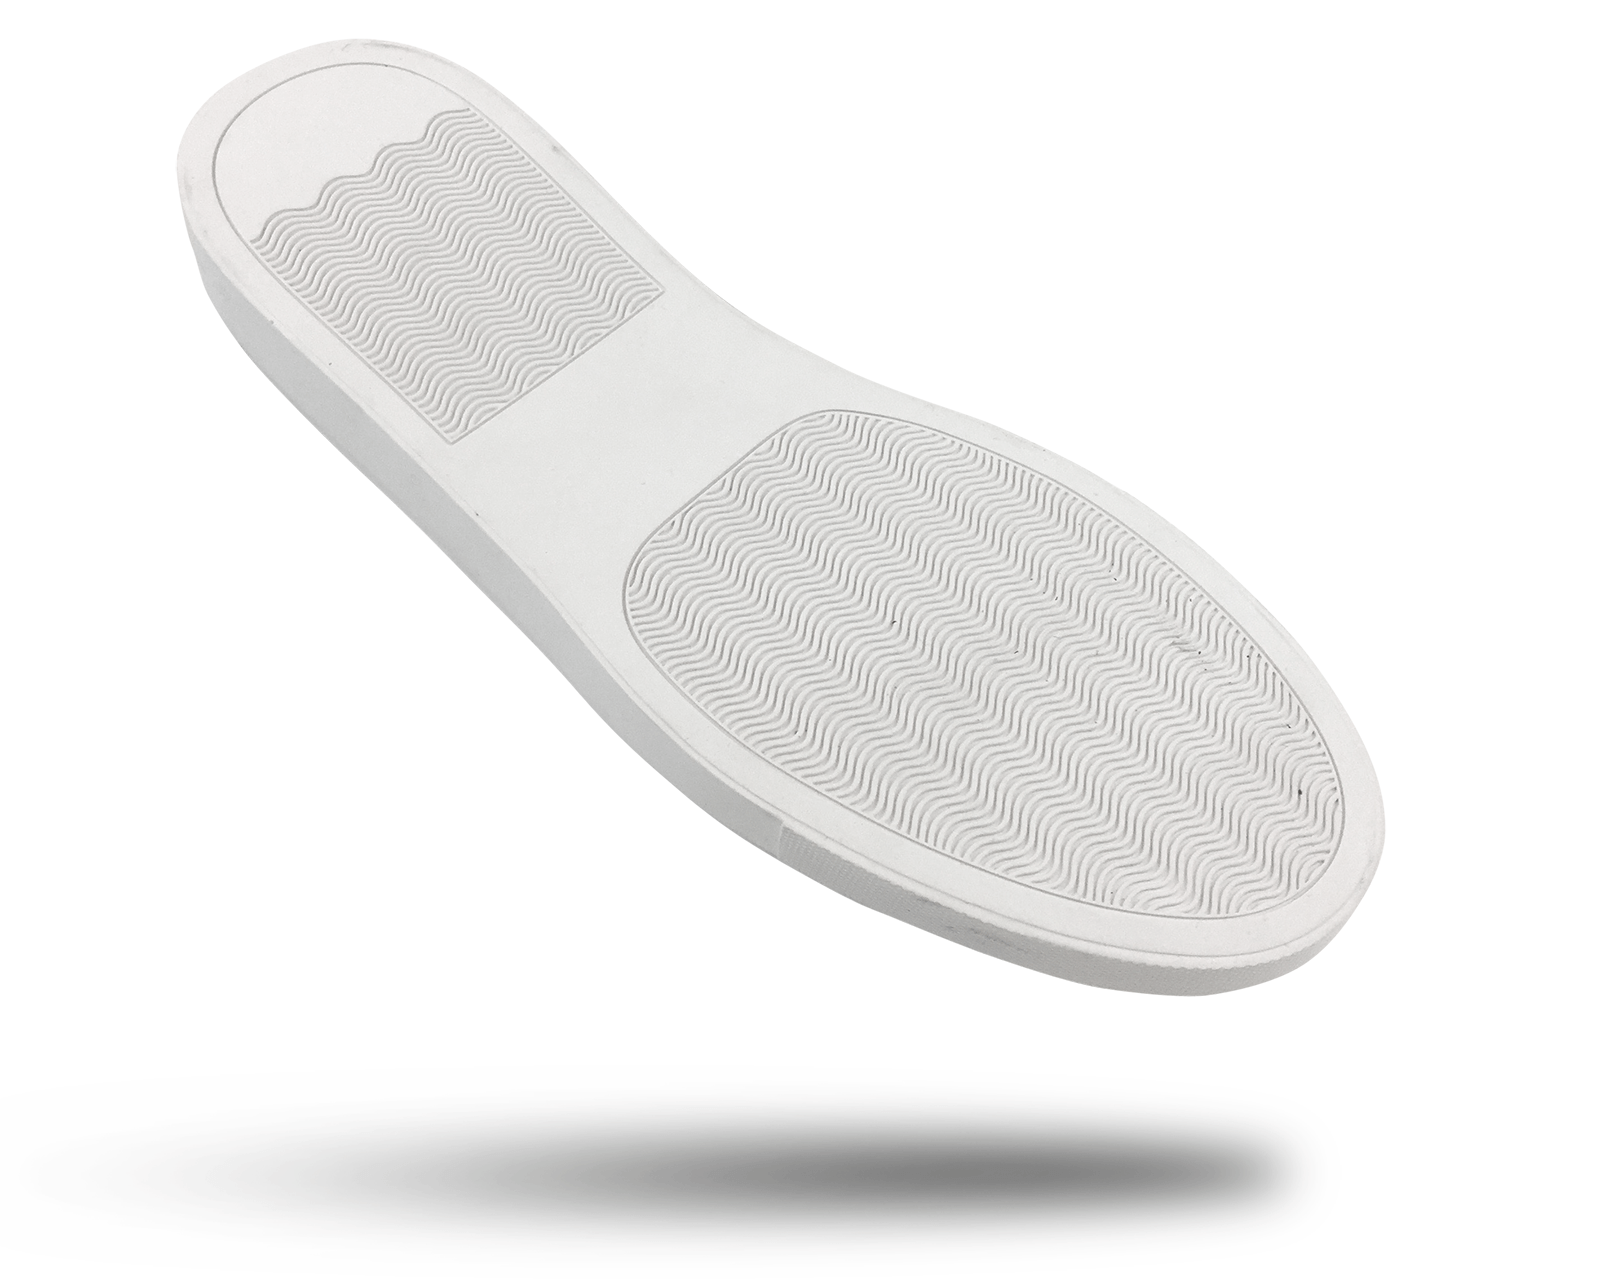
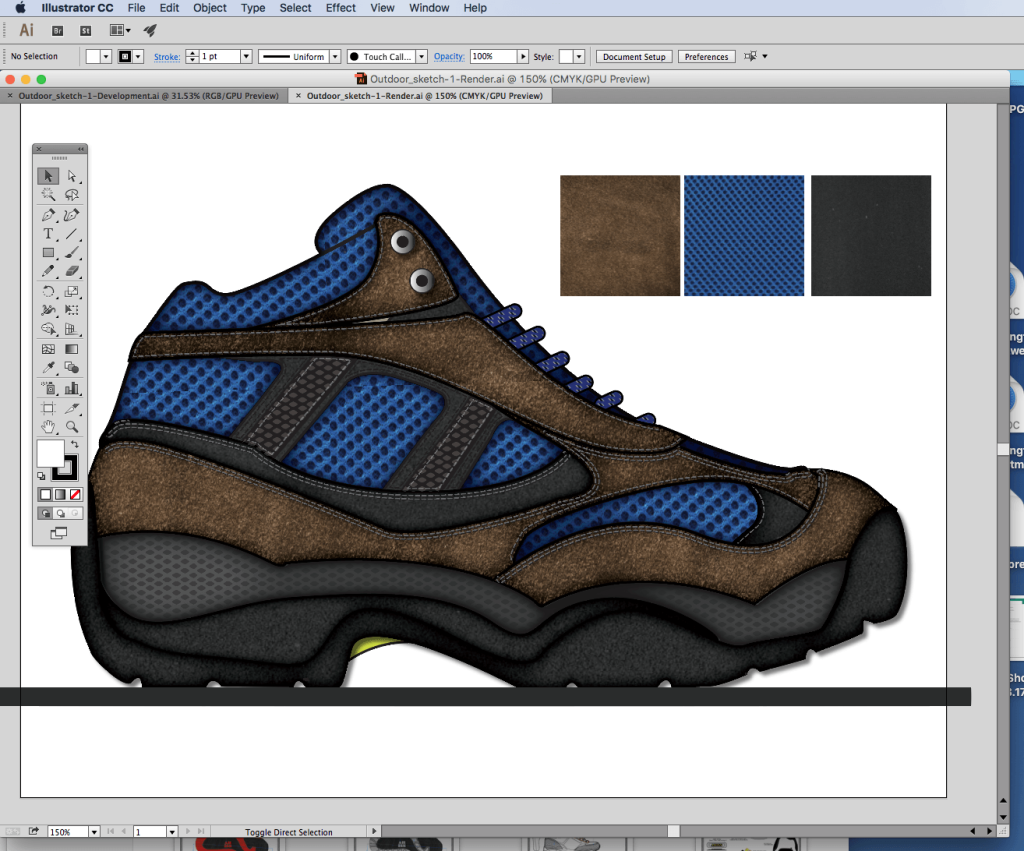
I’m going to show you what you need to make a standard die-cut cold cemented sneaker. This is a simple shoe made with only die-cut parts. The outsole is a one-piece rubber cupsole with a die-cut midsole inside and channel stitching.
First, modern shoe manufacturing relies heavily on sub-contracted factories for many specialized operations. For example, the shoe factory technicians developed the outsole designs, but the outsole tooling is produced elsewhere, with the rubber parts also purchased somewhere else from a company that specializes in rubber pressing. The shoe factory then controls the components to ensure the uppers and outsoles all fit together correctly.
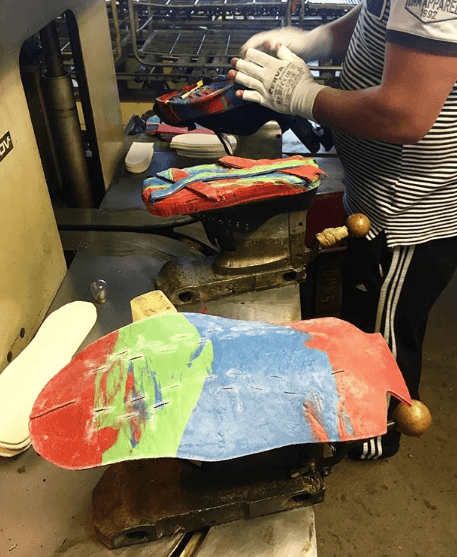
Shoe Material Cutting and Marking
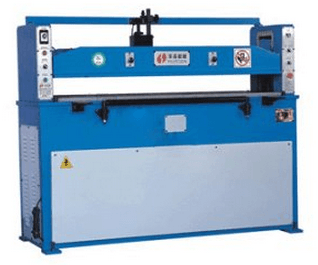
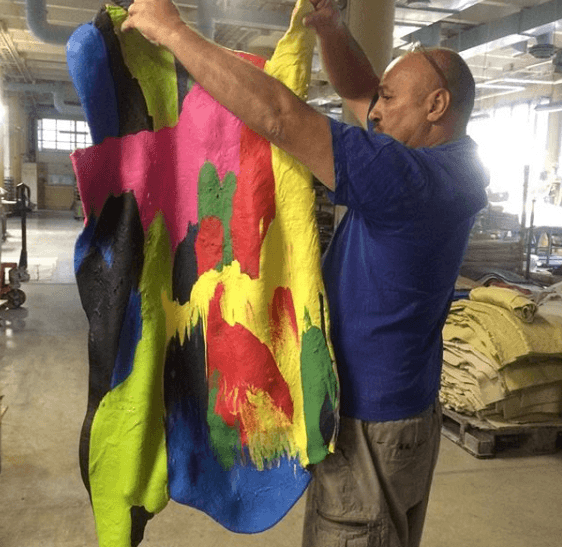
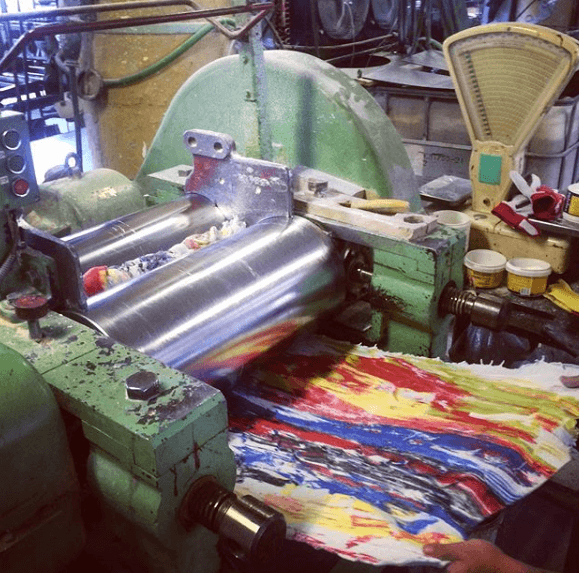
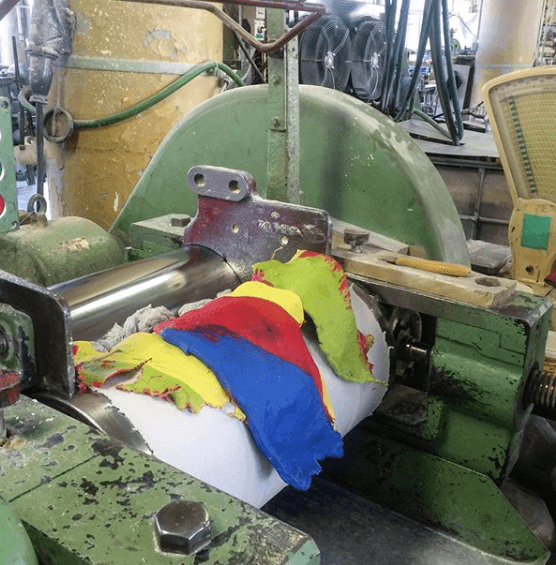
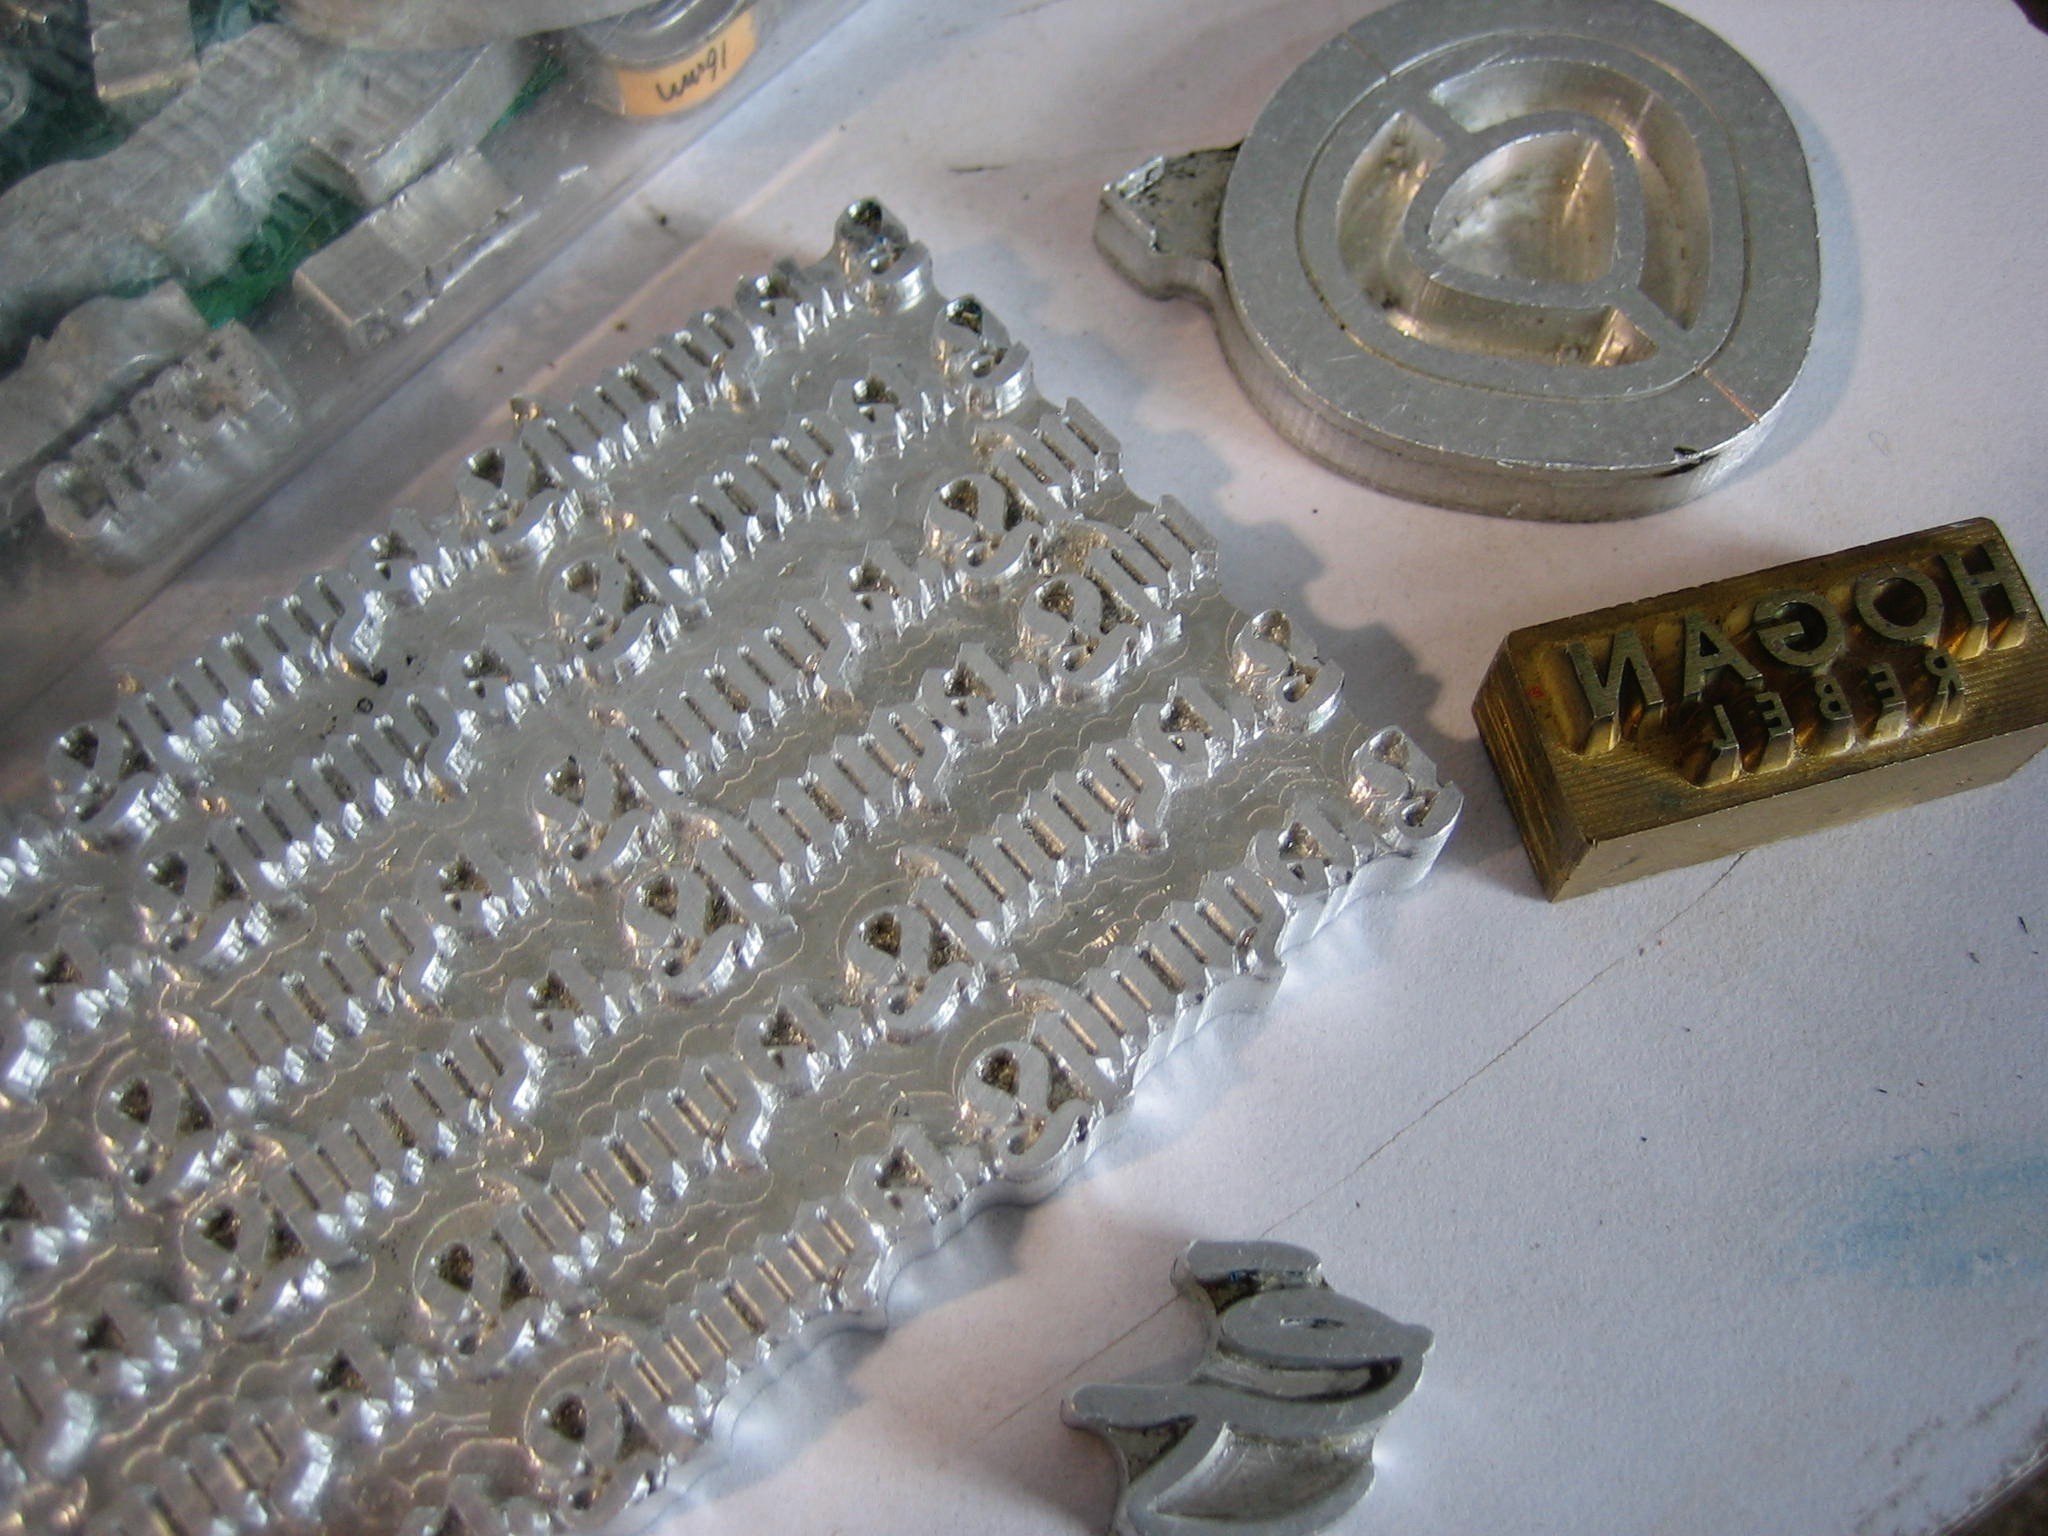
Inside the shoe factory, the first operations in the manufacturing process are the cutting and marking operations. The factory uses cutting presses, also called clicker cutting machines. The clicker press is one of the standard pieces you will see in every shoe factory, and they require cutting dies for each shoe pattern part.
New technology for cutting is the computer-controlled drag knife cutter. These machines use a vacuum table to hold materials in place while the blade cuts all the pattern parts. This technology is critical for custom mass production. Once the shoe parts are cut they get processed, with alignment marks screen printed on the parts and any logos added. Logos can be silkscreen printed, radio frequency welded or embroidered on the cut parts.
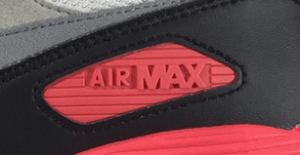
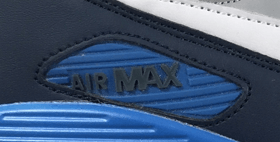
Footwear logo application
After the shoe parts are cut and marked for assembly, they may need to have logos added. Logos are added by silk screen printings, embroidery, or heat welding.
-
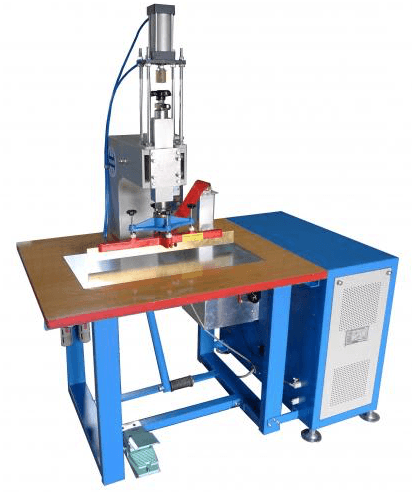
Shoe logo welding machine -
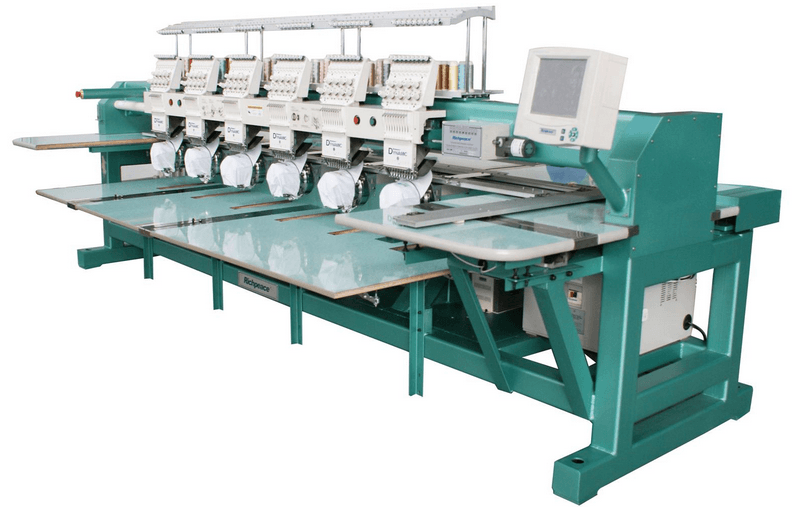
Embroidery machine -
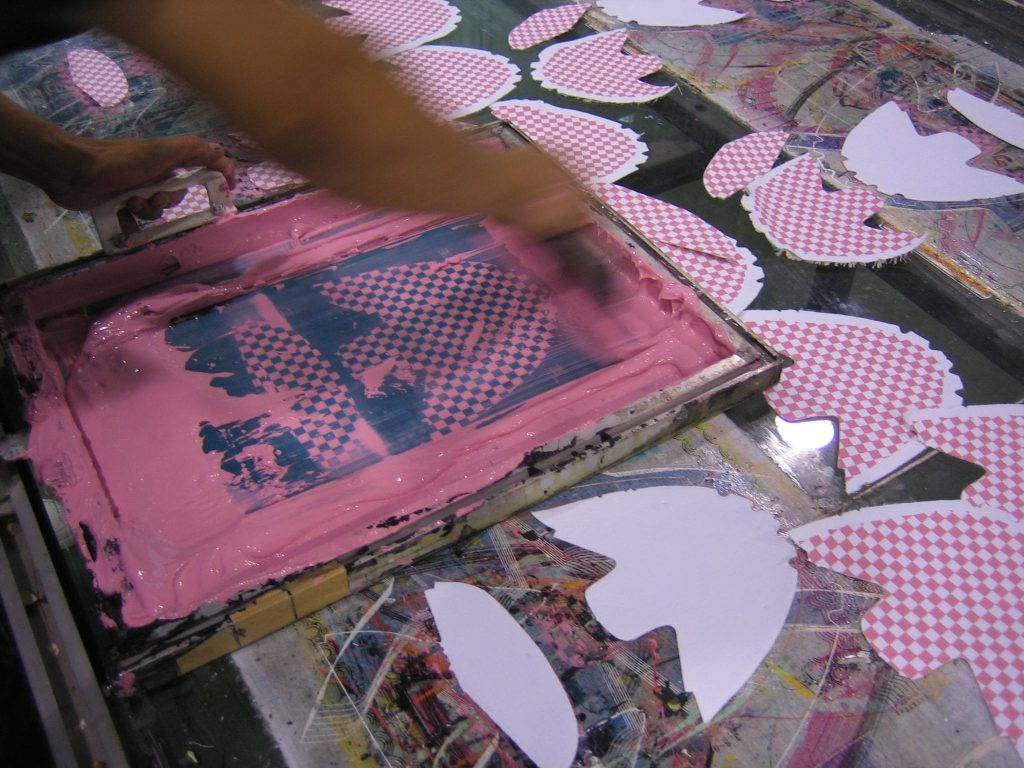
Vans Checker board vamp printing
You Can Design Shoes!
Aspiring shoe designers start here! How Shoes are Made is your entry into the world of modern shoe making. Tour a real shoe factory and learn the process from design to manufacturing. Learn more Download $19.99Lorem ipsum dolor sit amet, consectetur adipiscing elit. Ut elit tellus, luctus nec ullamcorper mattis, pulvinar dapibus leo.
New Course!
Shoemaking for Designers & Brand Builders
Created for footwear beginners and career changers alike, this course delivers the basic shoemaking knowledge you need to get you career in the shoe trades started.
Learn more
On sale $99
Footwear upper stitching
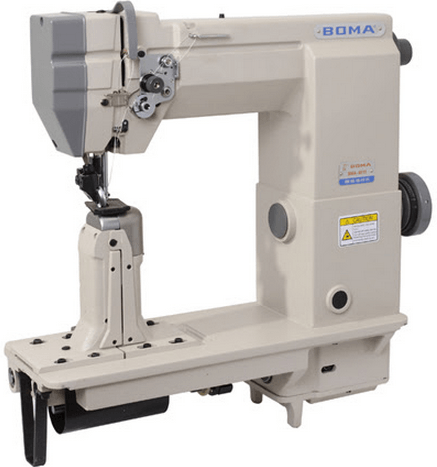
The sewing machines come in many types: post, long arm, short arm, etc. The stitching line will have hundreds of these machines, the amount depending on the complexity of the shoe design. The style of the machine will also change to fit the specific operations required to make each shoe design.
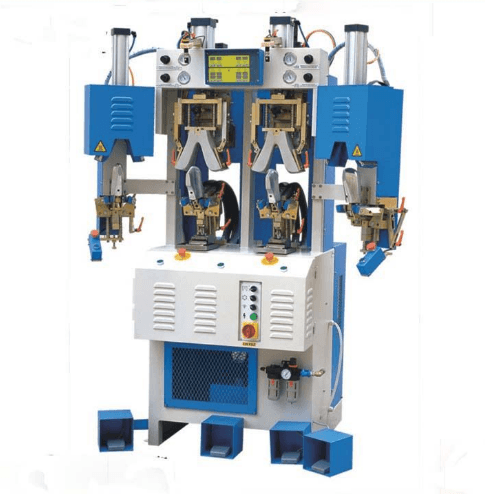
Once the stitching is finished, it is time to set the shape of the toe box and heel counters. These machines heat the thermoplastic counters inside the toe and heel, then clamp the shoe to set the shape.
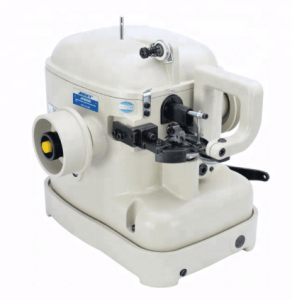
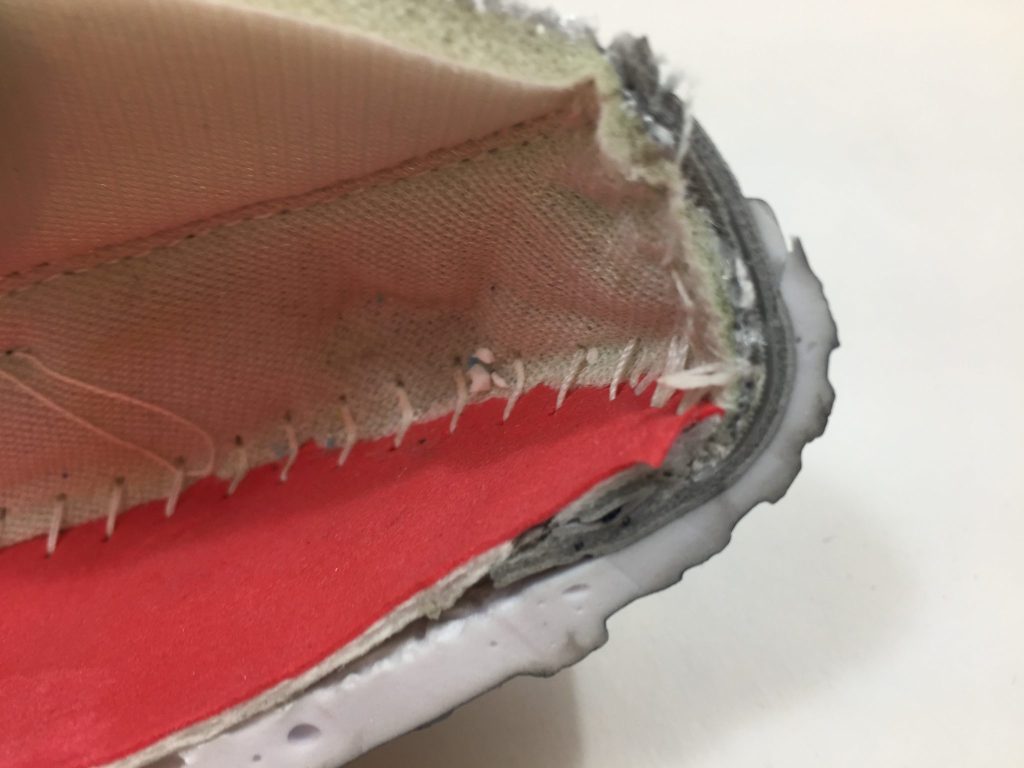
With the upper almost complete, we will need a special sewing machine to finish it. The Strobel sewing machine was invented by a guy named…you guessed it… Strobel! This machine is used to sew the bottom fabric onto the upper, closing it. The fabric bottom or “sock” is marked with alignment lines to ensure the upper is straight and not twisted. Now the upper is ready for lasting and assembly.
Start Building Your Brand
A must-have for anyone serious about launching a footwear company. 4 text books, shoe business documents and downloadable content not available anywhere else! The Shoe Company Start-Up Pro Pack is all you need to get your shoe business off the ground. Learn more Download TodayShoe assembly process
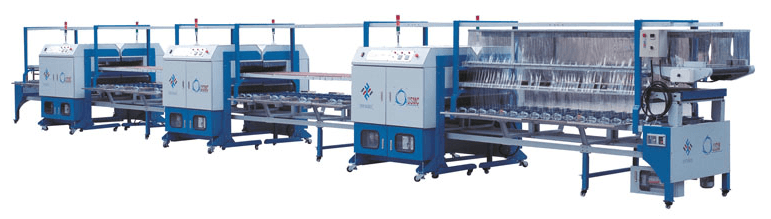
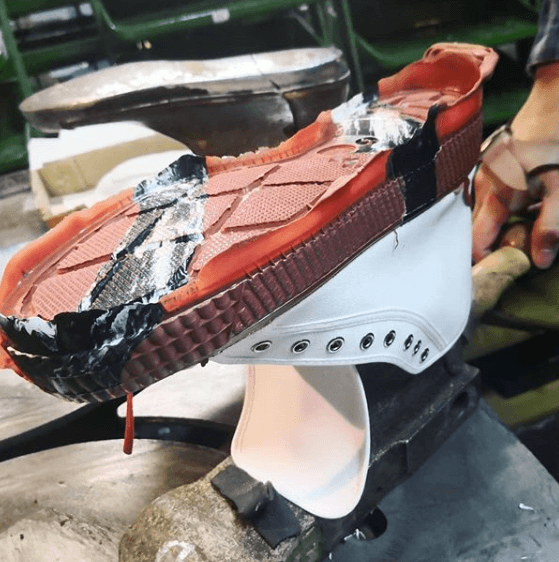
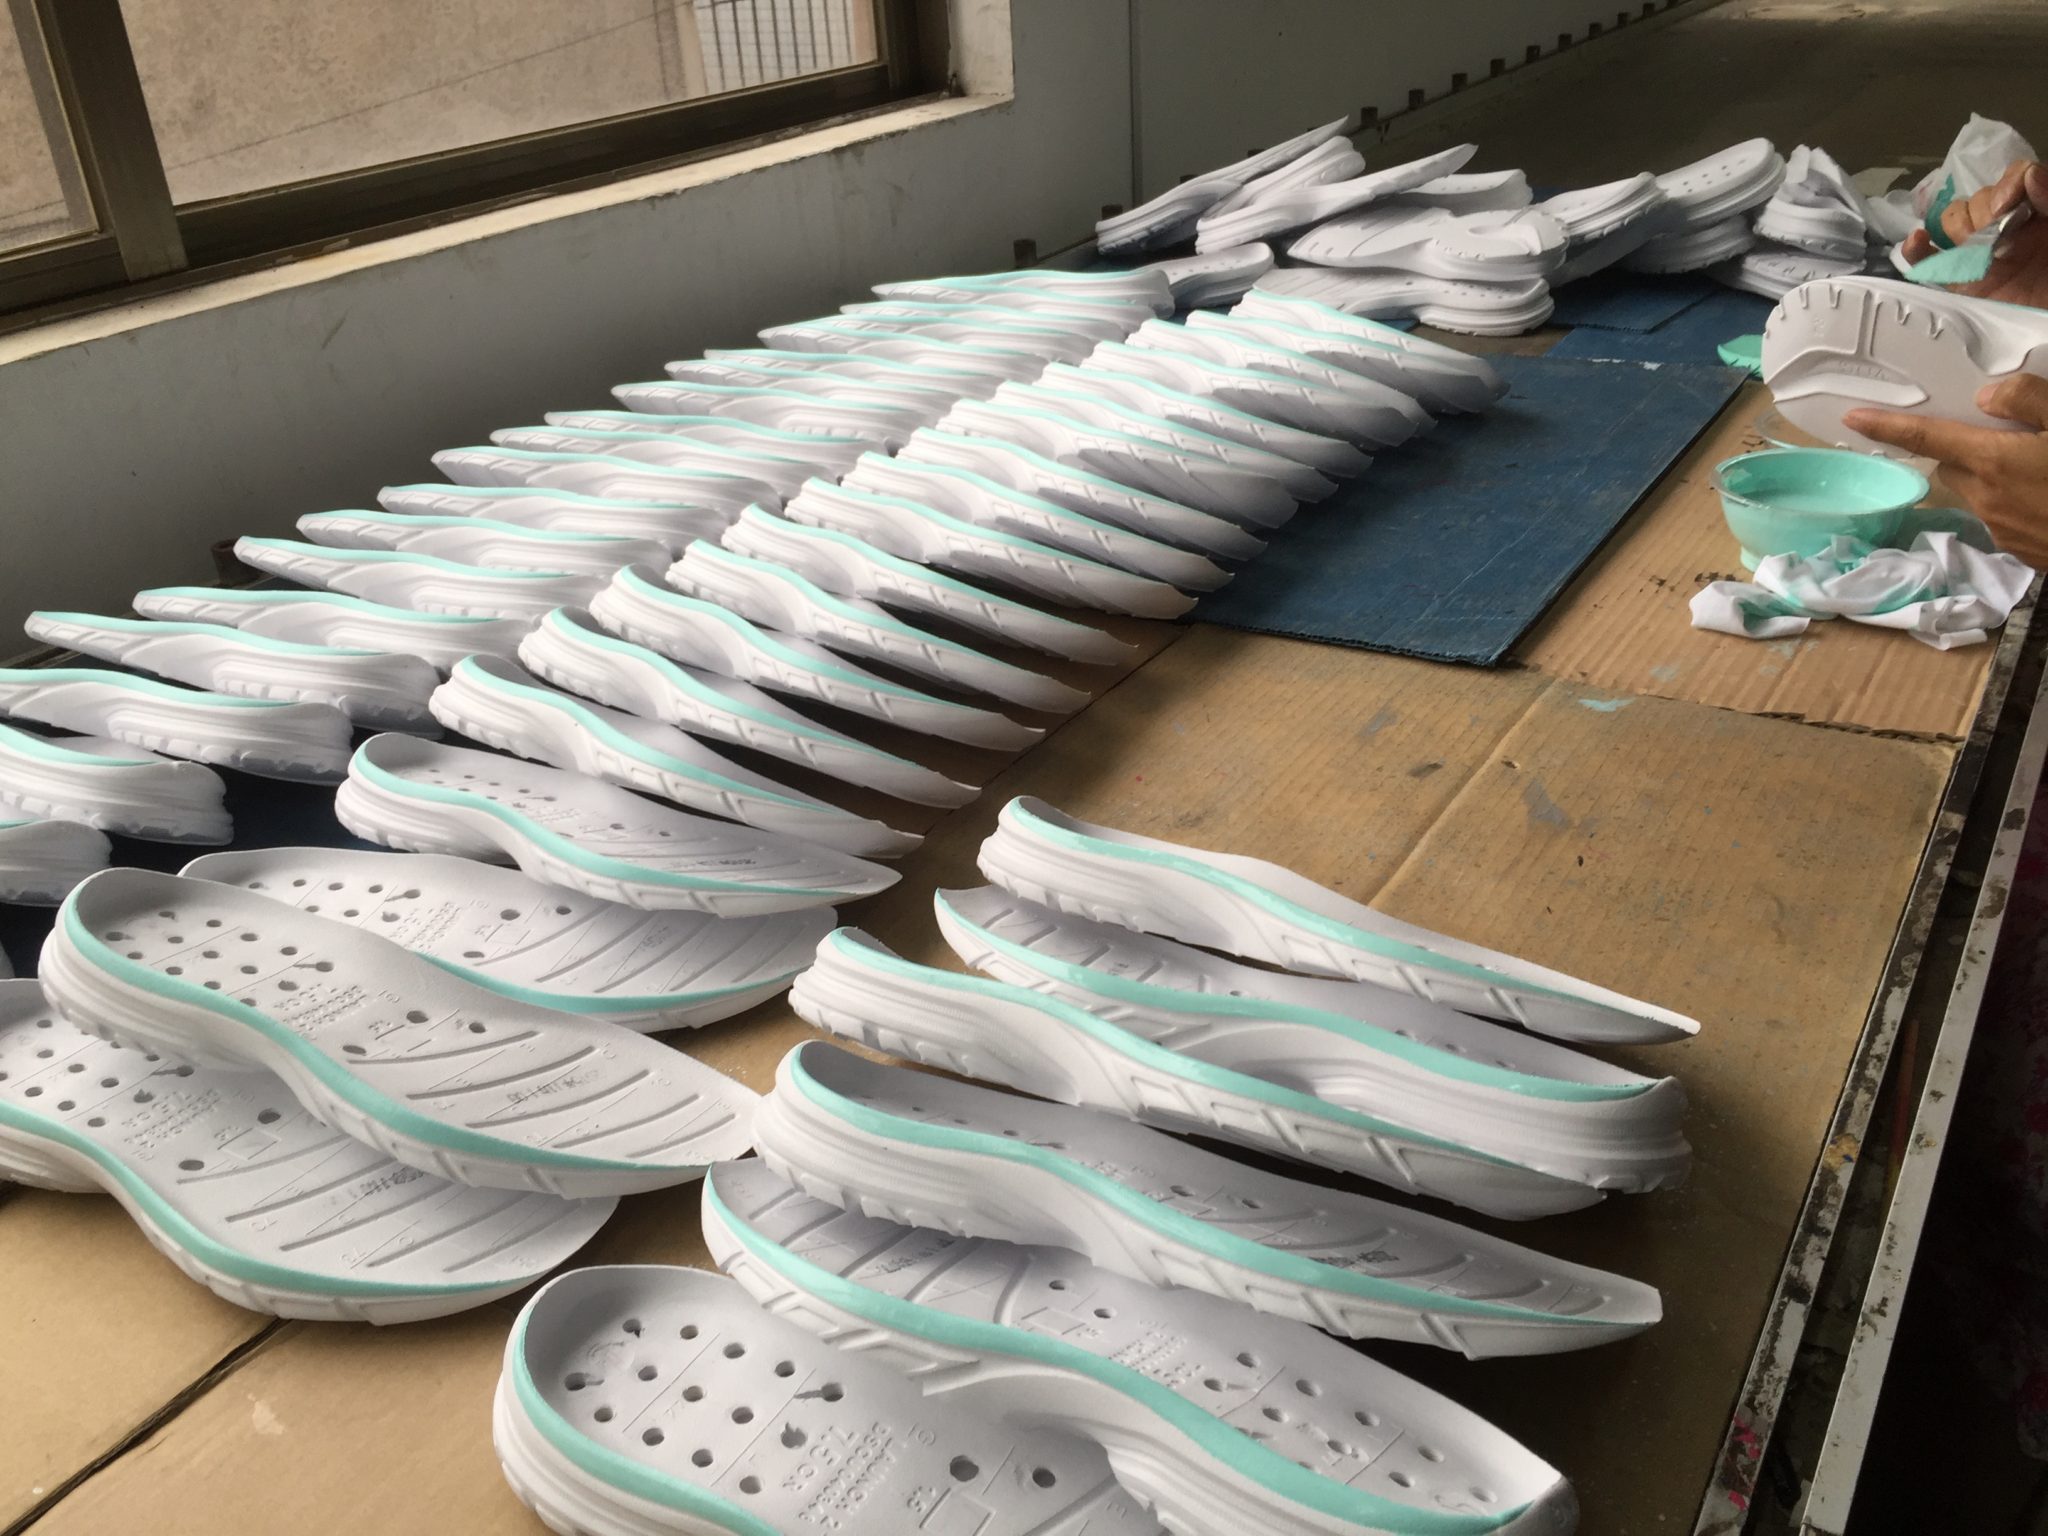
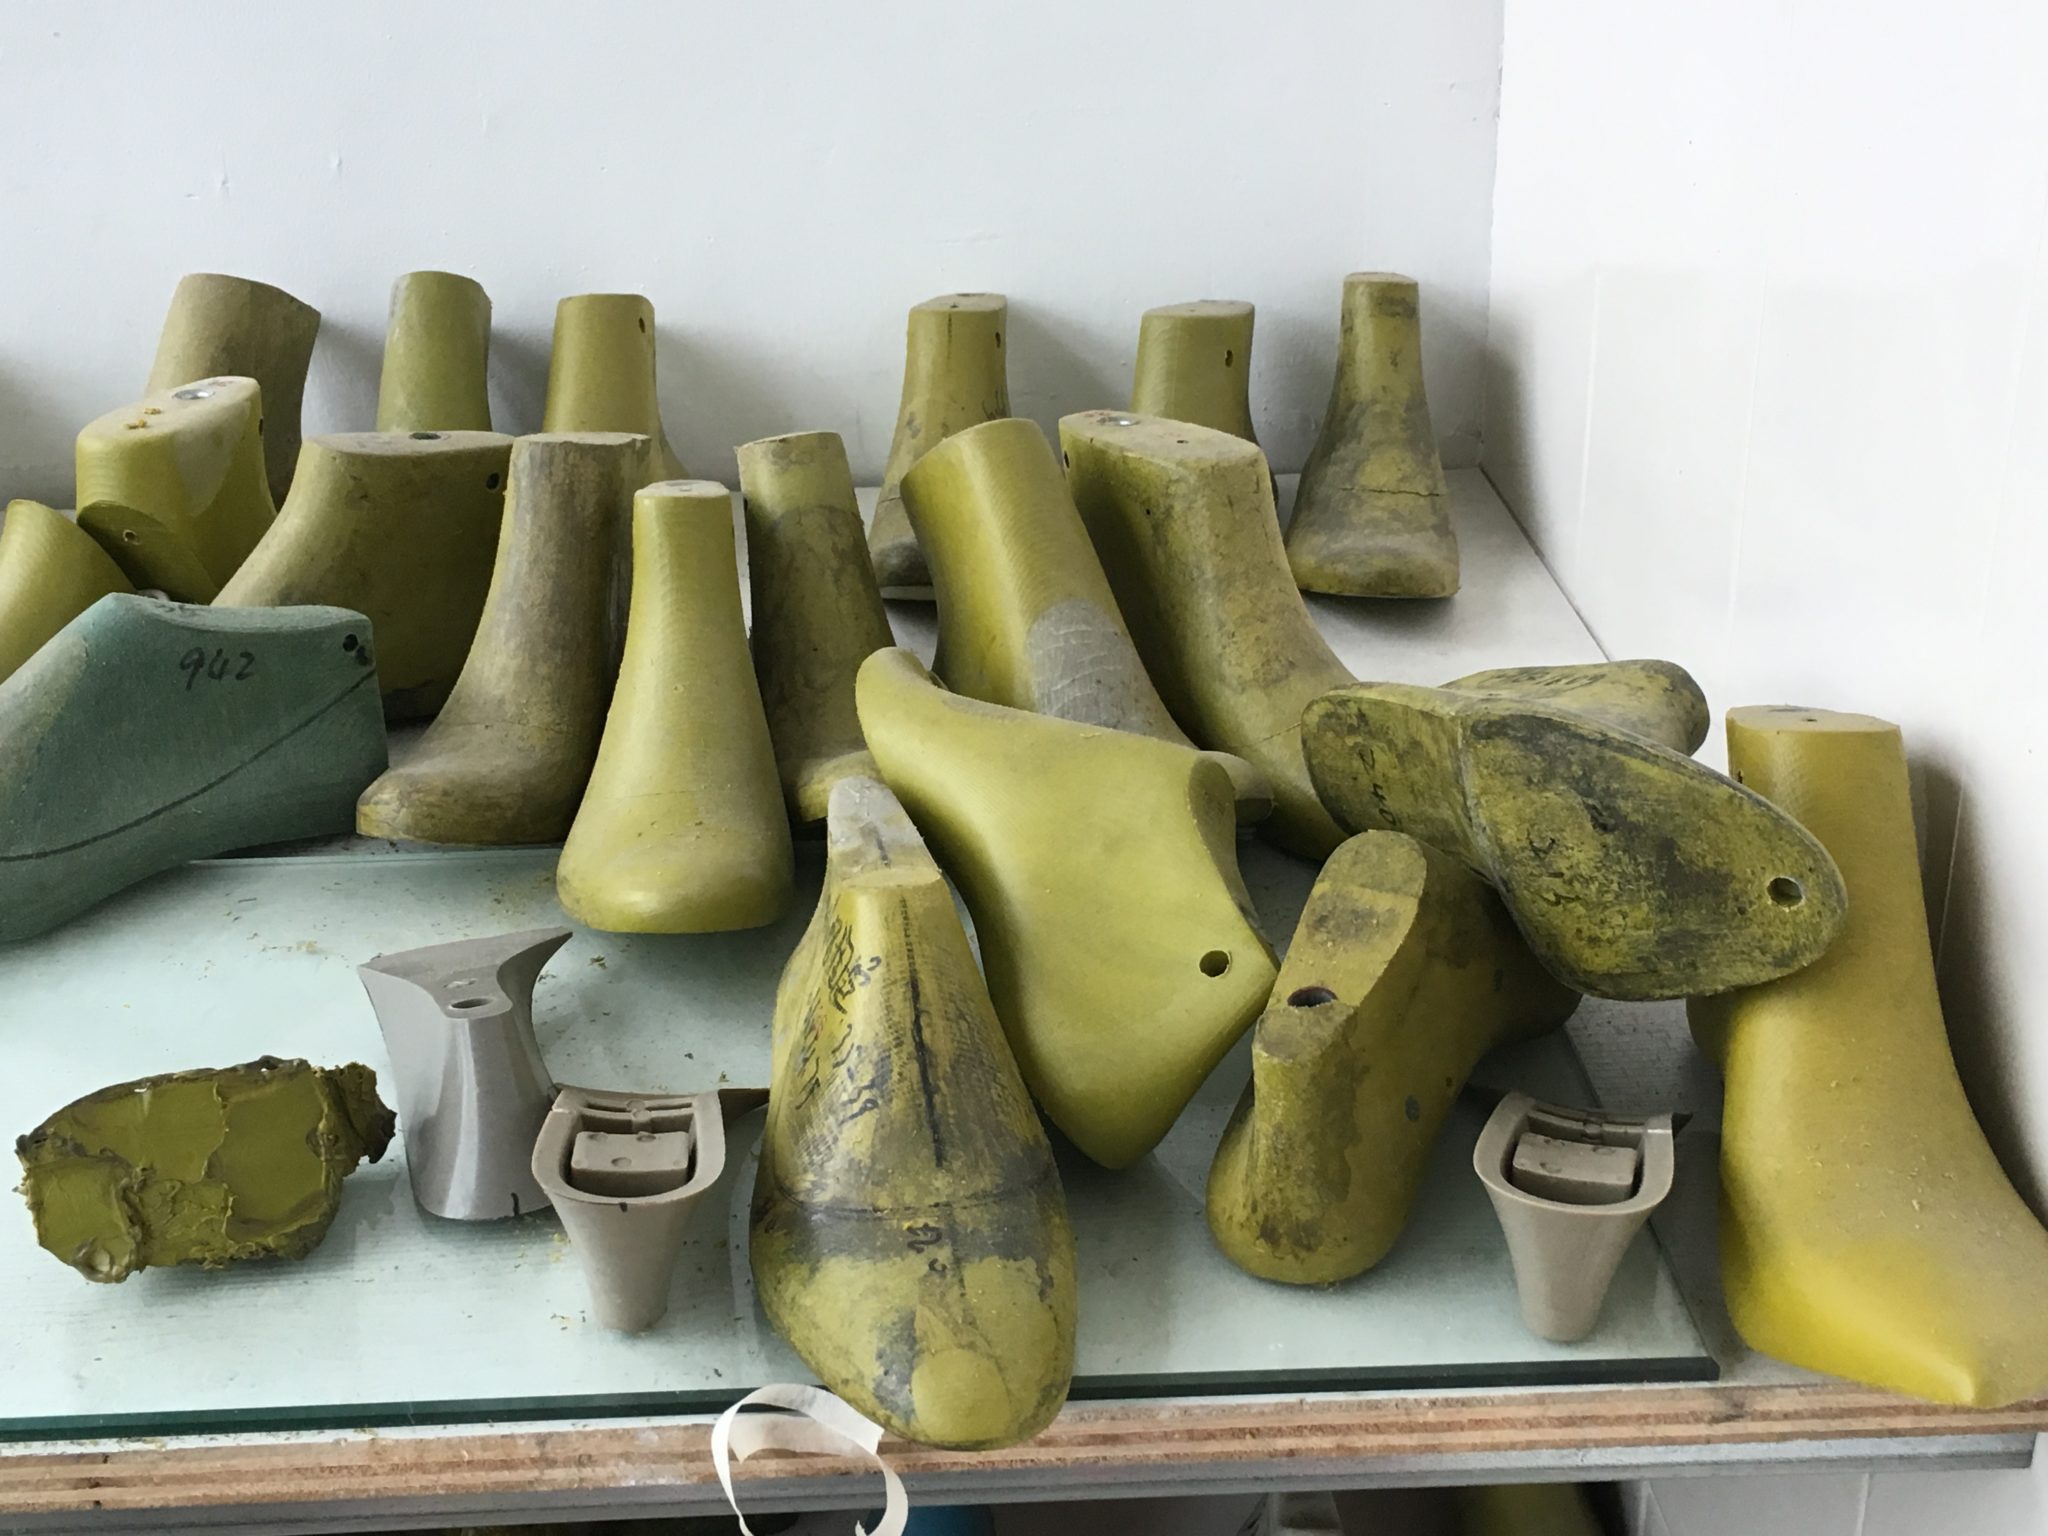
With the shoe ready for assembly, it’s time to bring out the heavy equipment. The basic assembly line is about 100 yards long. On the front of the line, you will find a steamer to soften the shoe uppers, preparing them for lasting. The lasting machines are used to get the uppers pulled down tight onto the shoe lasts.
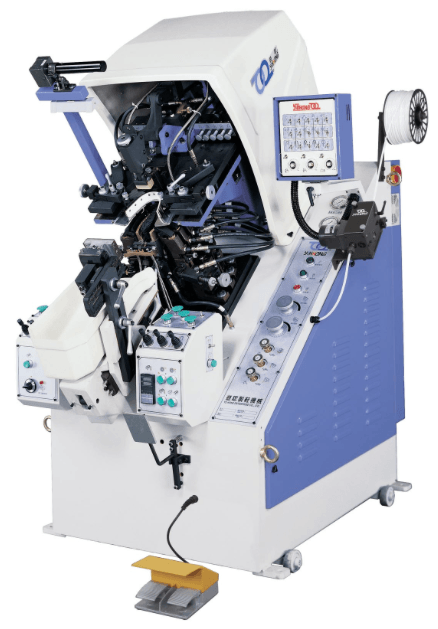
The toe-lasting machine is the centerpiece of the lasting equipment. This machine takes hold of the upper and physically pulls it down around the last. The machine simultaneously pulls the upper into place while injecting hot glue to fix the uppers into place on the last. Once the toe lasting is complete, the waist and heel of the shoe may also be pulled into place by either hand operation or machine processes. Following the lasting operations, the lasted upper is placed into the first of the tunnels on the line. These tunnels are cooling tunnels that shrink the upper down to adhere to the last even tighter.
Footwear Primer and Cement
Now the lasted uppers and outsoles are on the conveyor line together, each receiving two coats each of primer and cement. After each application, the parts are placed back on the line to travel through a heat tunnel to dry the parts.
Once the parts are fully primed and covered with cement it is time to join the parts together. A worker takes the upper and sole in hand, fitting them together. Once the parts are fit, a pressing operation ensures the bonding surfaces are completely in contact.
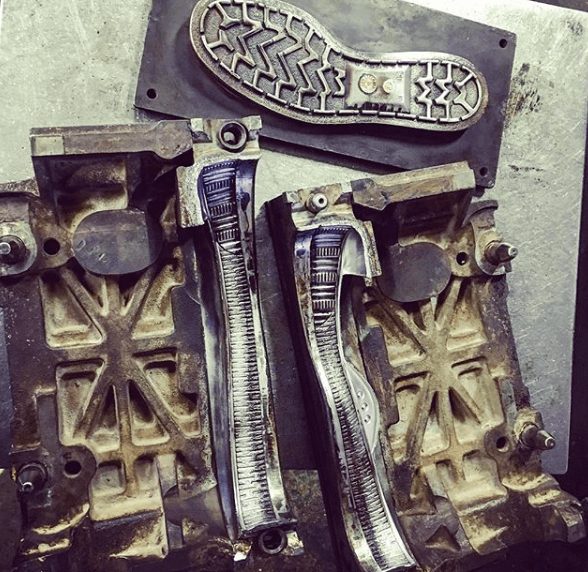
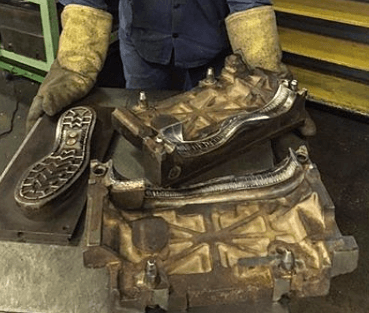
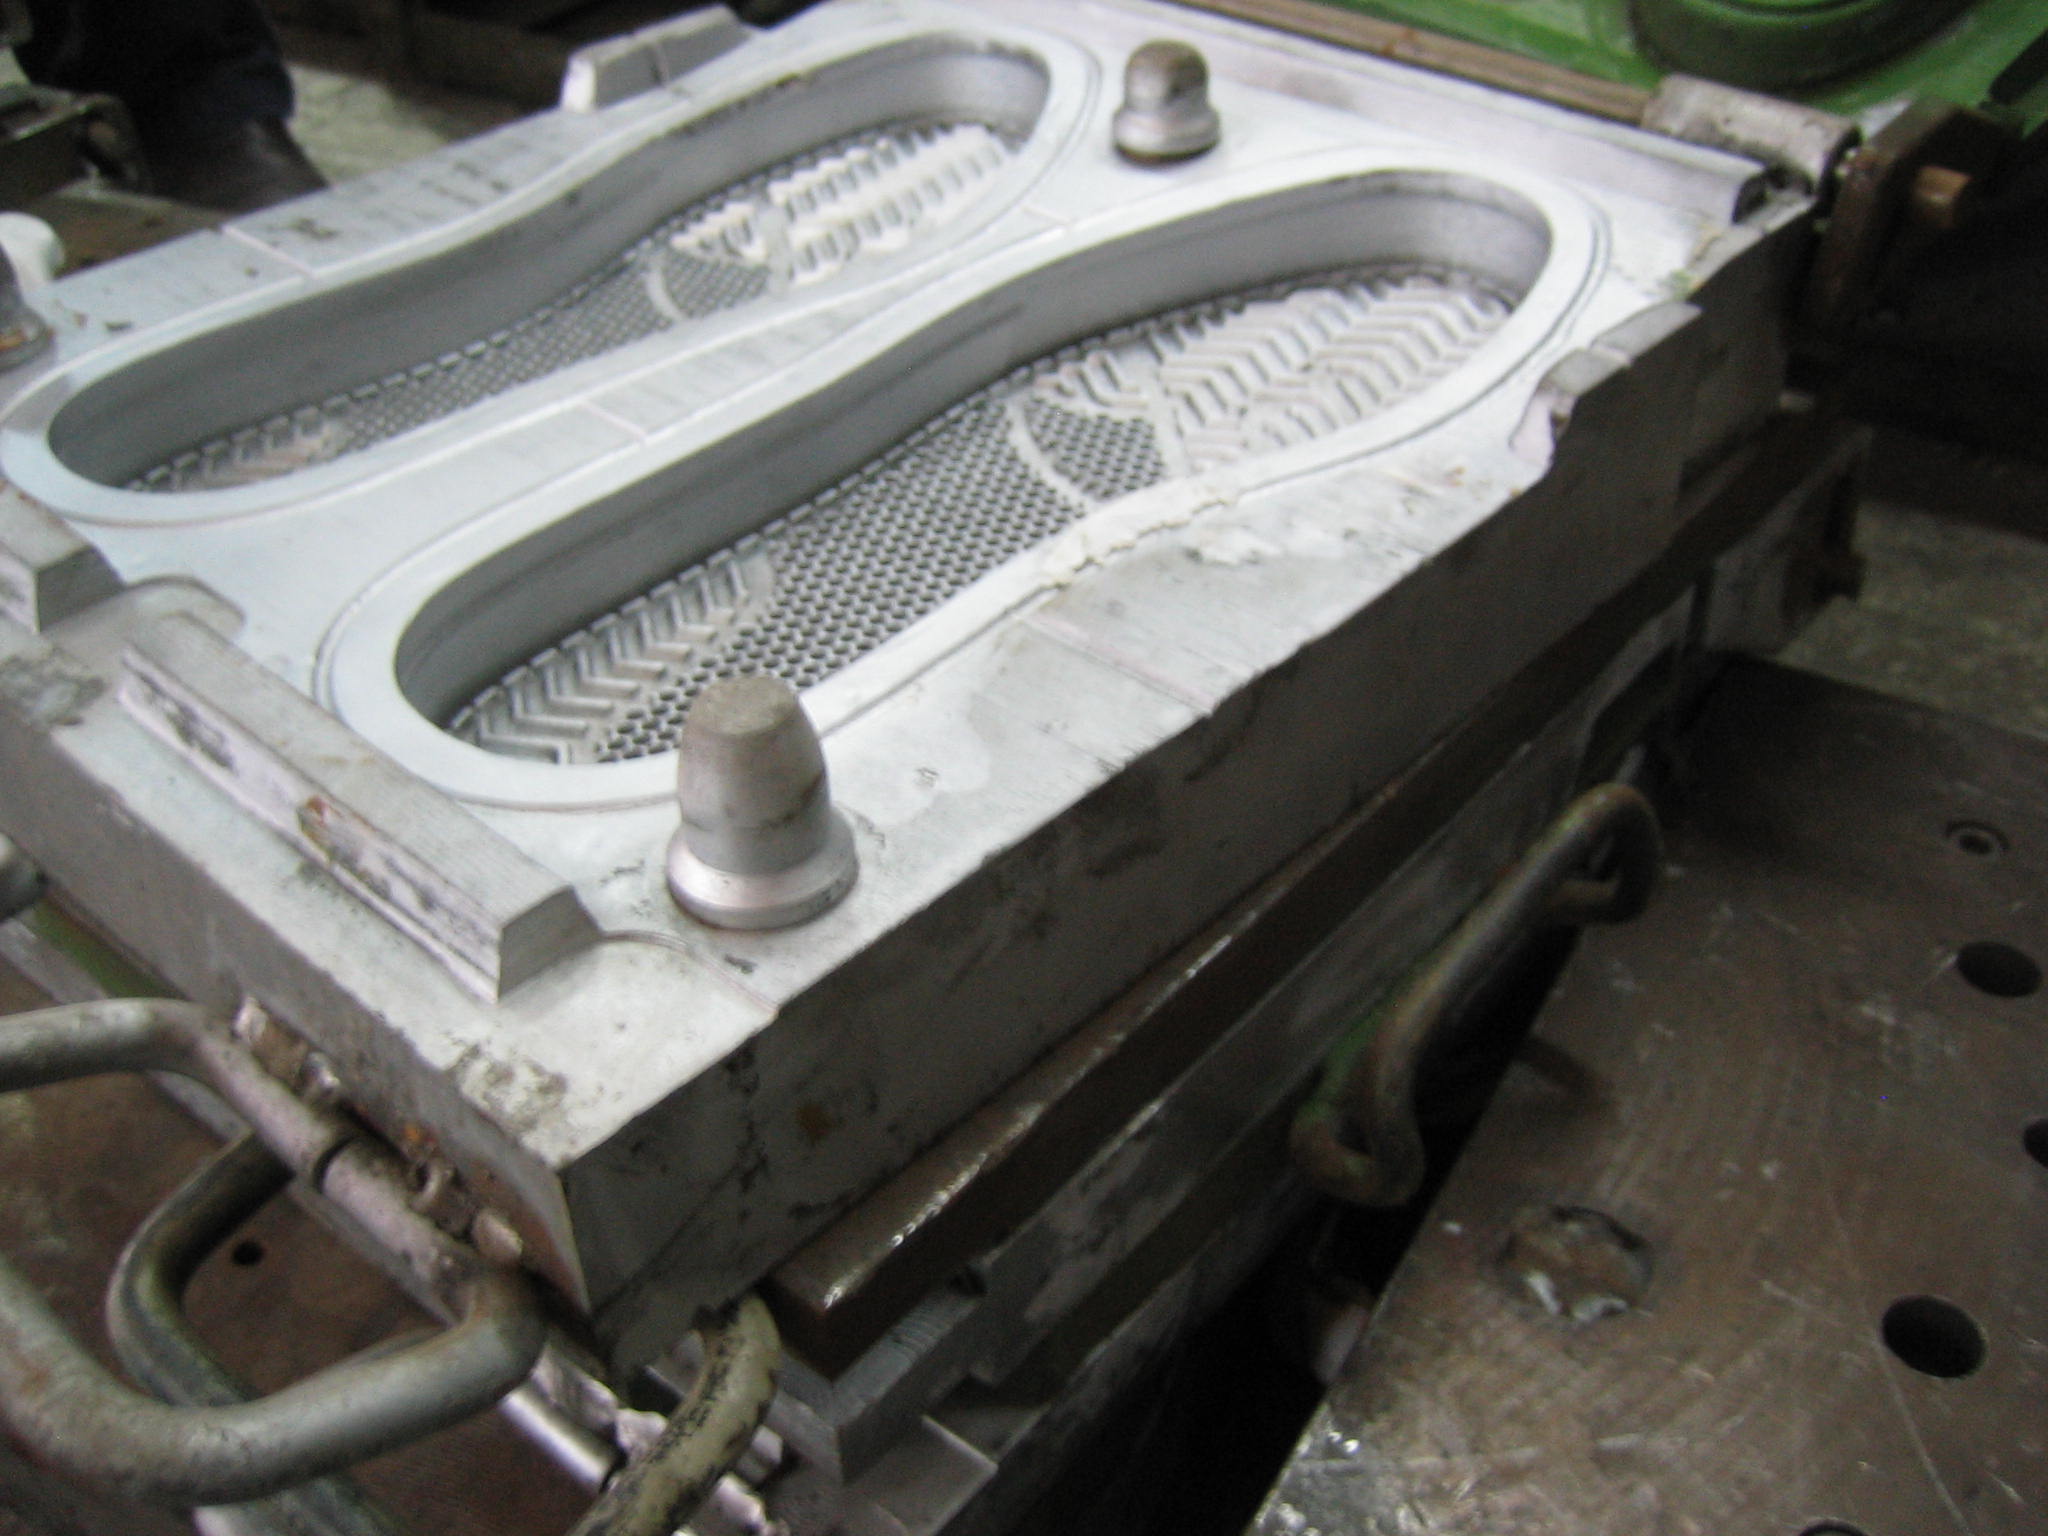
Outsole pressing
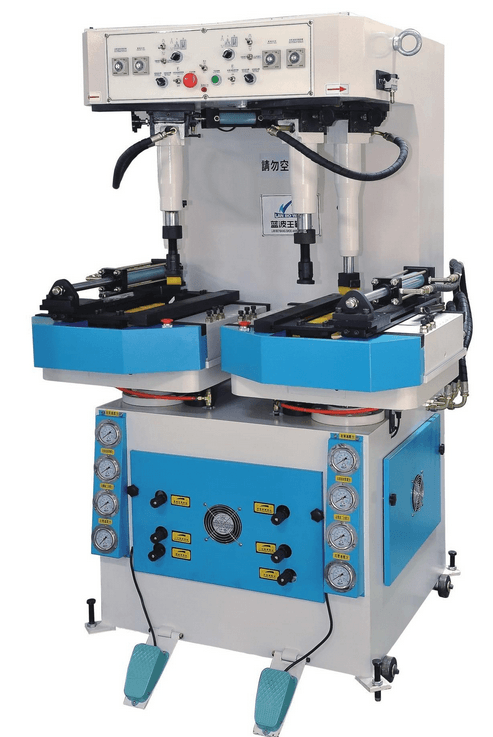
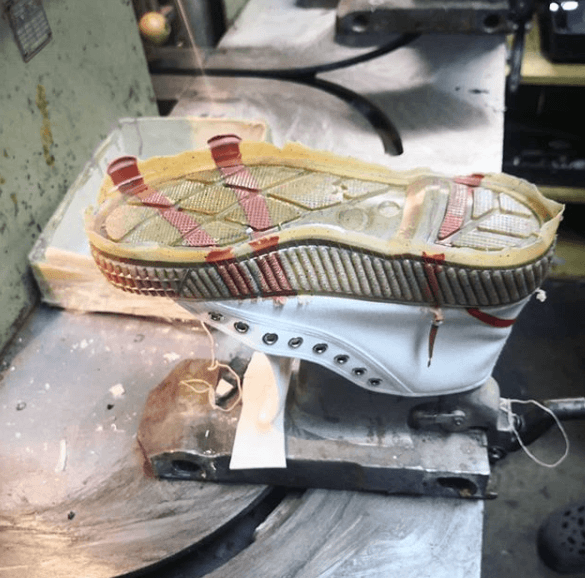
The pressing operation compresses the bottom, sides, and heel of the sole and upper together. To set the bond, the lasted upper with the bottom attached is often placed in a chiller unit. Once out of the chiller unit, the shoe is de-lasted by hand or by machine. Depending on the design of the shoe, there may be just a few operations left. A possible process is for a shoe to receive channel stitching from a special oversized sewing machine that can stitch through the rubber outsole and the entire upper.
Finally, the shoe may pass through a dryer oven and UV light tunnel to ensure there is no possibility of mold growth while the shoe is in transit.


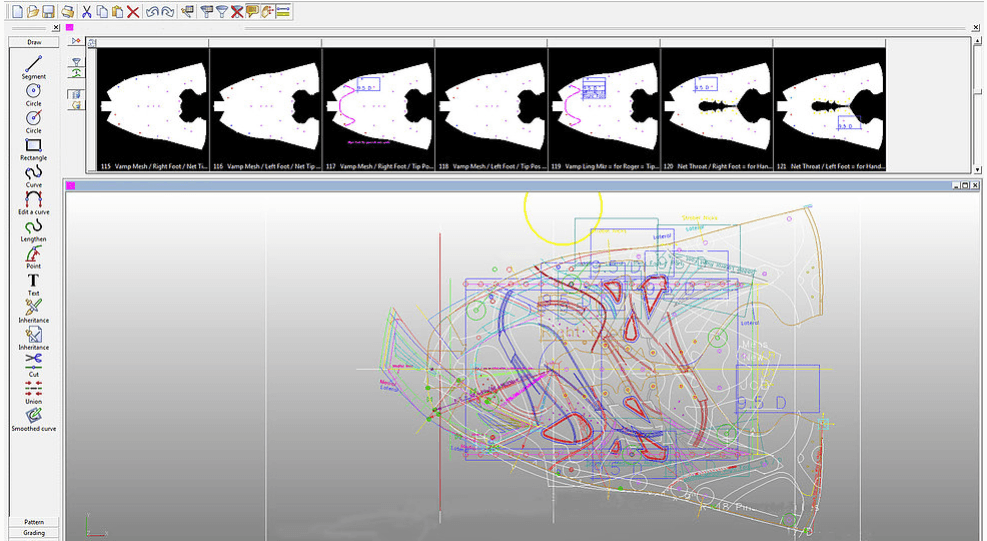


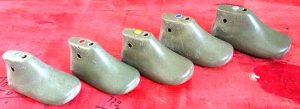 The shoe lasts’ other critical dimensions also change per size, but at different rates. For example, the ball girth is graded at 3mm per size, and the ball width (measured across the bottom of the last) measures 66% of the total ball girth. For men’s size 9, the ball girth is 234mm and the ball width is 156mm. Also, while the shoe length increases 4mm per half size, the collar height and back height increase only 1mm per size.
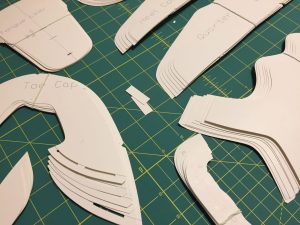 The shape of each shoe component will change per size depending on its location. The tongue length will increase quickly according to the last length, while the width grades slowly according to the girth.
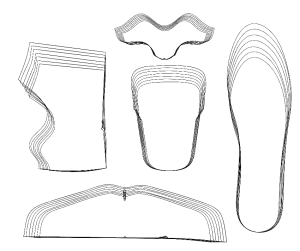 Not all the features of a shoe pattern are graded. For example, the pattern overlaps and lasting margins are not graded.
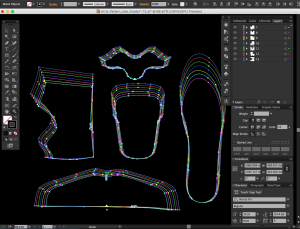 Once the pattern is graded, the pattern master will check it by hand. The pattern master then instructs the sample room to make the trial patterns. The trial patterns are checked for visual proportions and outsole fitting. Once the patterns are approved, the cutting dies will be made.