
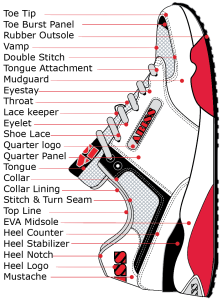
The Basic Shoe Pattern Parts
If you want to learn more about shoe pattern making or shoe pattern cutting you will need to know the correct names for the anatomy of the shoe. You will also need to understand how many parts are in a complete shoe pattern. Here you can see that this simple shoe has 17 pattern parts, not including any quarter logo designs. Now, imagine the pair will have 32 pattern parts and the entire size run could have 14 sizes! You can see the number of shoe pattern parts and cutting dies grows quickly into the hundreds. Another point to consider is the popular shoe sizes 9-10-11 may need more than one set of cuttings dies to quickly make big orders.
Shoe Pattern Parts

Parts of a sneaker
1. Heel Patch or Mustache: Leather
2. Heel counter reinforcement: heat moldable plastic
3. Collar padding: KF Soft PU sponge foam
4. Heel lining: nylex, visa terry or jersey fabric
5. Tongue lining: nylex, visa terry or jersey fabric
6. Tongue padding: KF Soft PU sponge foam
7. Tongue logo panel: Woven label logo or leather patch
8. Tongue face: Textile mesh fabric
9. Quarter panel medial side: Leather
10. Quarter panel lateral side: Leather
11. Eyestay reinforcement medial side: Non woven super tuff reinforcement
12. Eyestay reinforcement lateral side: Non woven super tuff reinforcement
13. Quarter panel lining medial side: Non woven textile
14. Quarter panel lining lateral side: Non woven textile
15. Toe Cap: Leather with Vamp vent holes
16. Toe Puff reinforcement: heat moldable plastic
17. Vamp / Toe cap lining: Non-woven textile
New Online Course!
Shoemaking for Designers & Brand Builders
Created for footwear newcomers and professionals alike, this course delivers the basic shoemaking knowledge you need to get your career and brand started.
Course Details
Enroll Now $99
Shoemaking
TextbooksBuy NowShoemaking
SuppliesBuy NowShoemaking
CoursesCourse Details
Previous
Next
Shoemaking
TextbooksLearn MoreShoemaking
SuppliesClick HereShoemaking
CoursesLearn More
Previous
Next

 If you want to learn how to design shoes you must first learn the names of the basic shoe parts! Secondly, You must learn how to draw shoes. Drawing by hand or by computer is how you will detail and communicate your shoe design.
 A highly detailed shoe drawing will show design features and flaws, allowing your shoe design evolve. Your shoe drawings must also communicate the design details to your co-workers, managers, buyers, customers and shoe factory technicians. From start to finish in the shoe design process, many people will need to understand your ideas if they are going to help you make your shoe idea into a real shoe!
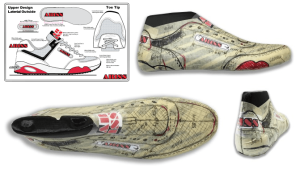
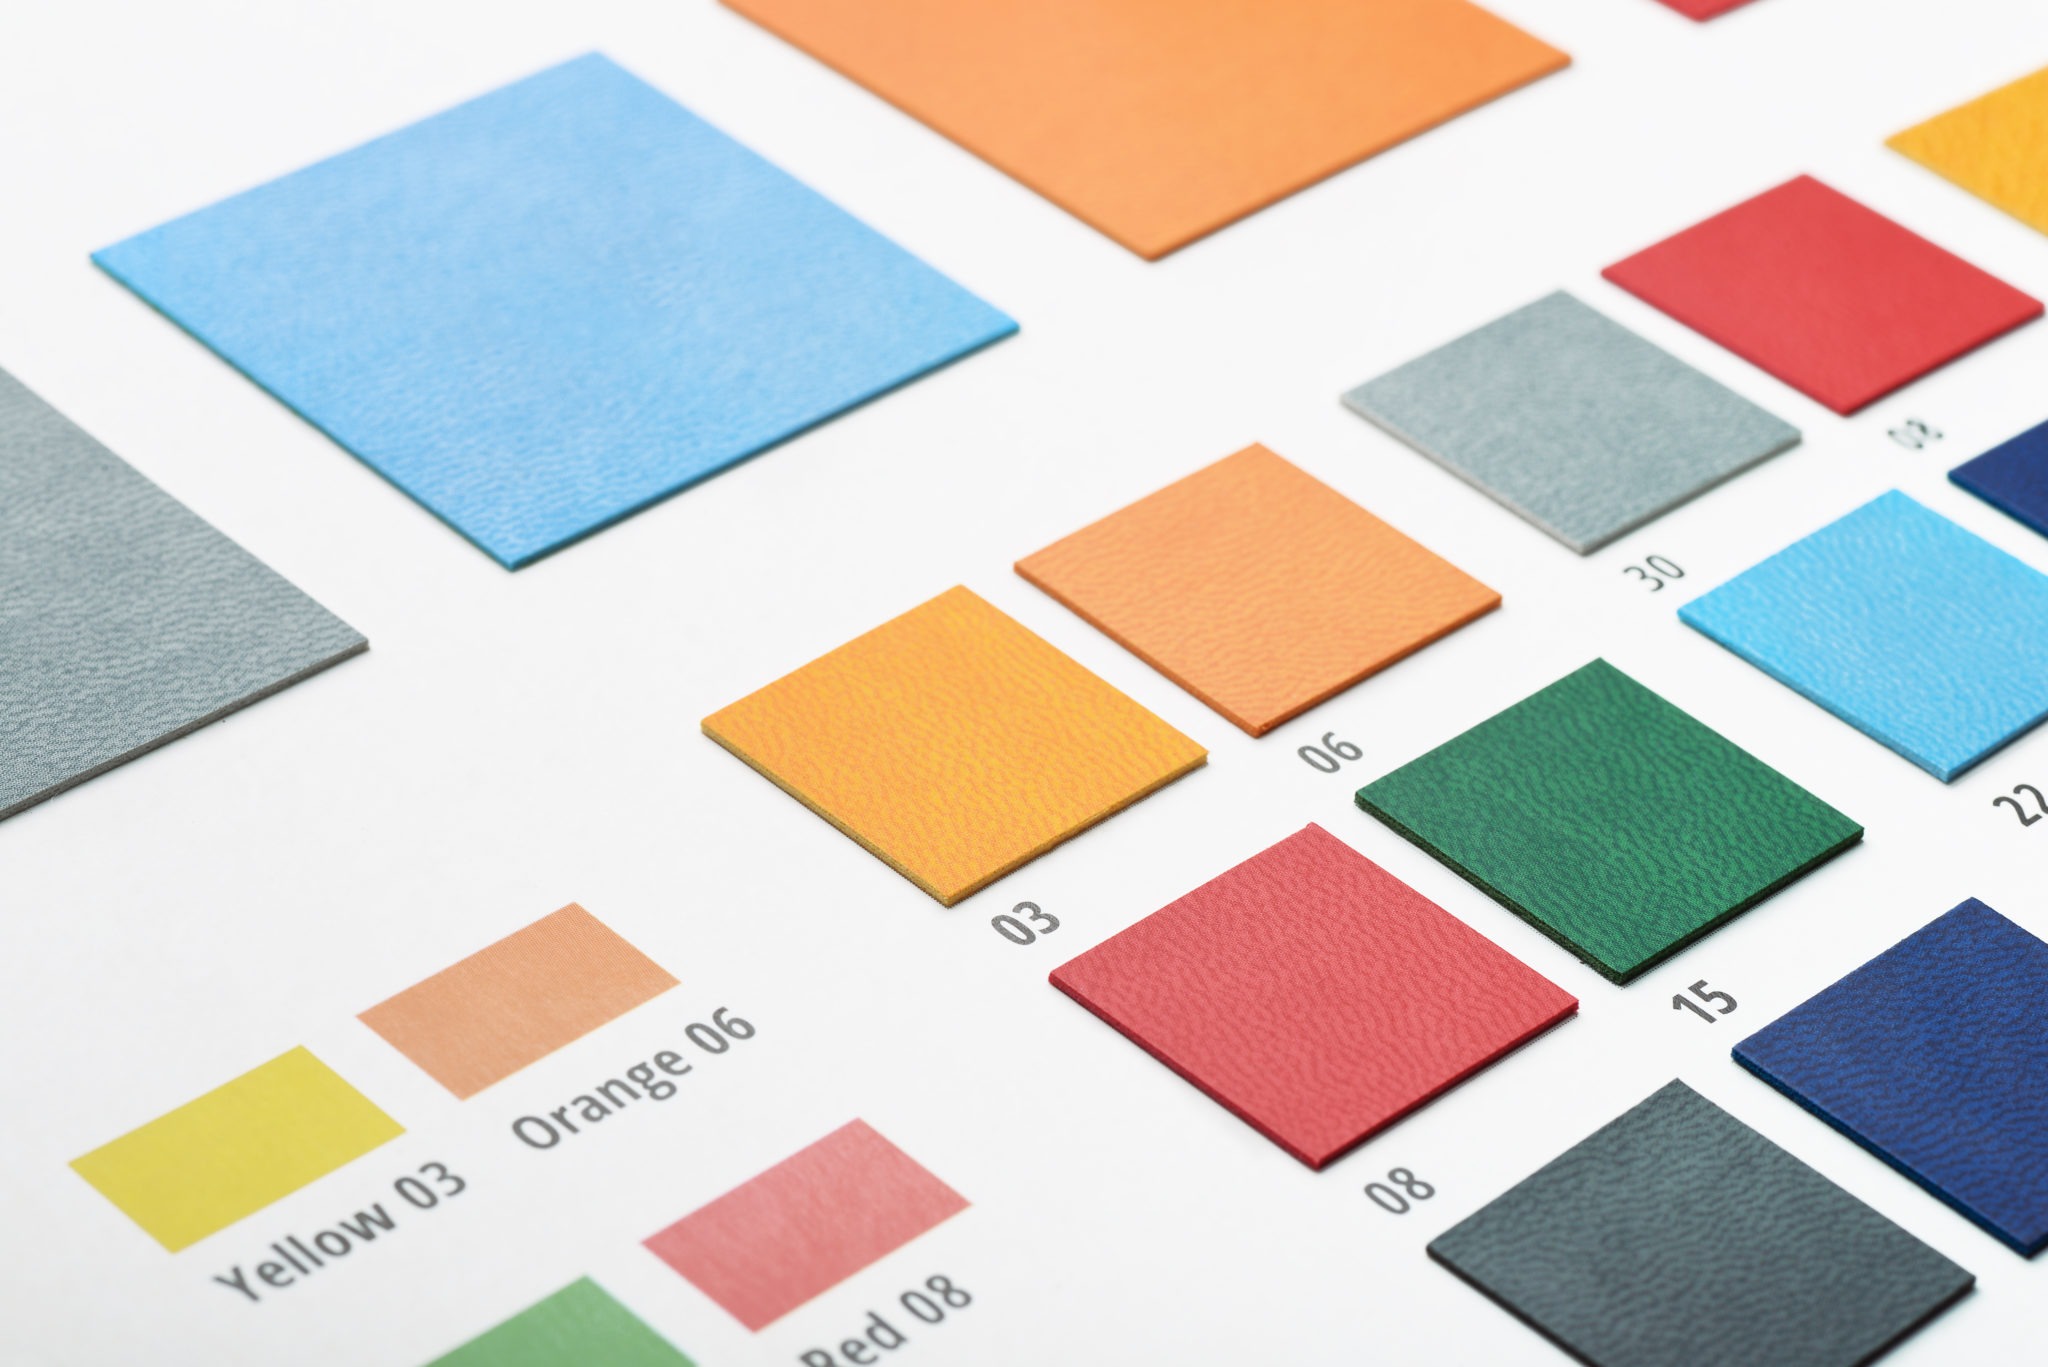
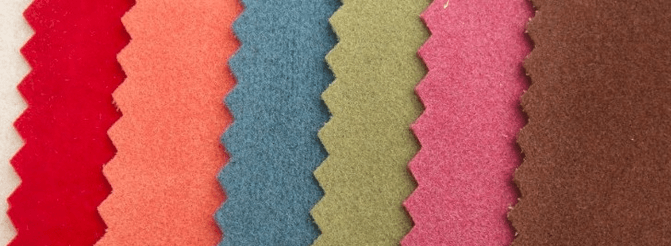
 For your new shoe design to really come to life you will need to specify the shoe materials. A huge part in learning how to design shoes is understanding how and why to select particular materials for your shoe. Your material choice will decide how expensive or inexpensive your shoes will be in the store. Your material choices will also effect flexibility, durability, comfort and import duties. You will need to understand the design qualities and limitations of leather, textiles, synthetics, foam and rubber as they relate to shoe design. The material you select for your shoe design will have an impact on the fabrication techniques, stitching procedures, reinforcements, and even the type of glue used to assemble the outsole to the upper.
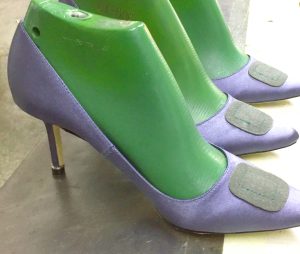
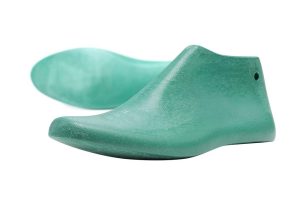 The shoe last is the most important part of your shoe design. The shoe last is the form used to create the 3D shape of your shoe design. The shoe last can be made of wood, plastic or metal. In the design phase, the last is used to transform your 2D line art in a flat pattern that can be assembled, then stretched into a 3D shape. The shape and adjustments to last dimensions are where the art and science of shoe making collide. The perfect last will make your shoe look, fit and flex great! The wrong last will make a great shoe design into a wreck. In production, the last is used to stretch the sewn upper into shape, then hold it in place while the outsole is bonded. The last must be a strong material to withstand the lasting pressure and hydraulic pressure used to secure the outsoles. The shoe last must also be smooth and clean so the shoe lining is not damaged during the assembly process.


 Who makes the shoe design brief? There are no rules to this process, every company has their own process. In many companies the shoe Design Brief is a collaboration. The Product Manager is usually tasked with creating the brief, but he may meet with the designers or his design manager to collect style ideas, the PM should also be talking to his sales manager and sales reps for any price information or market intelligence about competitors.


 Running Shoe Parts Terminology:
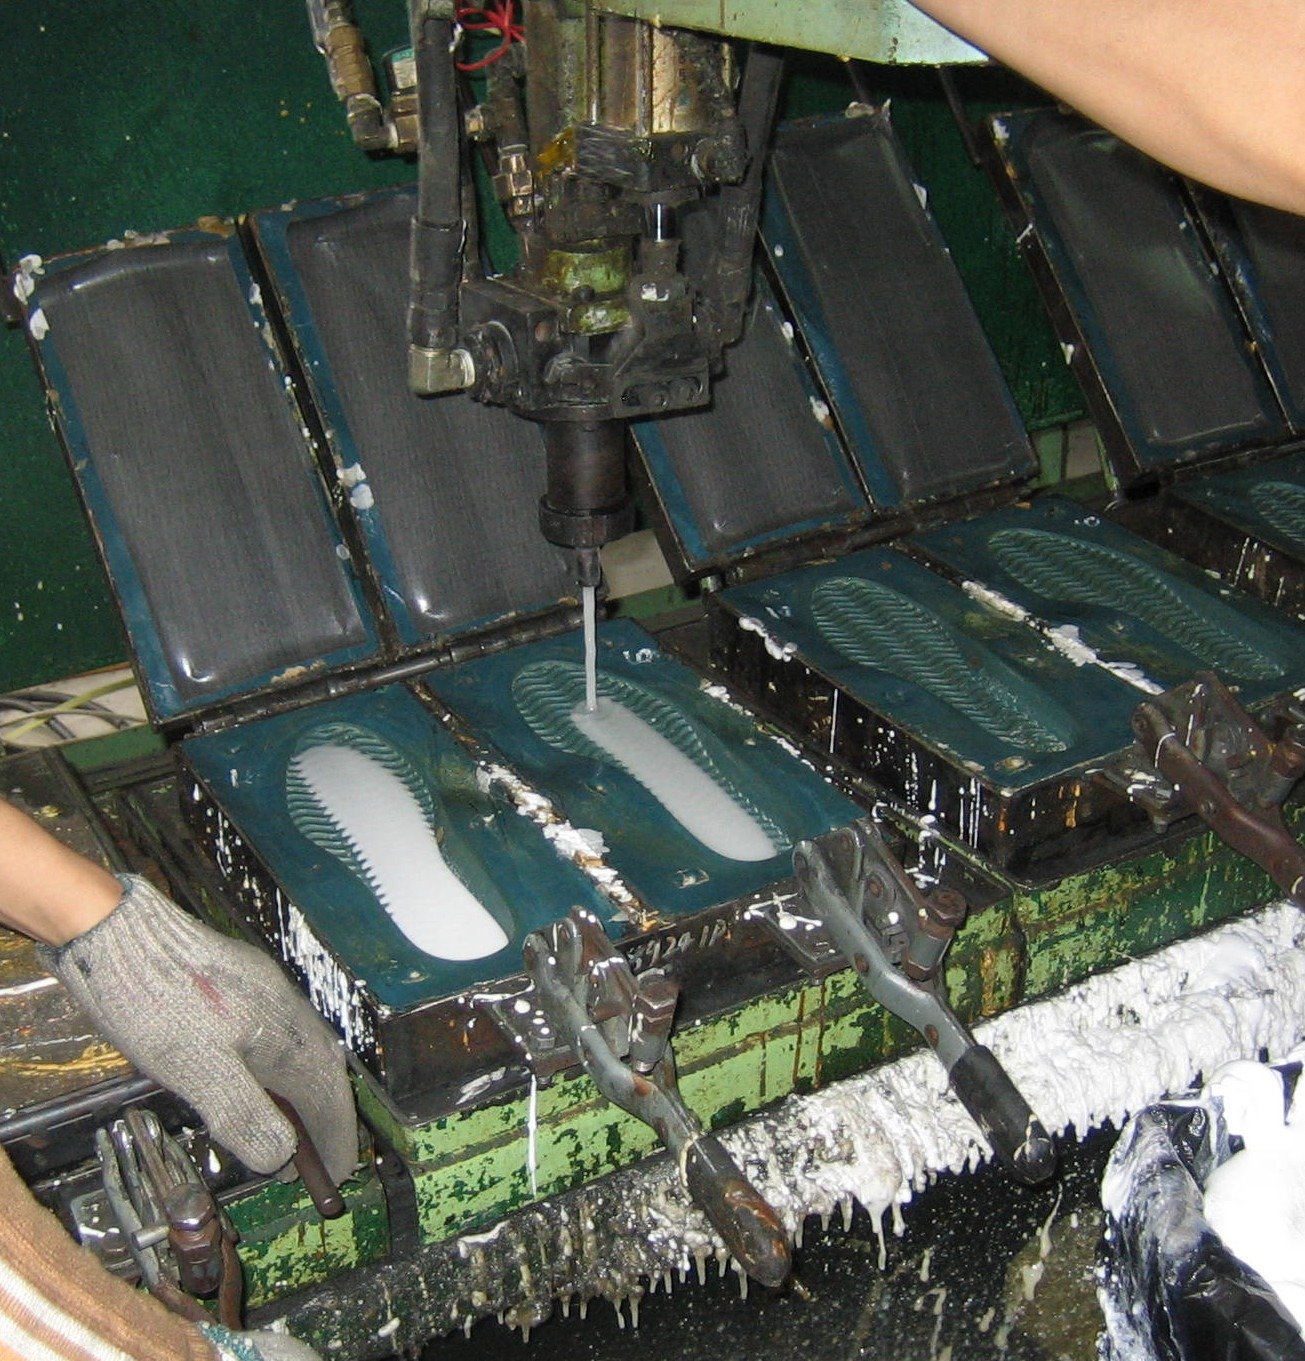 The molded footbed is a must for performance athletic shoes, the contours will support the foot and hold the foot in place. Hiking, hunting and military boots need a molded footbeds. The strobel shoes may be a thinner as the inside of the shoe will have more contours from the last and molded midsoles. Stiffer board lasted boots should have a molded footbed to provide support and fill up the square corners near the edges.
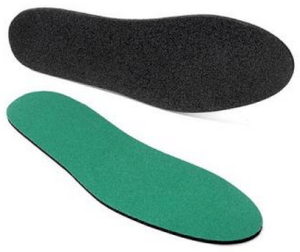 The die cut footbed can the the cheapest piece of junk or it can be really plush. Die cut does not have to mean cheap. Yes the most basic shoes will have thin die cut footbeds made of soft
  EVA foam that will last just a few weeks. High end shoes can have really nice leather-covered die cut footbeds made with multiple layers of high quality long lasting PU foam, neoprene rubber or gel sheet. Fashion


